
Welcome to the jungle of digital memories, where we, the tech-savvy monkeys, guide you through the vines of photo compression on your iPhone! We all love capturing moments, but sometimes those high-quality photos eat up all the space, leaving no room for more banana…err, photo storage! Let’s swing through the easy steps to compress those memories without losing the essence of the moments captured.
Table of contents
- Method 1: Use iPhone’s Built-In Compression Tool
- Method 2: Compress Photos Using “Photo Compress” App
- Method 3: Compress Photos Online
- FAQ About Compressing Photos on iPhone
How To Use iPhone’s Built-In Compression Tool
Navigating through the iPhone’s settings might seem like swinging through the dense jungle vines, but fear not! Your monkey guide is here to help you find the easiest path.
- Go to Settings: Open the settings app on your iPhone.
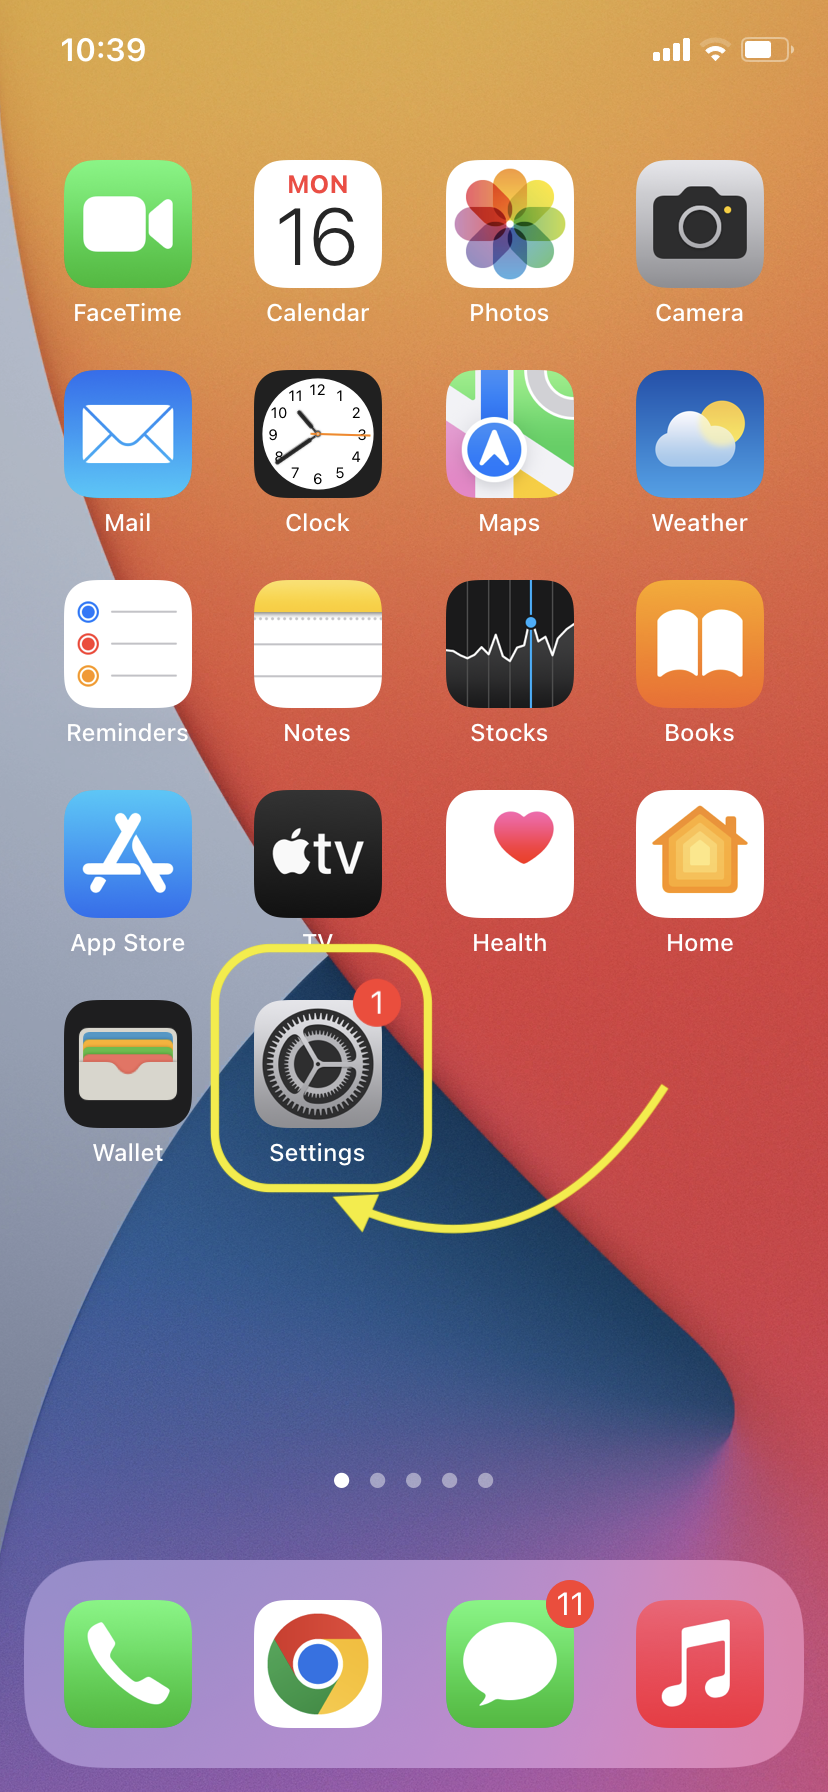
- Find Photos: Scroll down and tap on “Photos”.
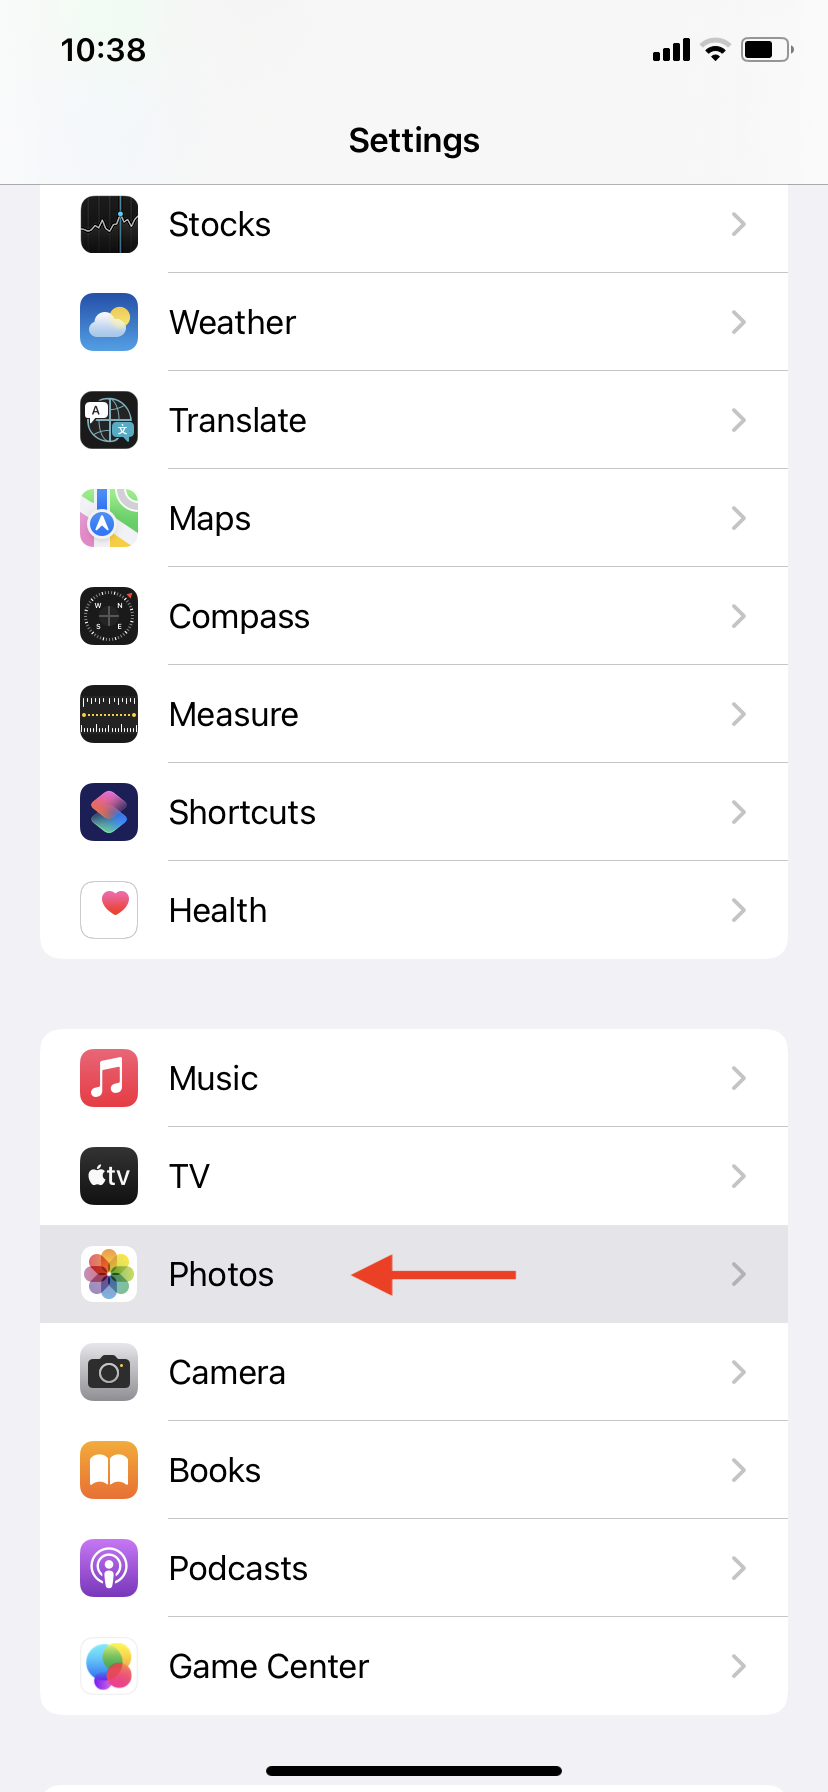
- Choose Compression: Under the “Transfer to Mac or PC” section, select “Automatic”. This ensures your photos are compressed when transferred.
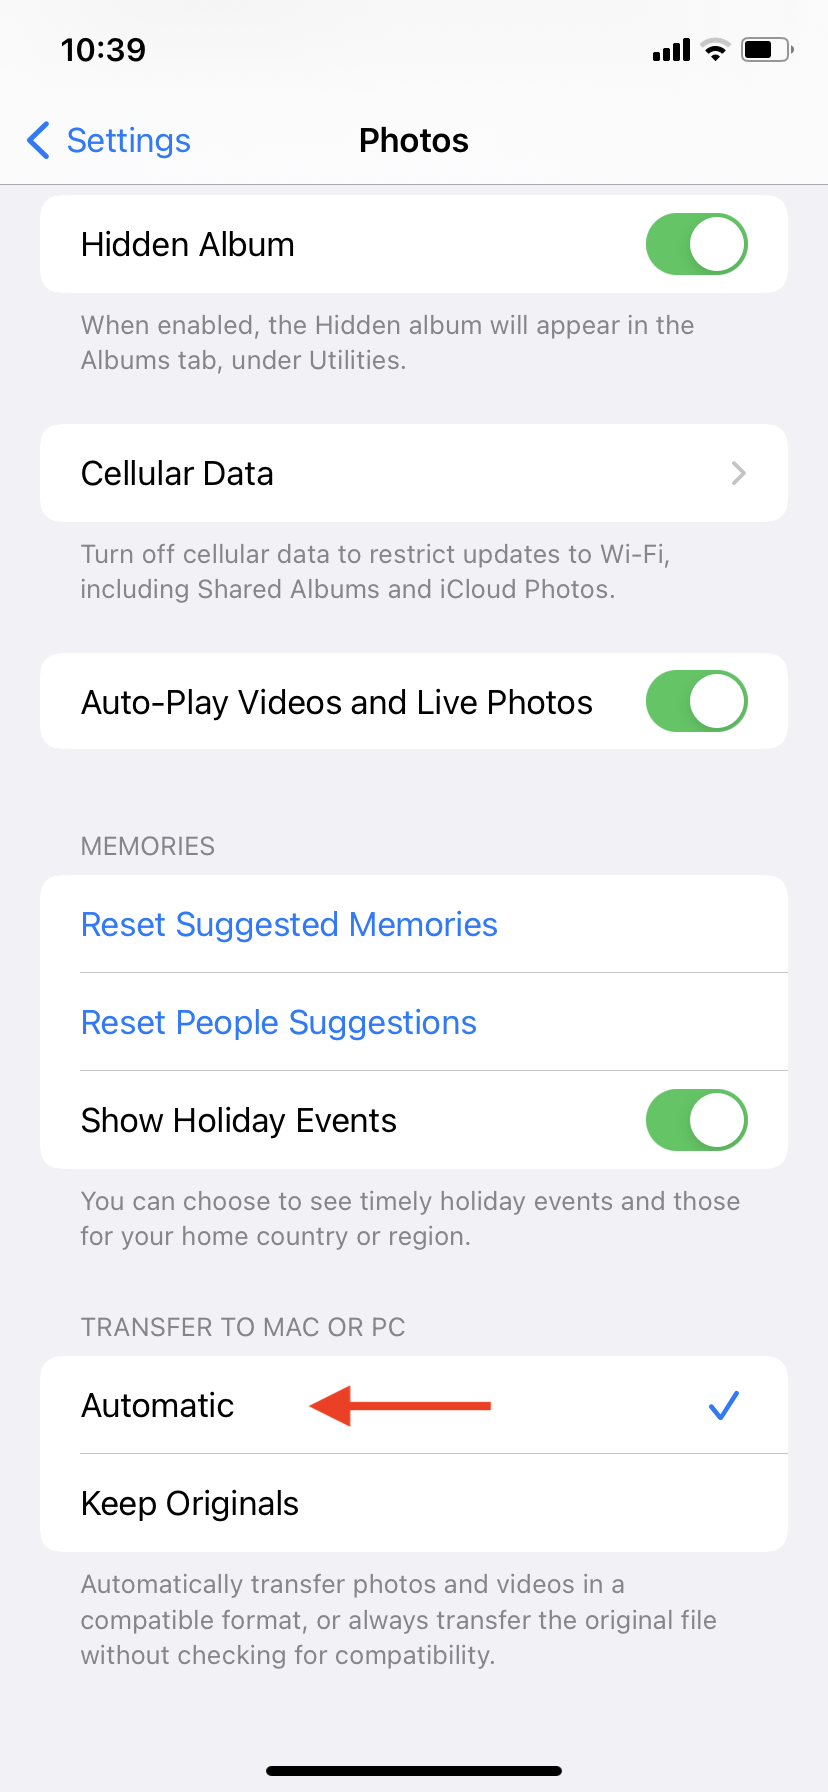
And voila! Your photos will be compressed when you transfer them to your Mac or PC, saving space while keeping those precious memories intact.
How To Compress Photos Using “Photo Compress” App
Sometimes, the jungle has more to explore! There are numerous apps in the App Store that can help you compress your photos without transferring them to a computer.
- Download Photo Compress: Find the “Photo Compress” app in the App Store and download it.
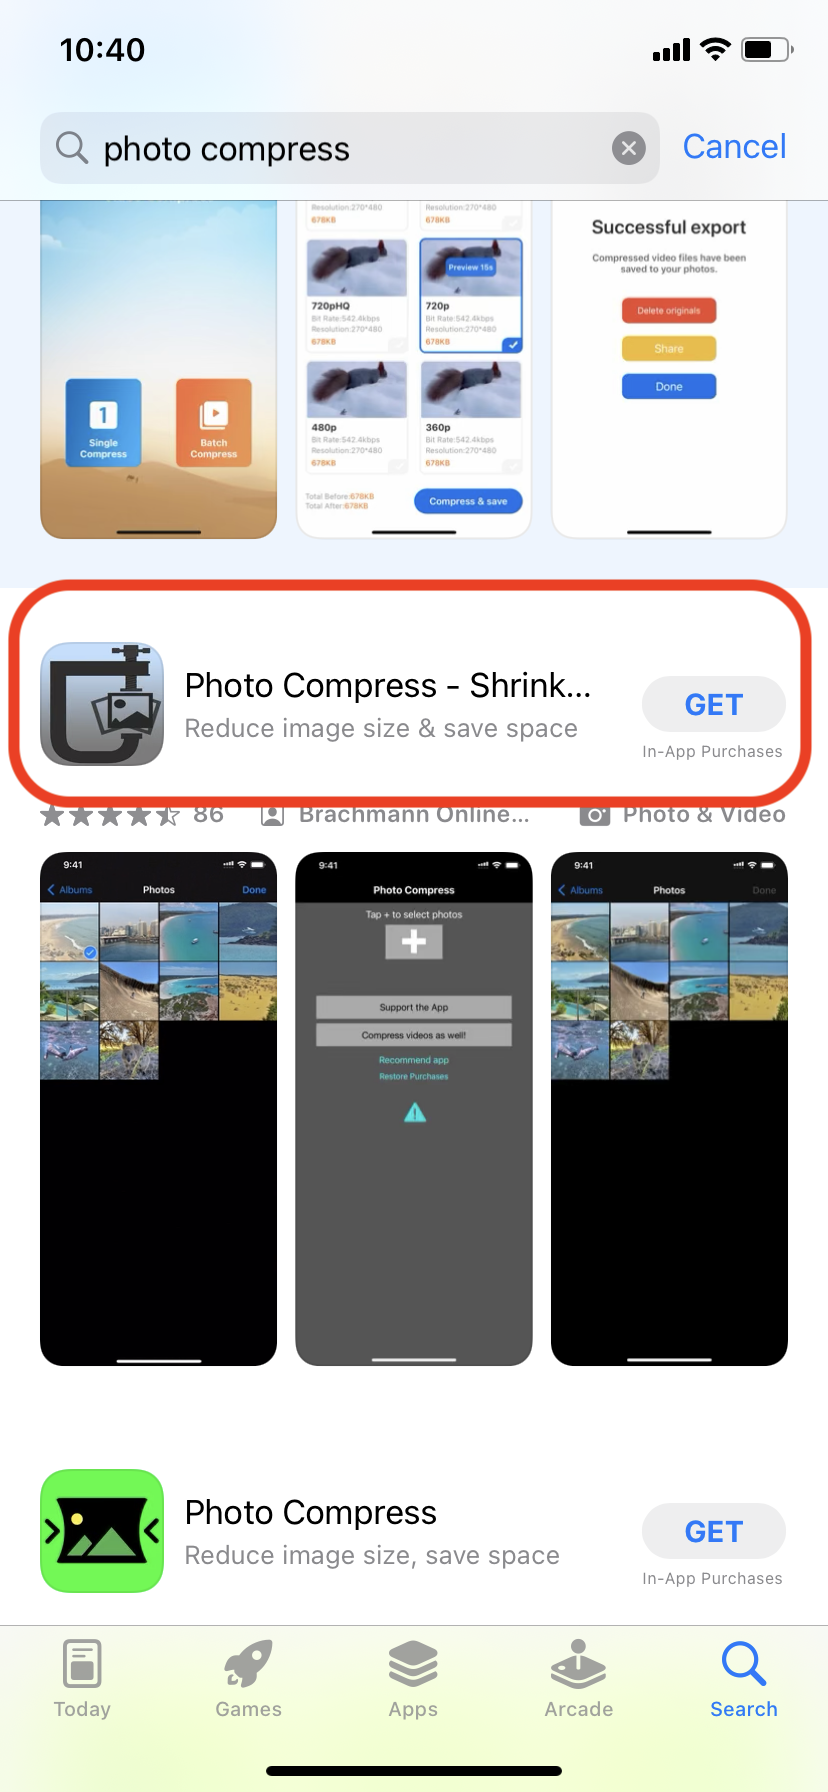
- Open the App: Launch the app and allow it access to your photos.
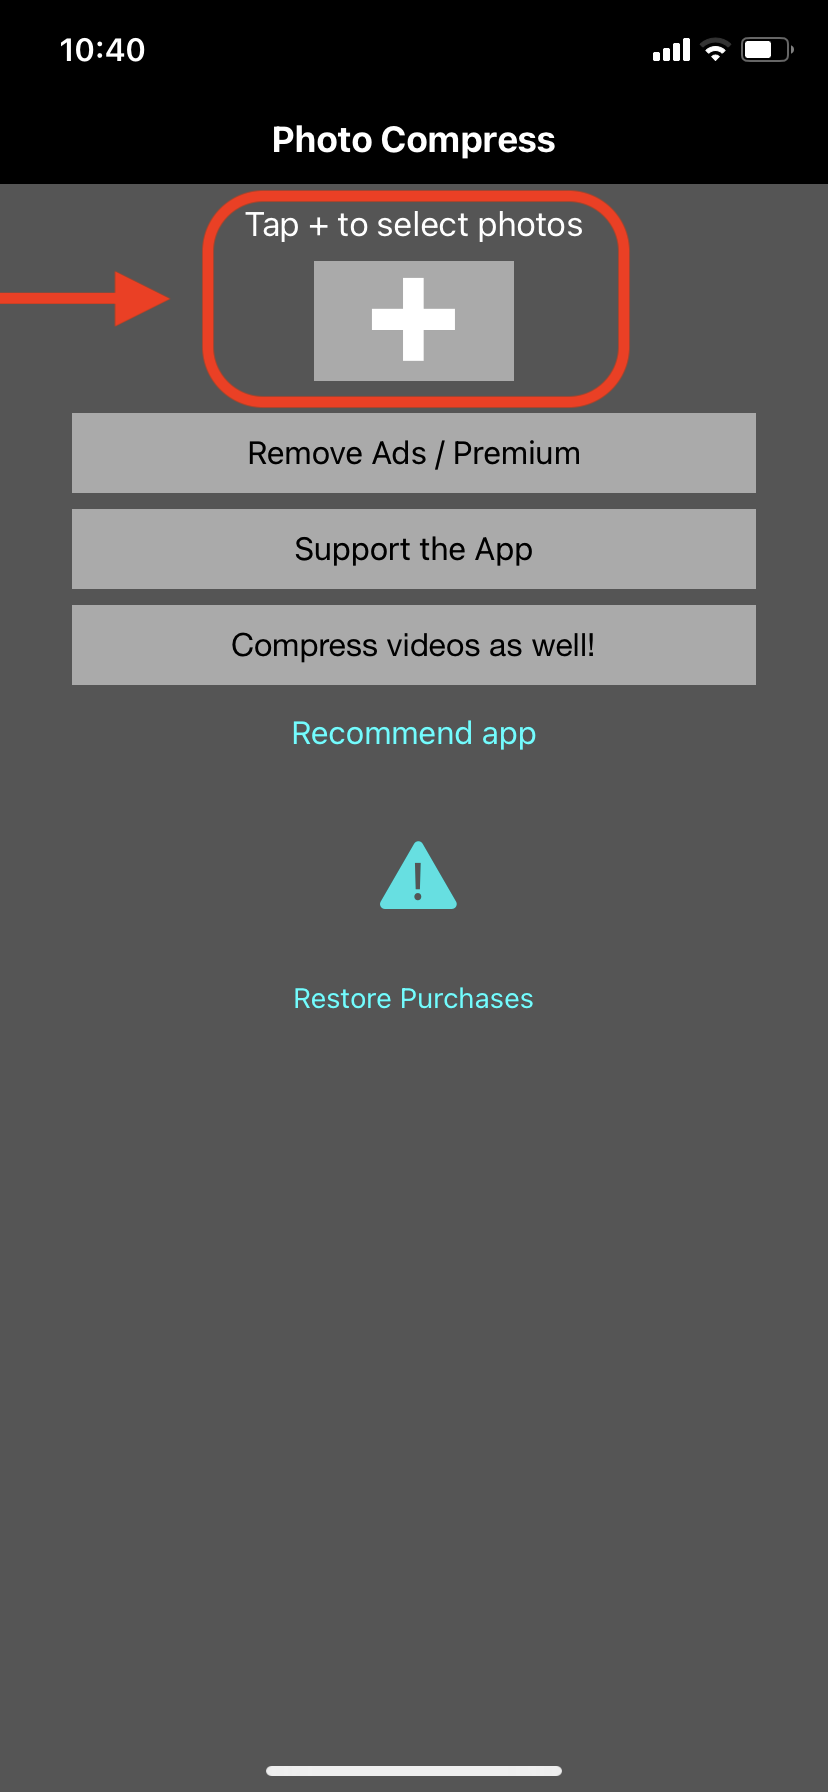
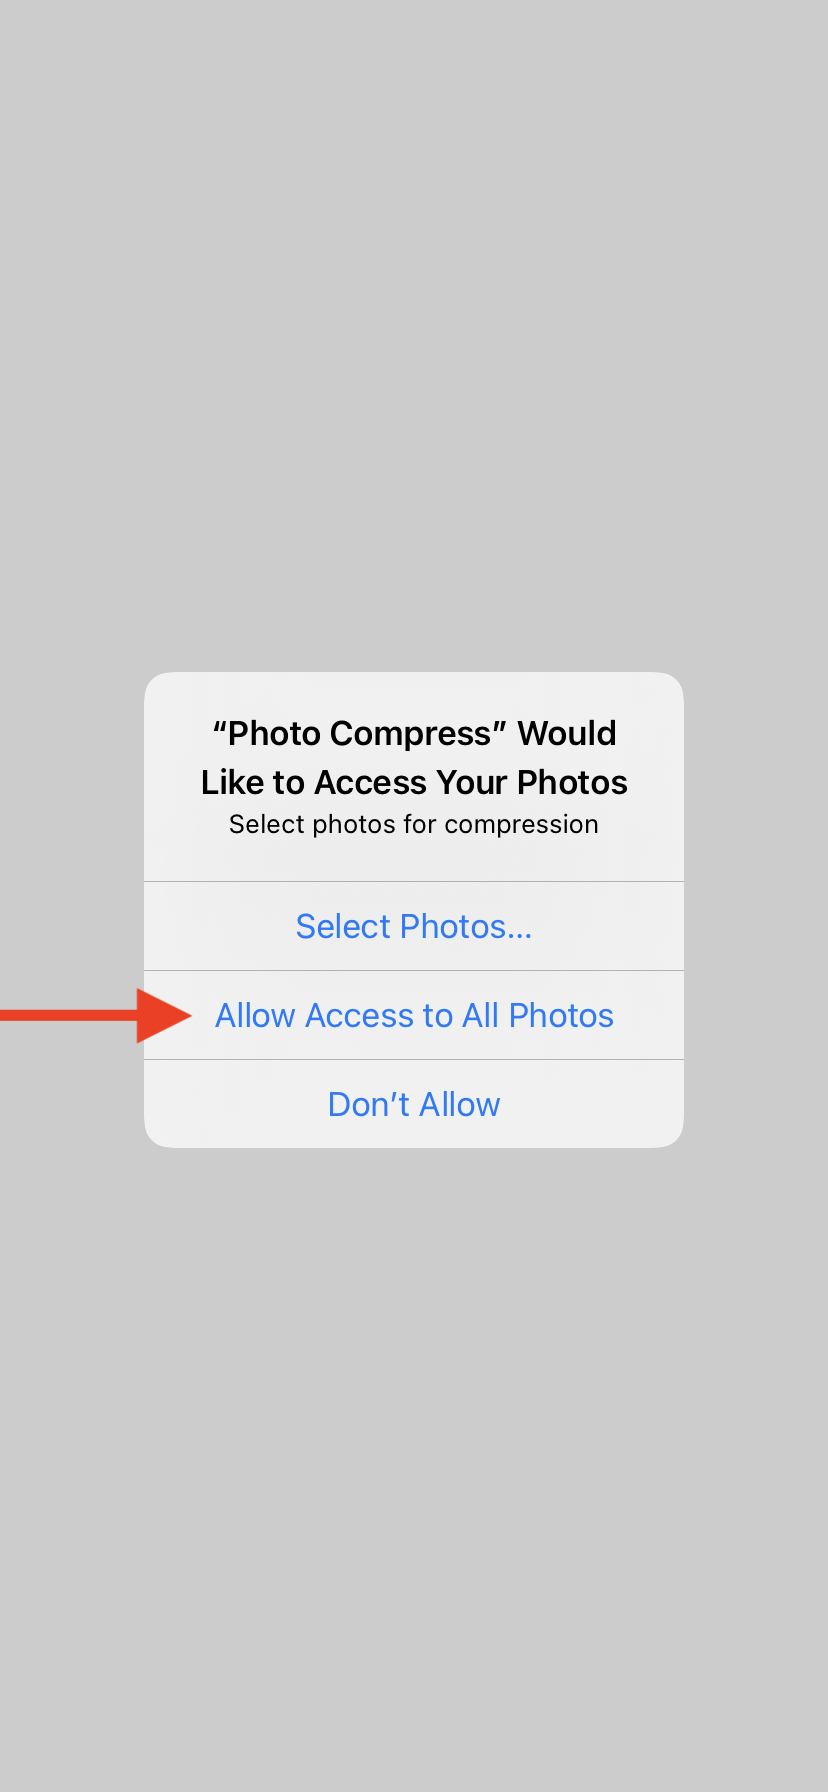
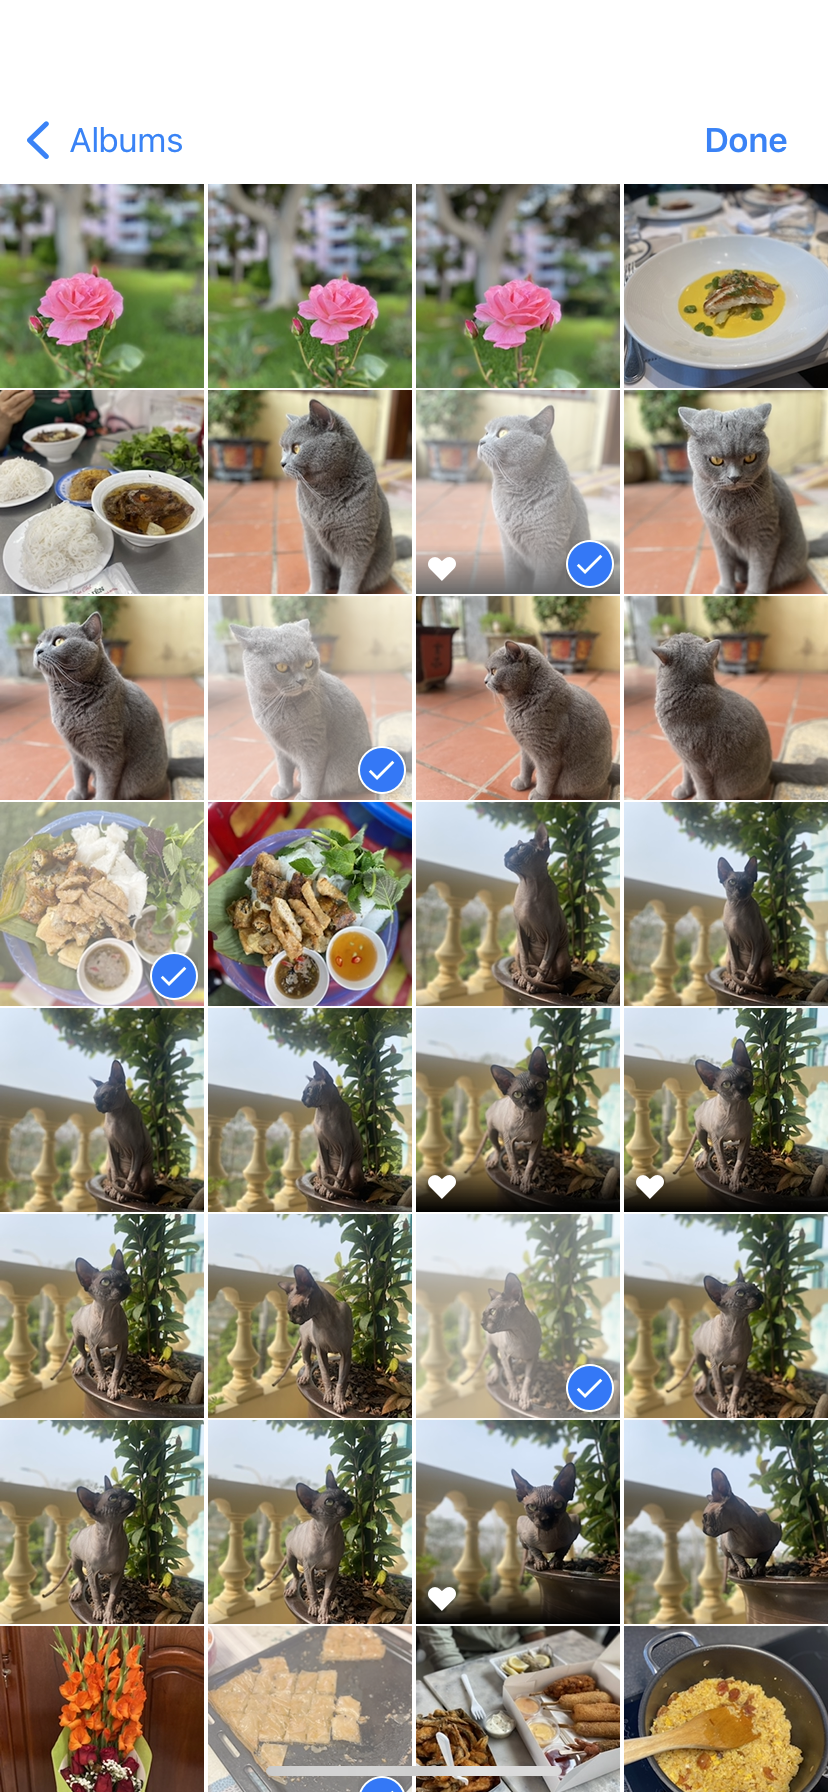
- Select Photos: Choose the photos you want to compress.
- Compress: Follow the app’s instructions to compress your photos and save them back to your gallery.
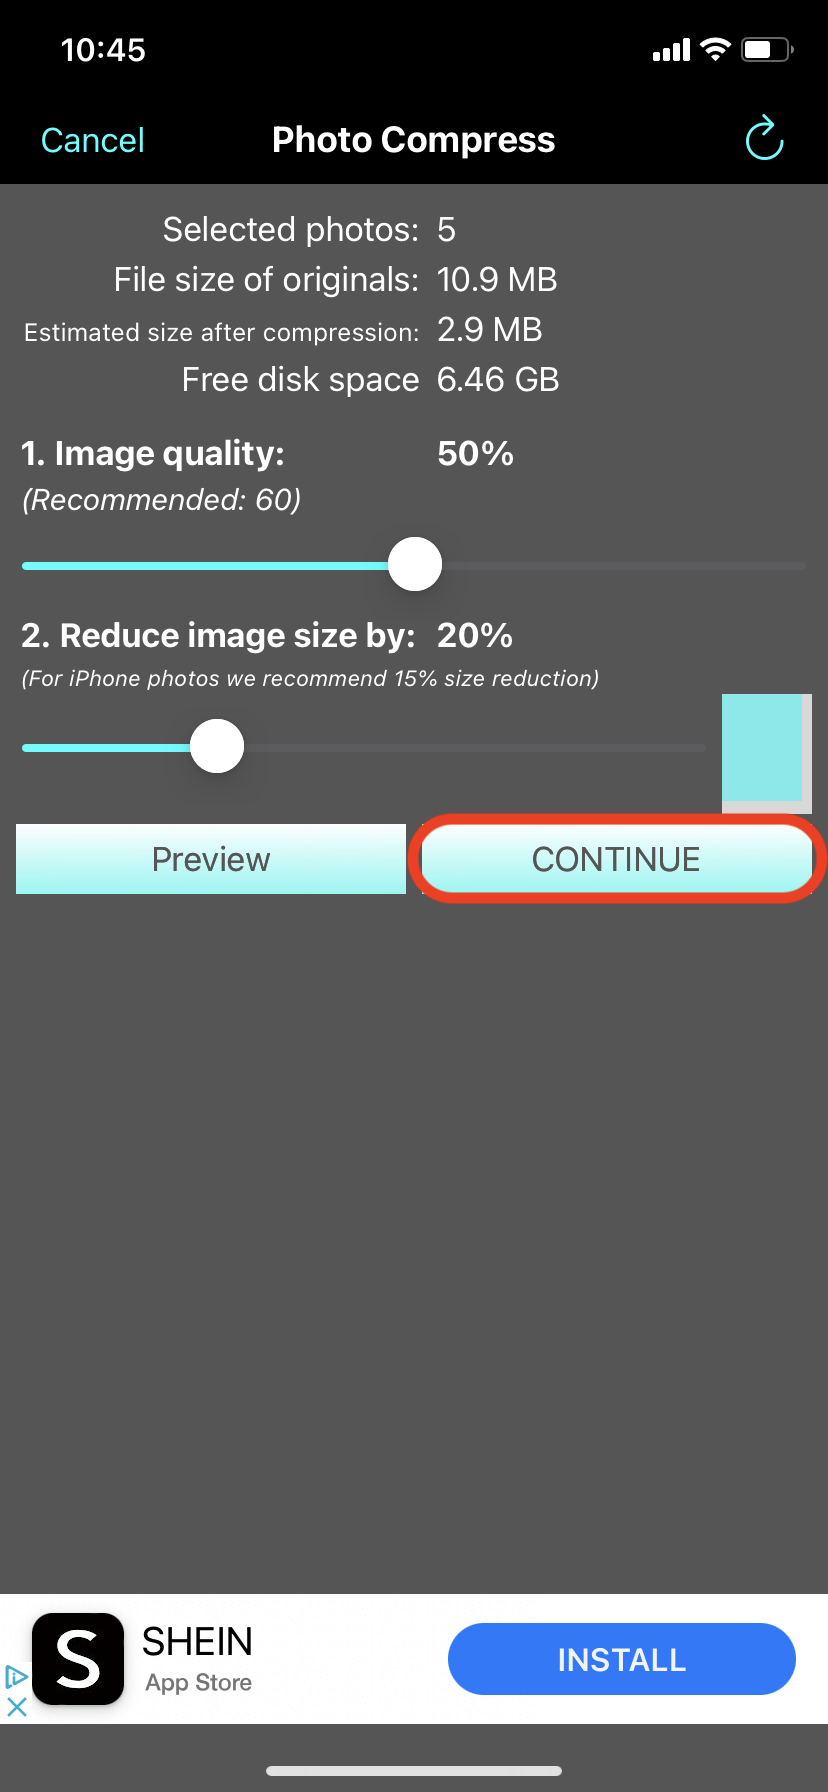
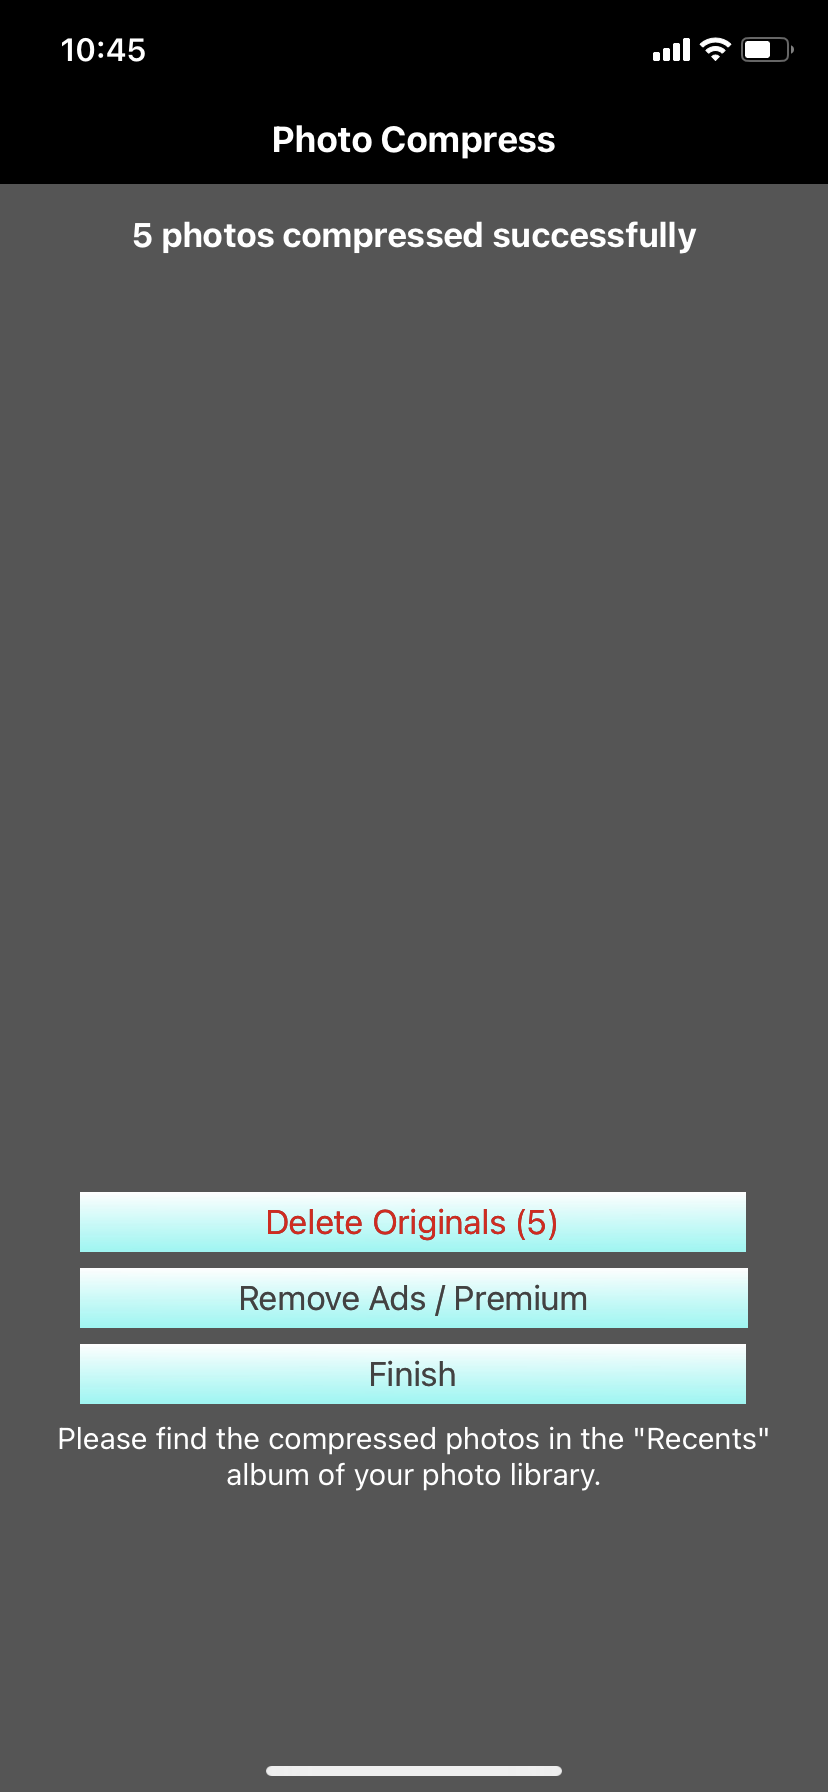
Just like that, you’ve compressed your photos and saved some space for more adventures (or apps)!
How To Compress Photos Online
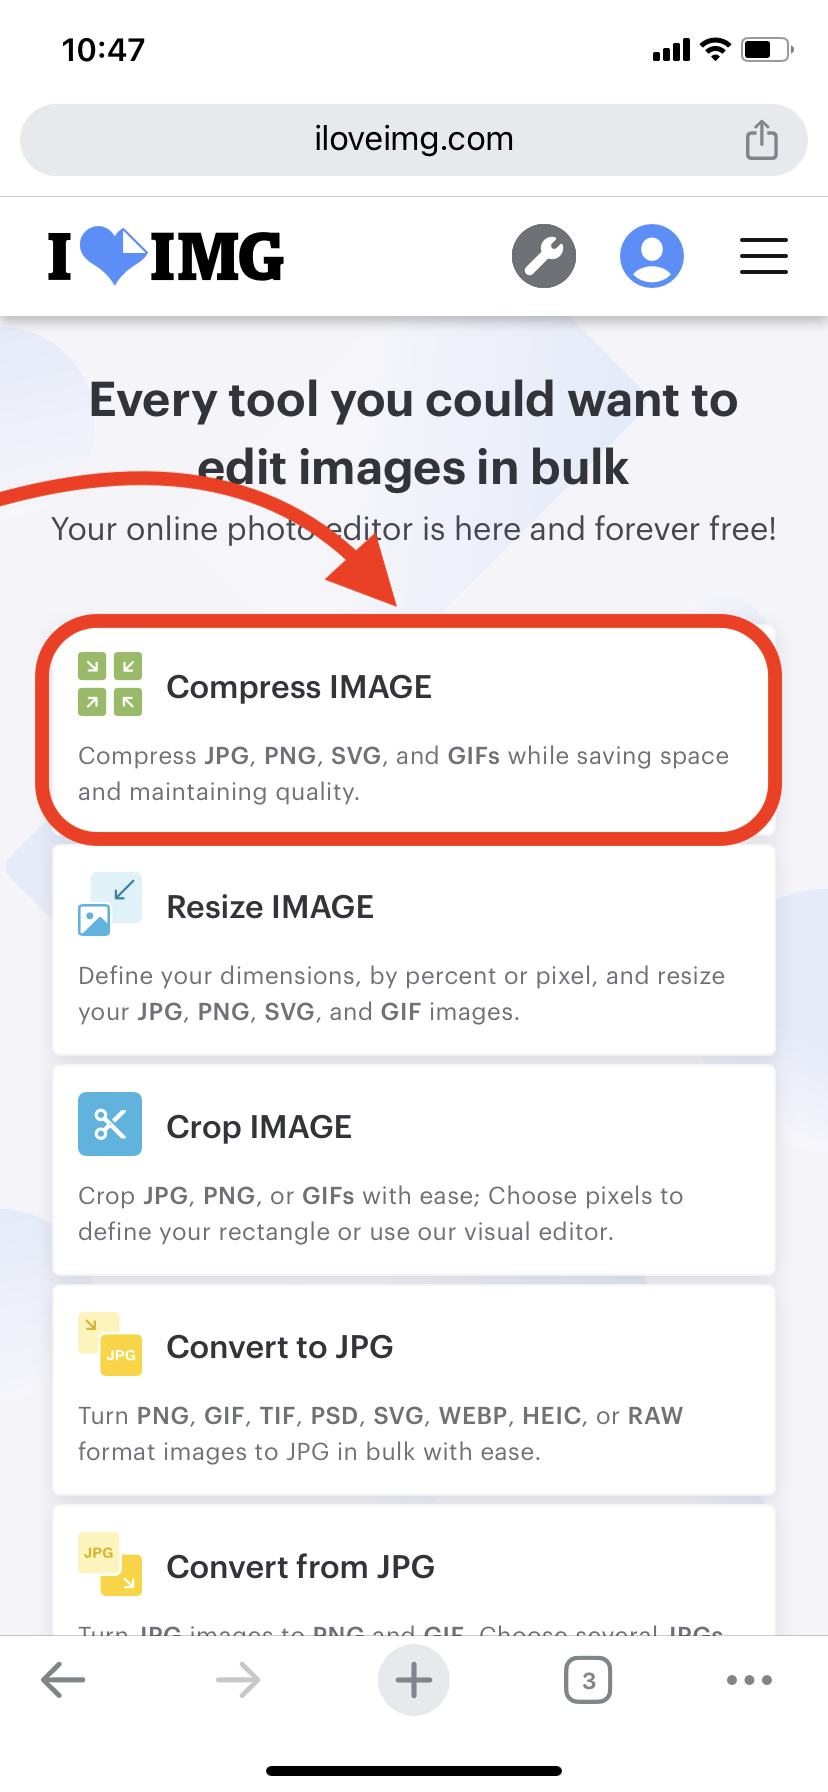
If you’re not keen on venturing into the app jungle, online platforms can be your treehouse for photo compression!
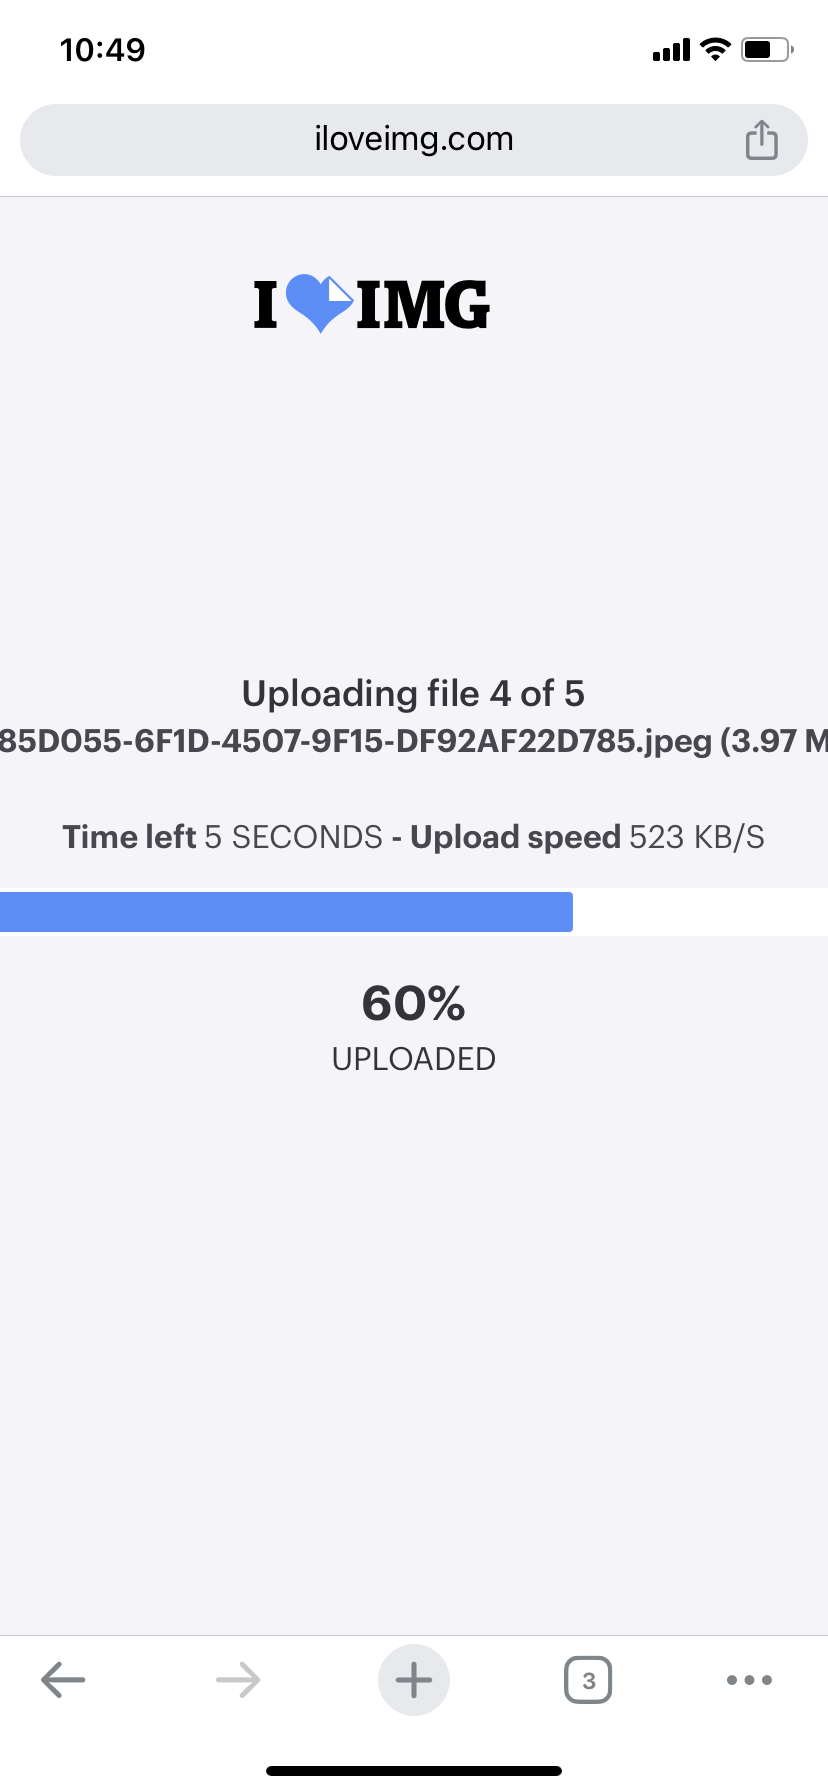
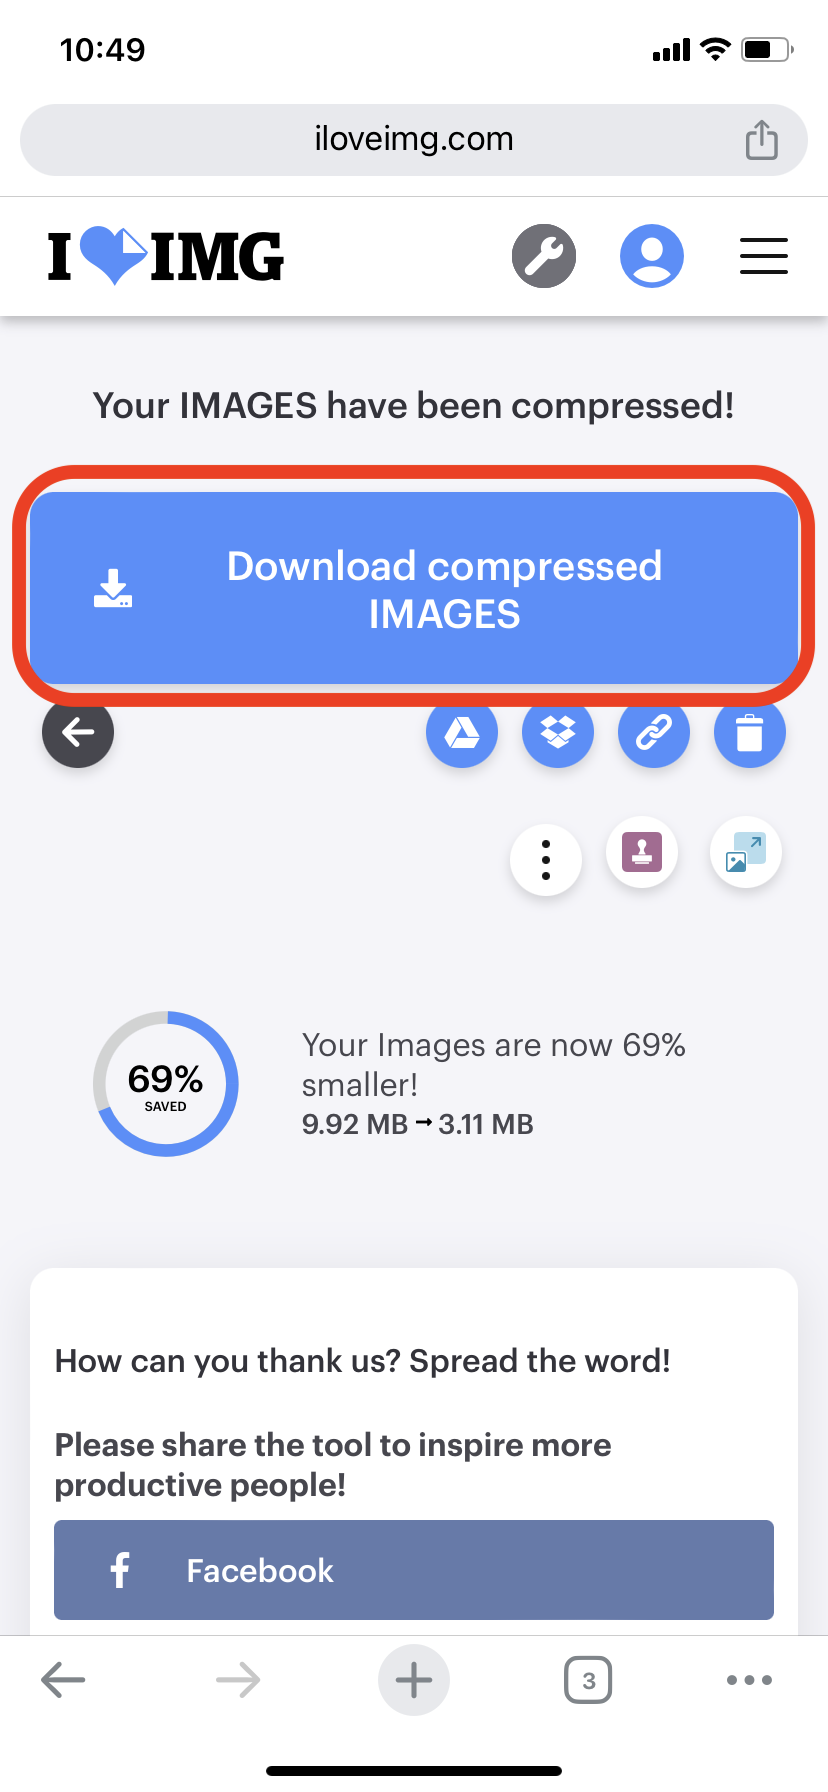
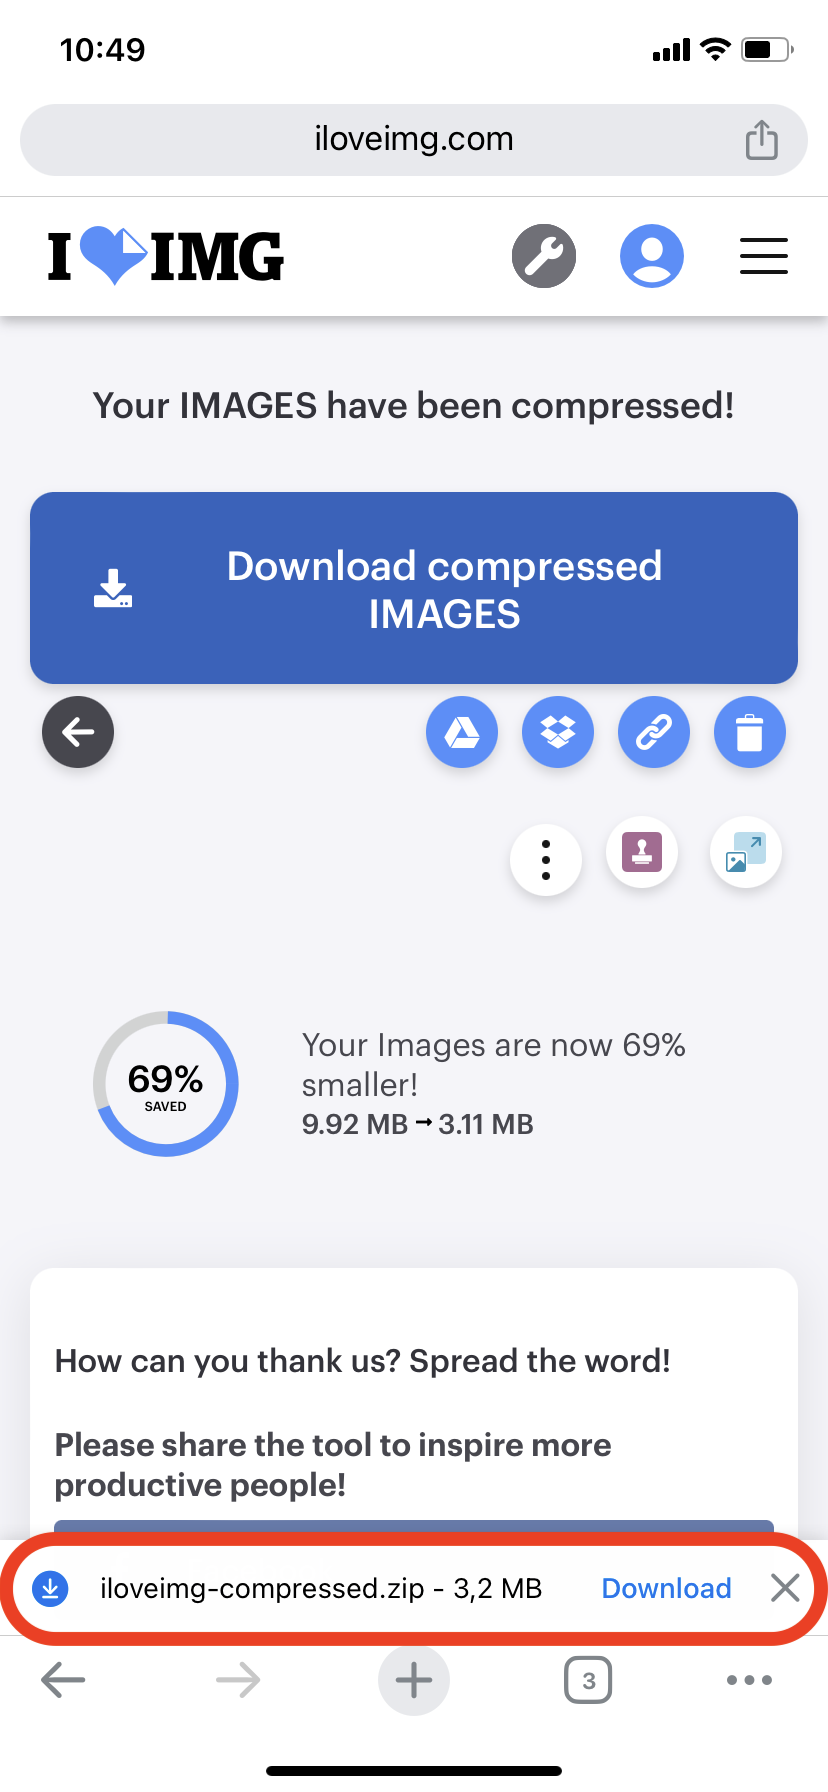
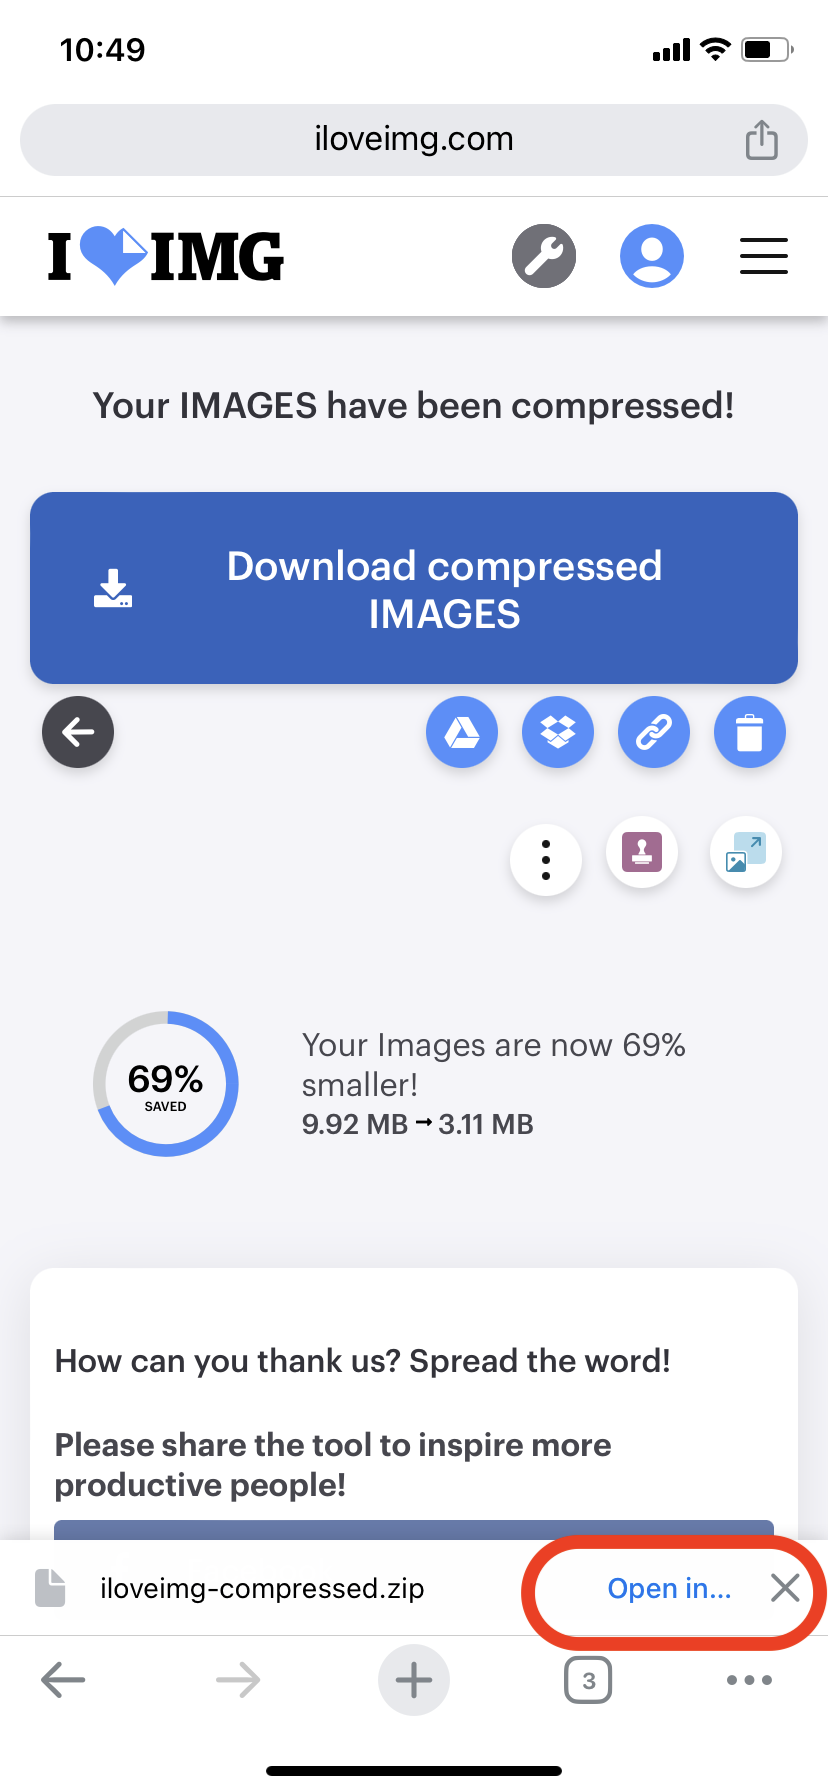
- Visit a Website: On your iPhone browser, visit an online photo compression website like iloveimg.com. Choose “Compress IMAGE”.
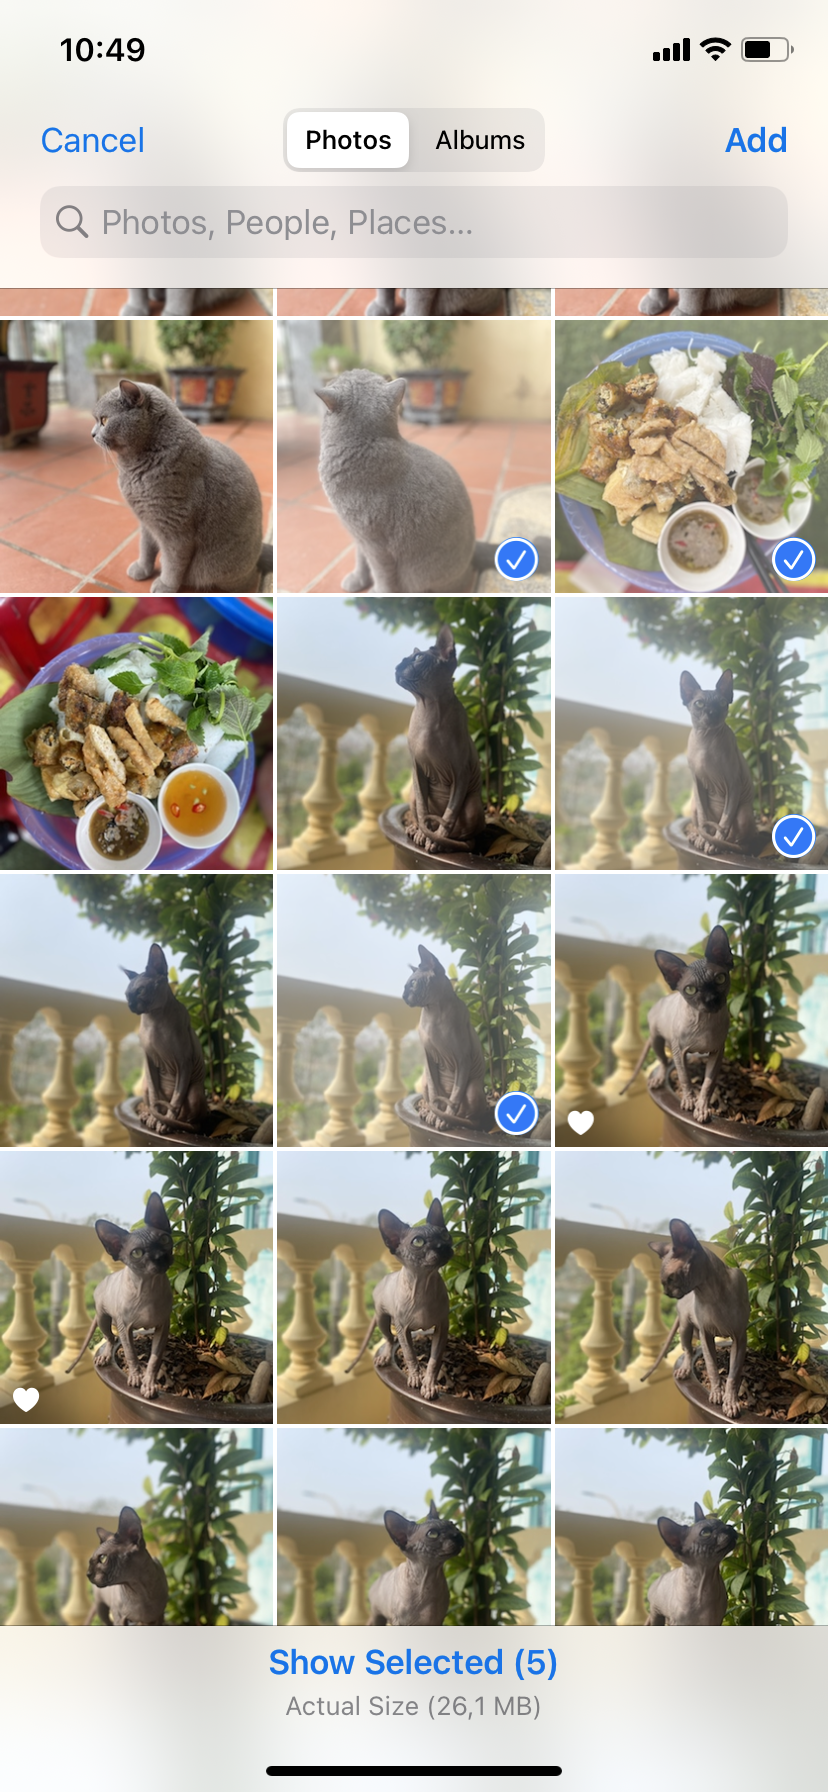
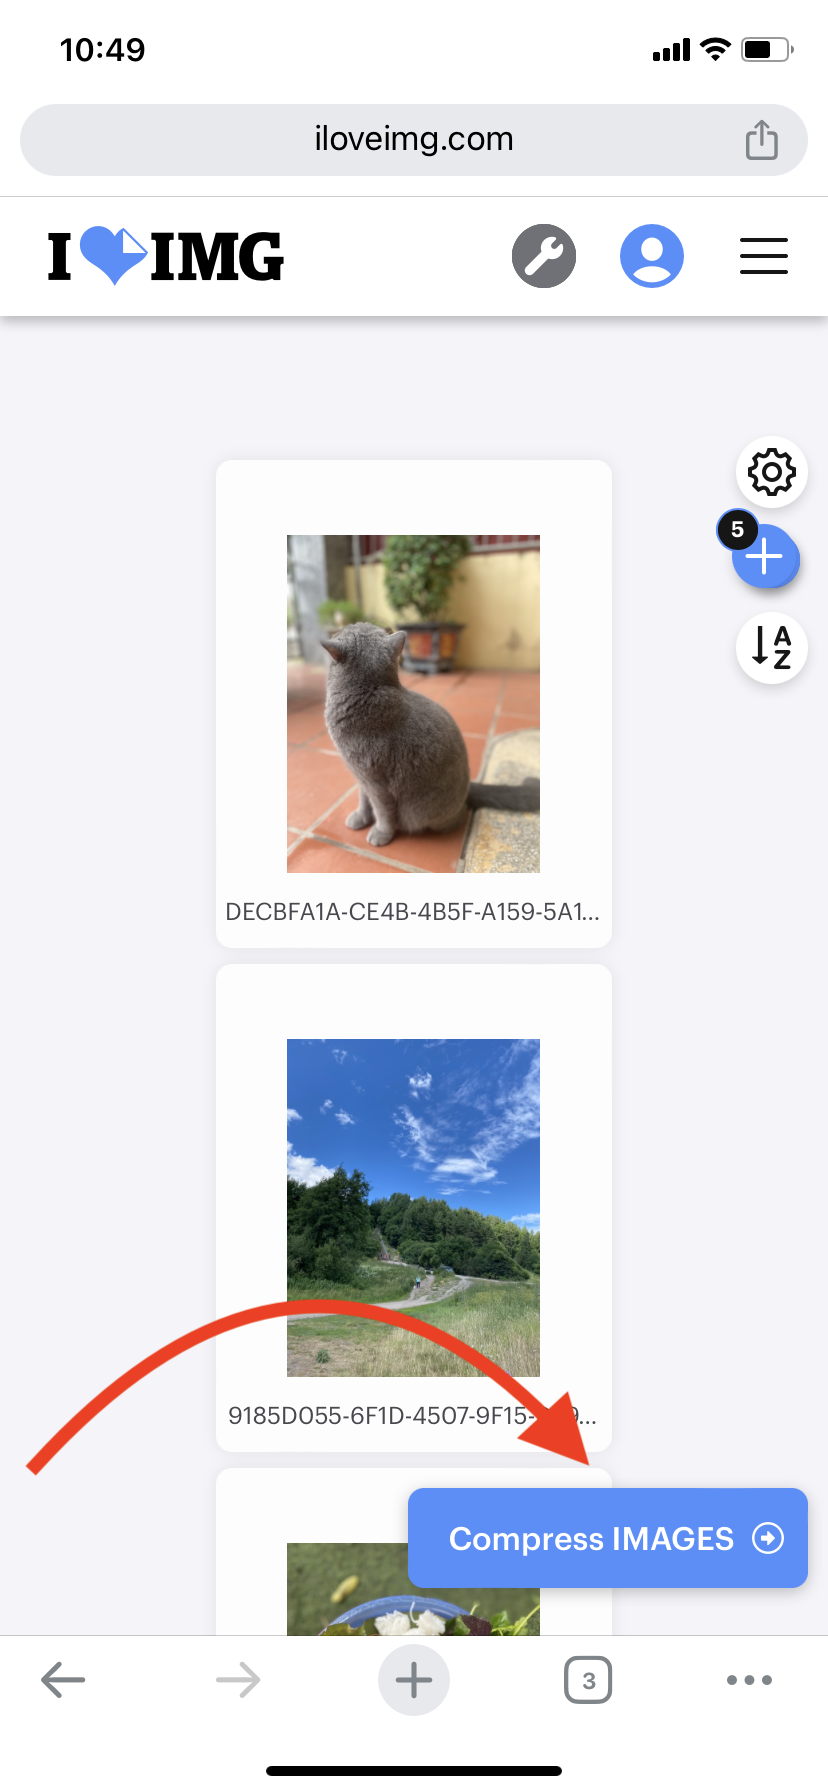
- Upload Photos: Select and upload the photos you want to compress.
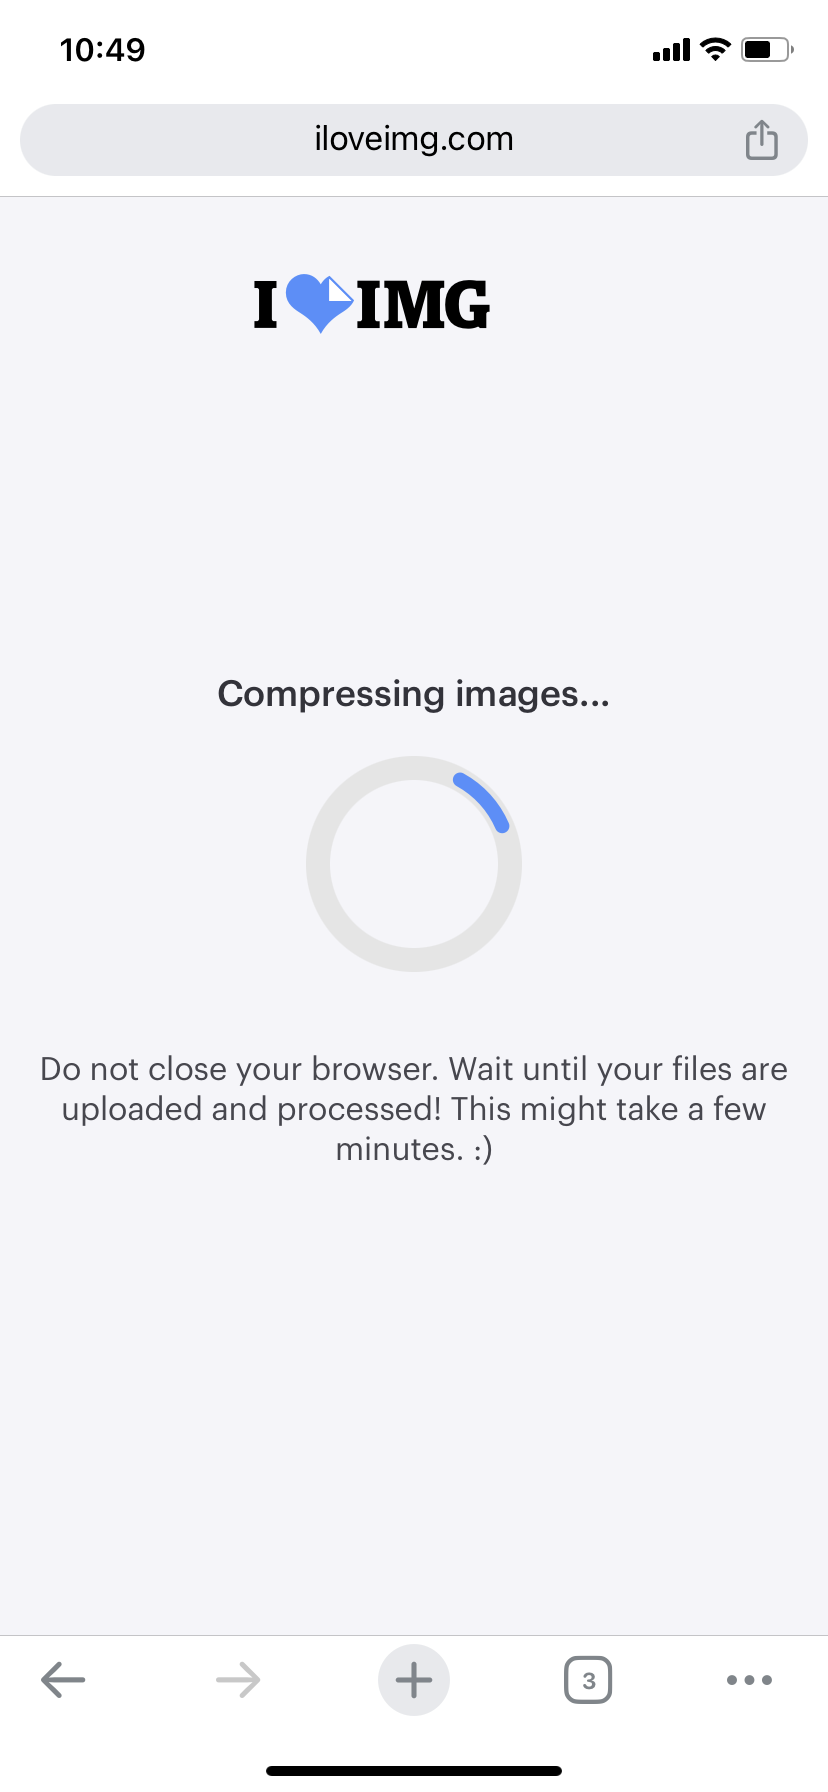
- Compress: Hit the compress button and wait for the magic to happen.
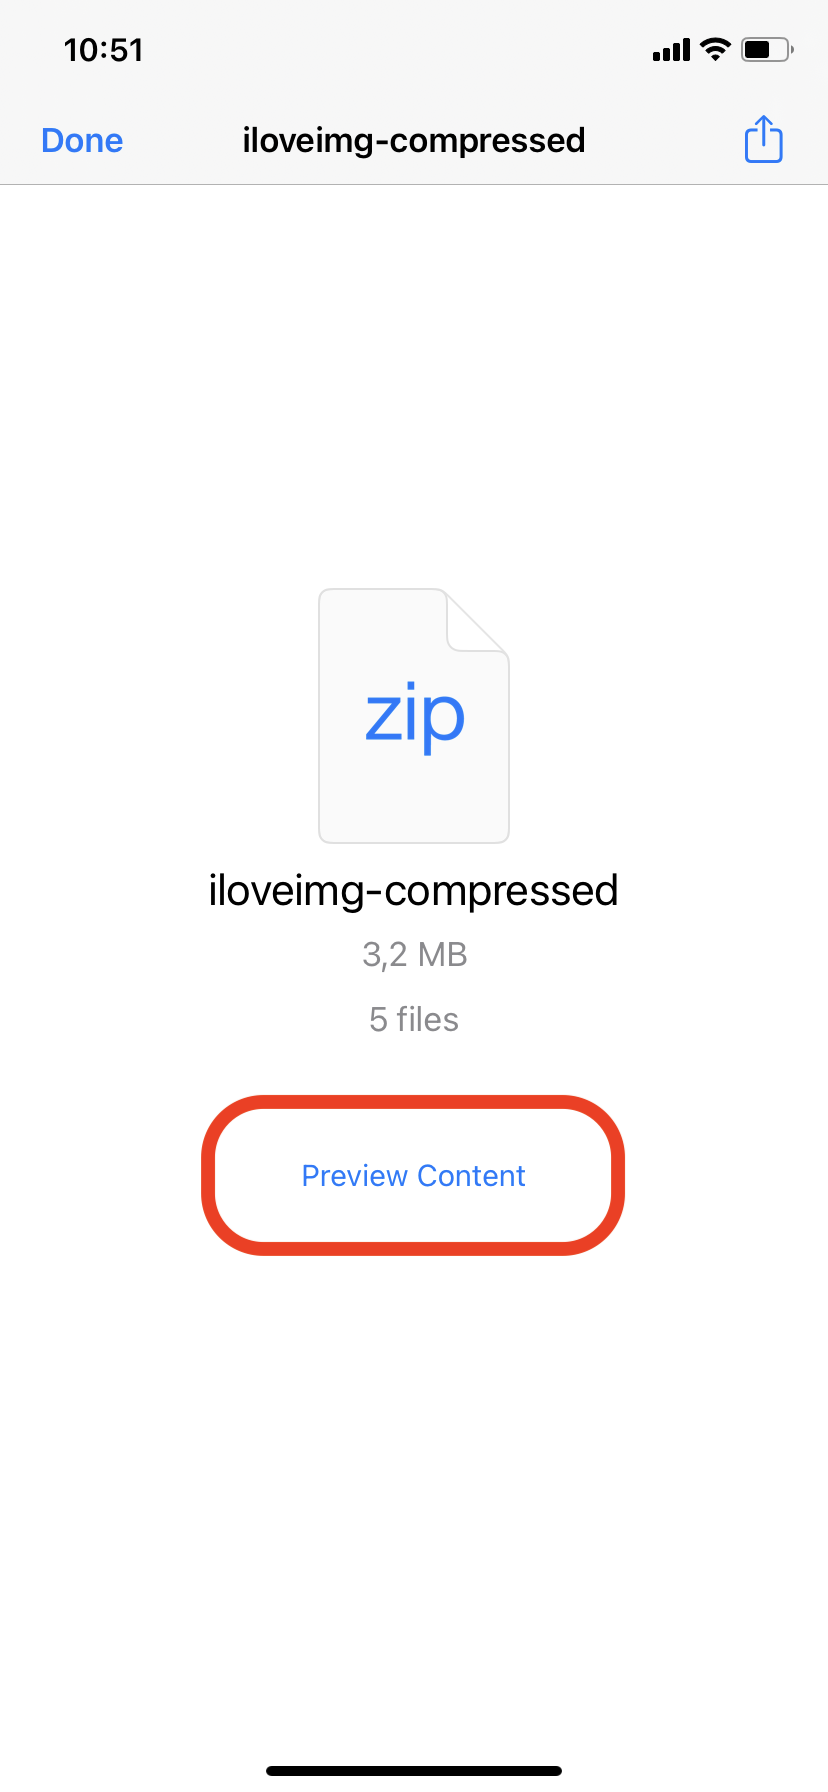
- Download: Download the compressed photos back to your iPhone.
And there you have it, fellow jungle explorers! Three simple paths to compress your iPhone photos and make room for more memories (or more apps, we don’t judge). Whether you choose the built-in settings, a third-party app, or an online platform, each path leads to the treasure of saved space and preserved memories.
FAQ About Compressing Photos on iPhone
1. Why do I need to compress photos on my iPhone?
Compressing photos helps you save storage space on your device and makes it easier to share images via email or online platforms due to the reduced file size.
2. Will compressing photos reduce the quality?
Yes, compressing photos can reduce the quality, but if done correctly, the change might not be noticeable. Always keep the original file if the quality is crucial.
3. Can I compress videos in a similar way?
Yes, you can use similar methods to compress videos on your iPhone. There are apps and online platforms available that can help you reduce video file sizes.
4. Is it safe to use online platforms for compressing photos?
While many online platforms are safe, always ensure that the website is secure (look for HTTPS and a padlock icon in the address bar) and read their privacy policy.
5. How do I compress multiple photos at once?
Using third-party apps or online platforms usually allows you to compress multiple photos at once. Simply select all the photos you want to compress and follow the provided steps.
6. What happens to my original photo after compression?
If you’re using an app or online platform, the original photo is typically left unchanged and a new compressed version is created. Always check and make sure you have the original if needed.
7. Can I compress photos directly in the Photos app?
The iPhone doesn’t compress photos directly in the Photos app, but changing settings for transferring to Mac or PC will automatically compress photos during the transfer.
8. Is there a way to automatically compress all new photos?
There isn’t a built-in feature to automatically compress all new photos on iPhone, but some third-party apps might offer automation or batch processing for easier management.
9. What is the best format for compressed photos?
JPEG is commonly used for compressed photos due to its balance of quality and file size. Most compression tools and apps will use JPEG format.
10. Can I undo the compression if I’m not happy with the result?
You cannot undo the compression. That’s why it’s recommended to keep the original photo, especially if the image quality is important to you.