
Welcome to the jungle of digital file sizes, where we monkeys are always busy peeling and squashing! If you’re going bananas over large video files, don’t fret! This guide will teach you how to use FFmpeg, a mighty tool in the tech wilderness, to compress those chunky videos. It’s perfect for all the curious monkeys out there who haven’t ventured into the world of video compression yet. Let’s not monkey around anymore – it’s time to zip those files down to size!
Table of contents
- Method 1: Install FFmpeg
- Method 2: Compress a Video with FFmpeg
- Method 3: Customize Compression Using Bitrate
- Method 4: Customize Compression by Adjusting Resolution
- Method 5: Customize Compression by Modifying Audio Bitrate
How To Install FFmpeg
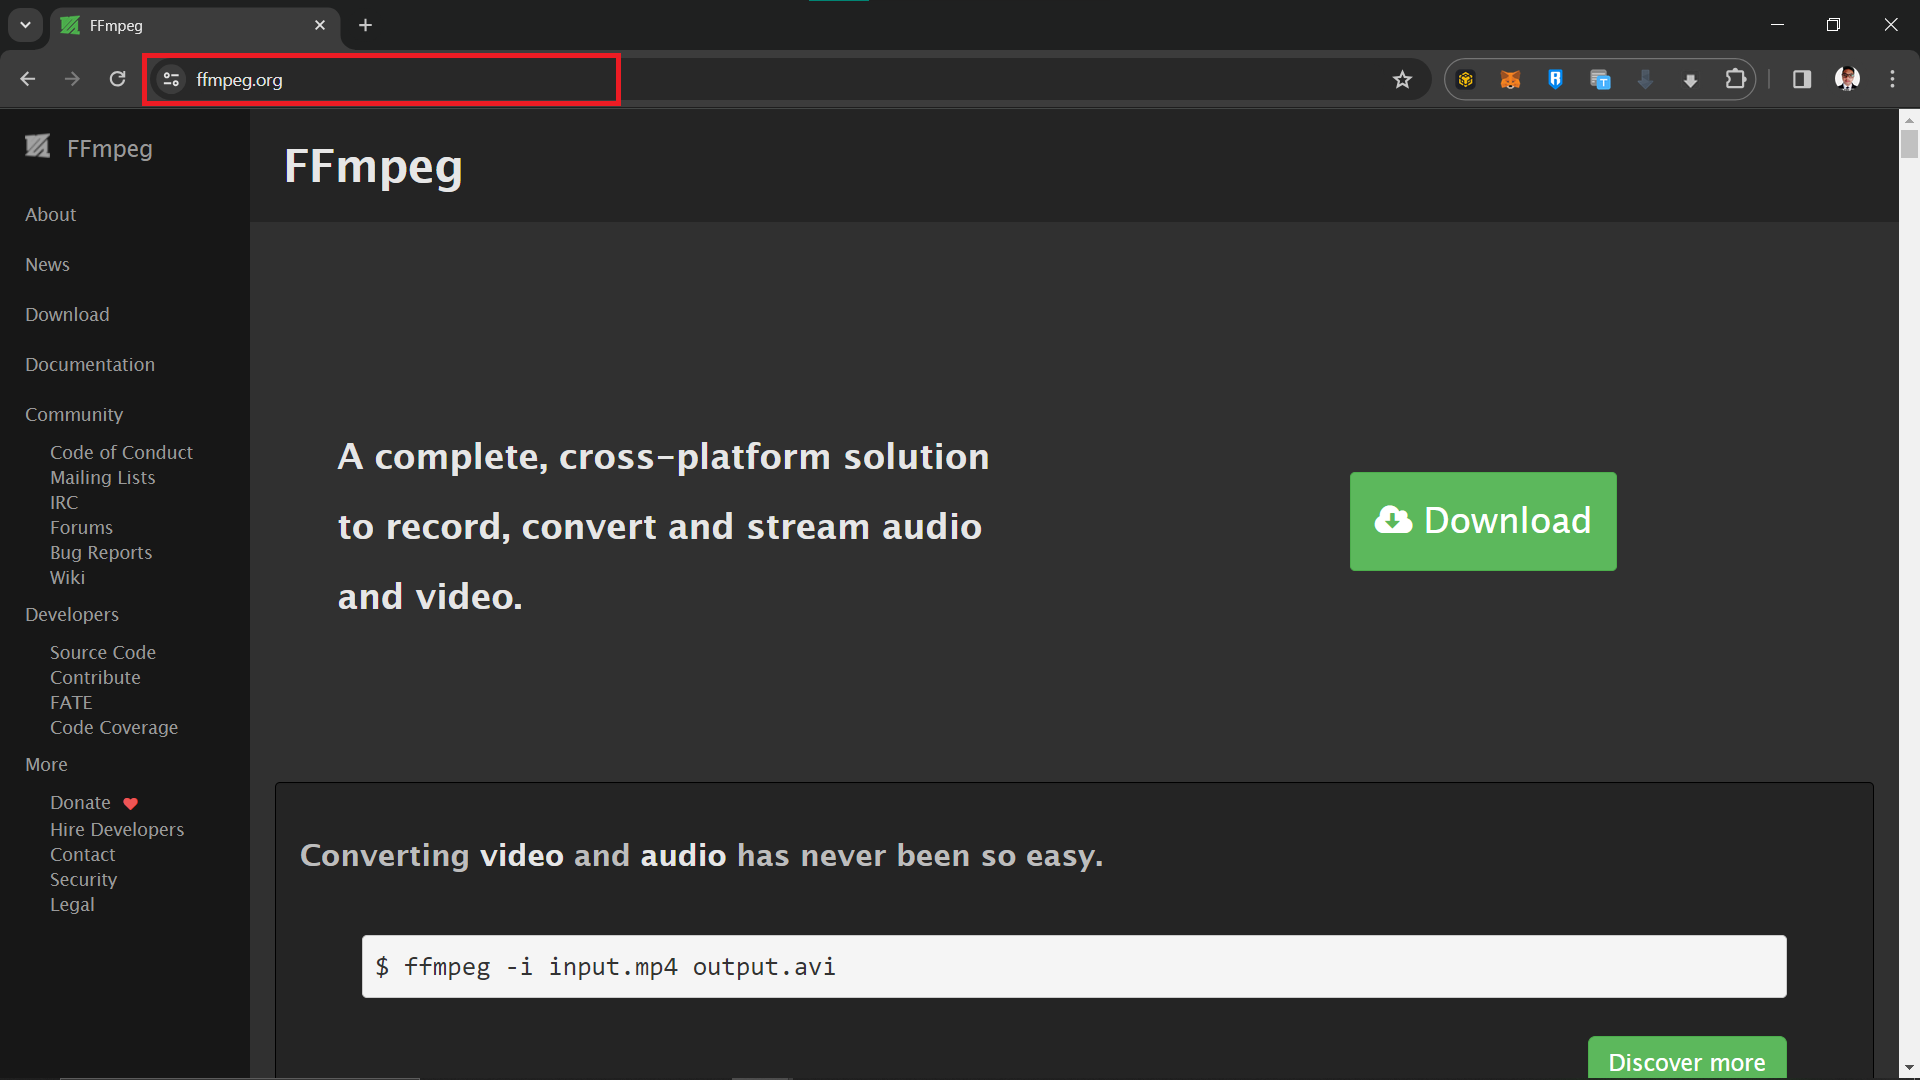
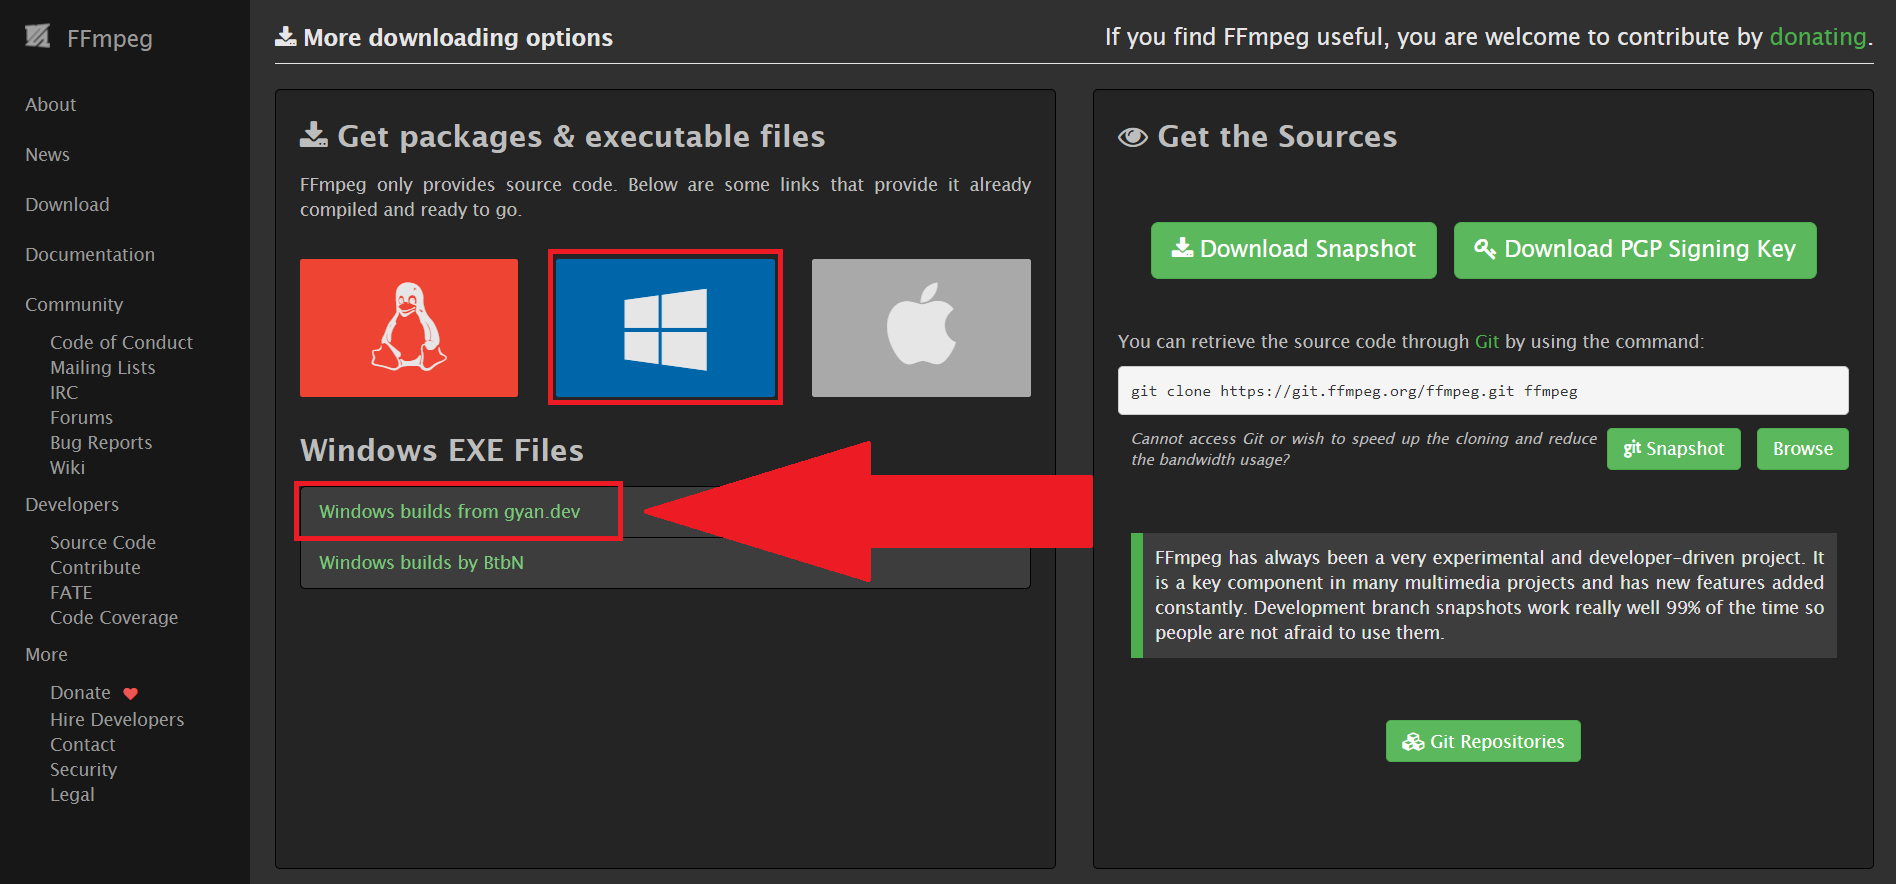
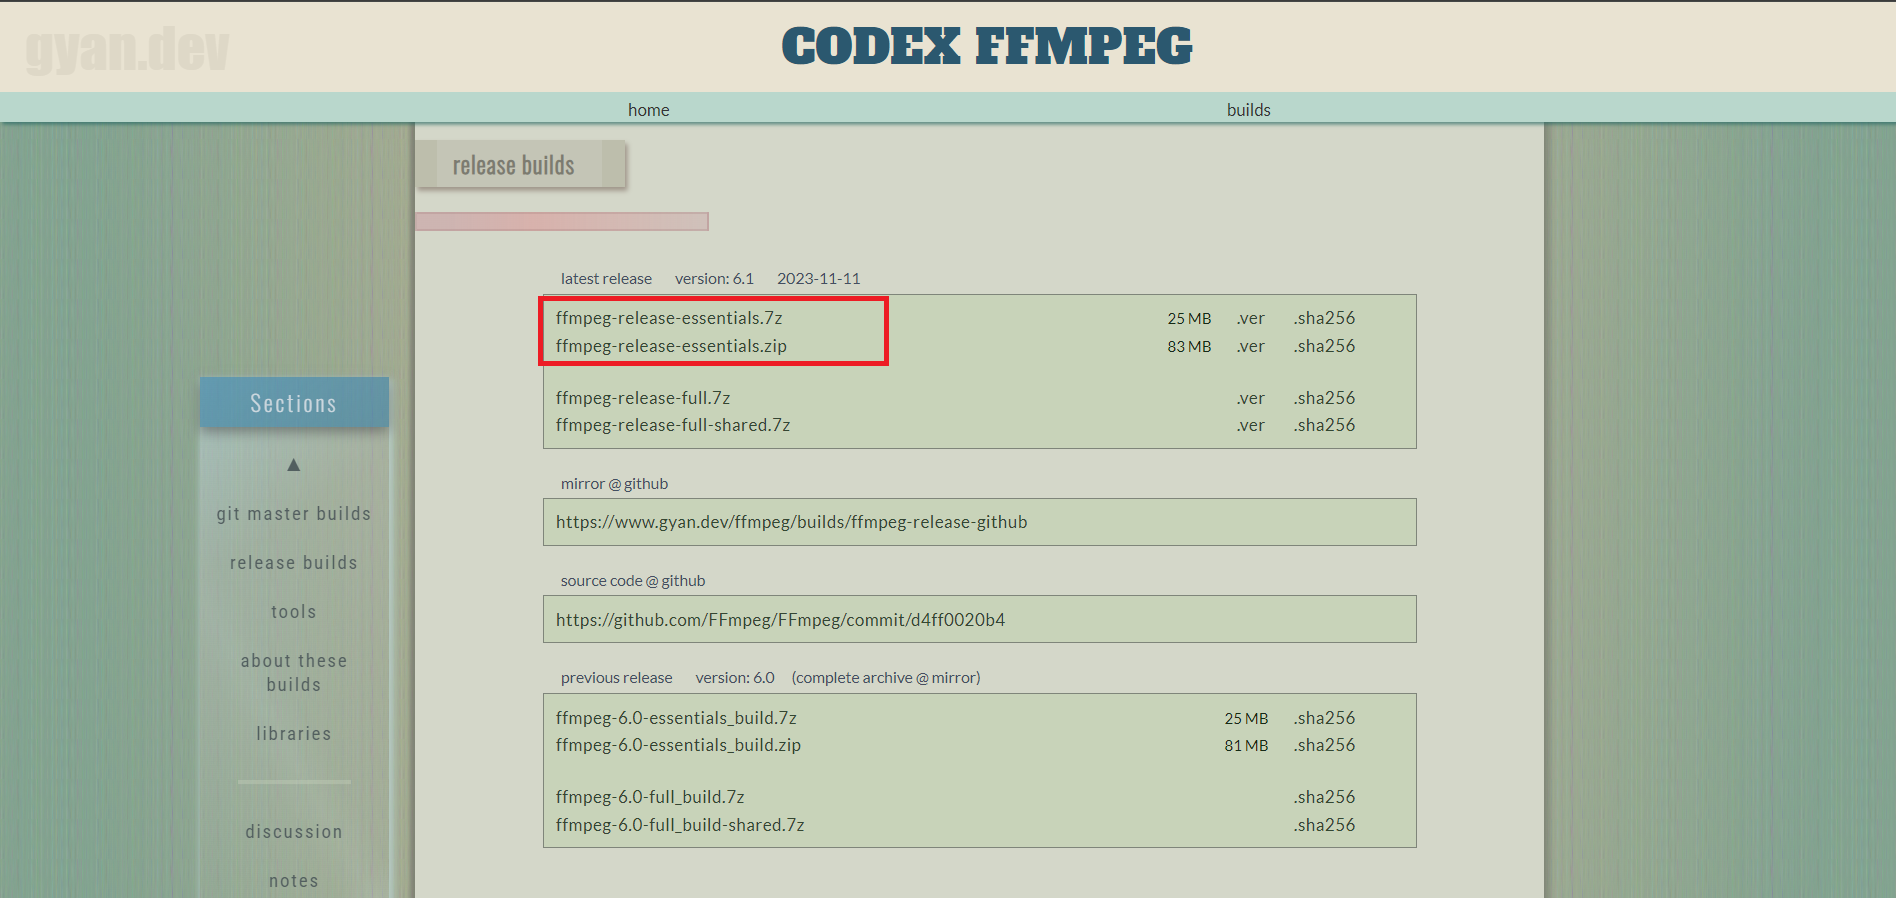
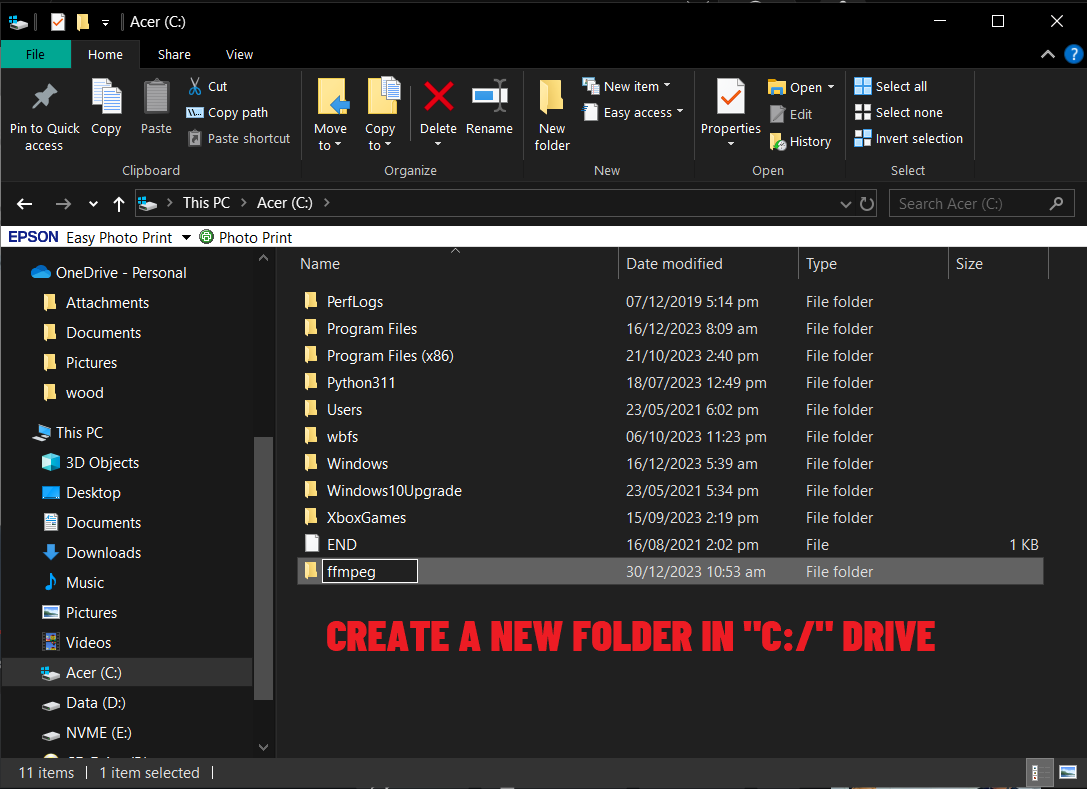
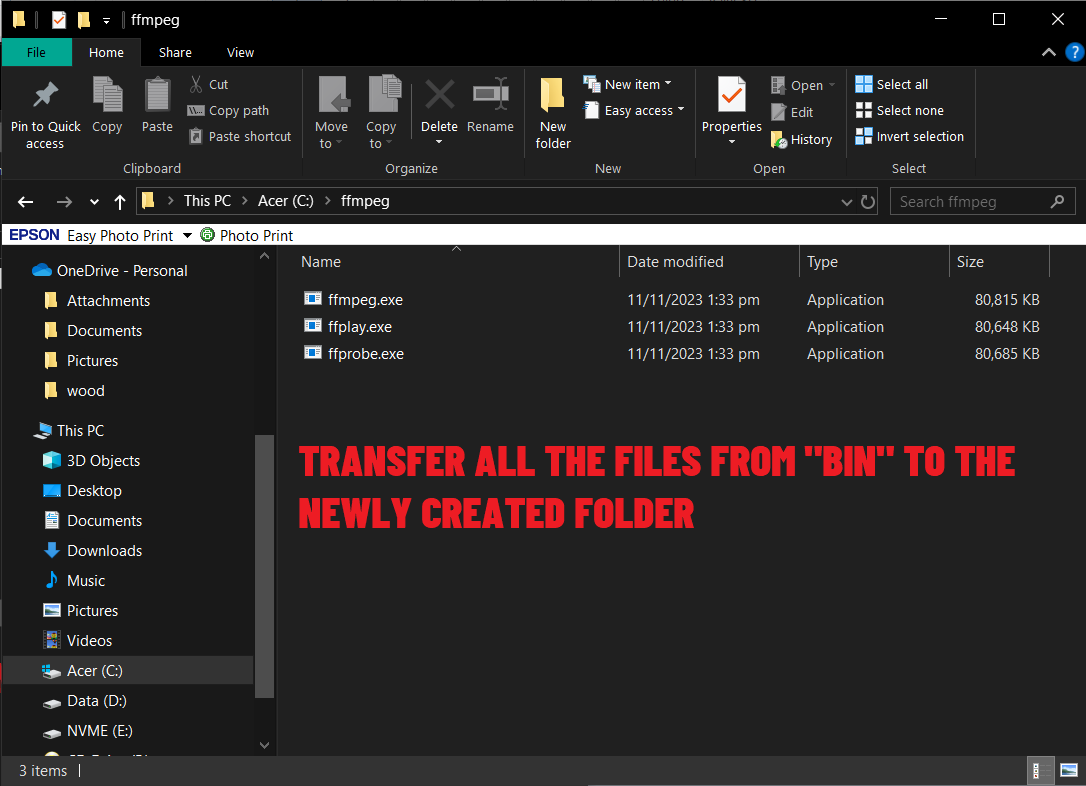
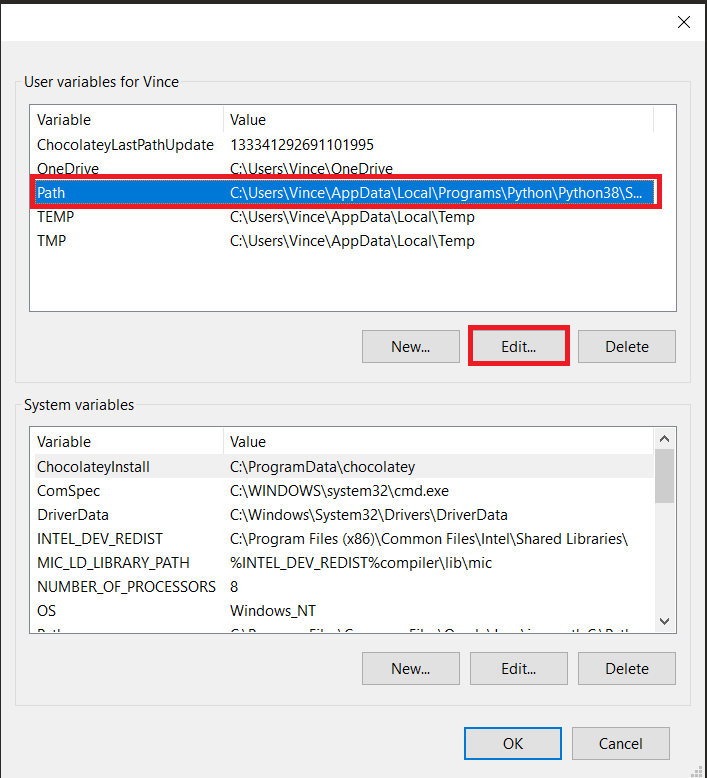
- Download FFmpeg: Visit the FFmpeg website and download the software for your Windows/Mac/LINUX. Here’s how to do it for Windows.
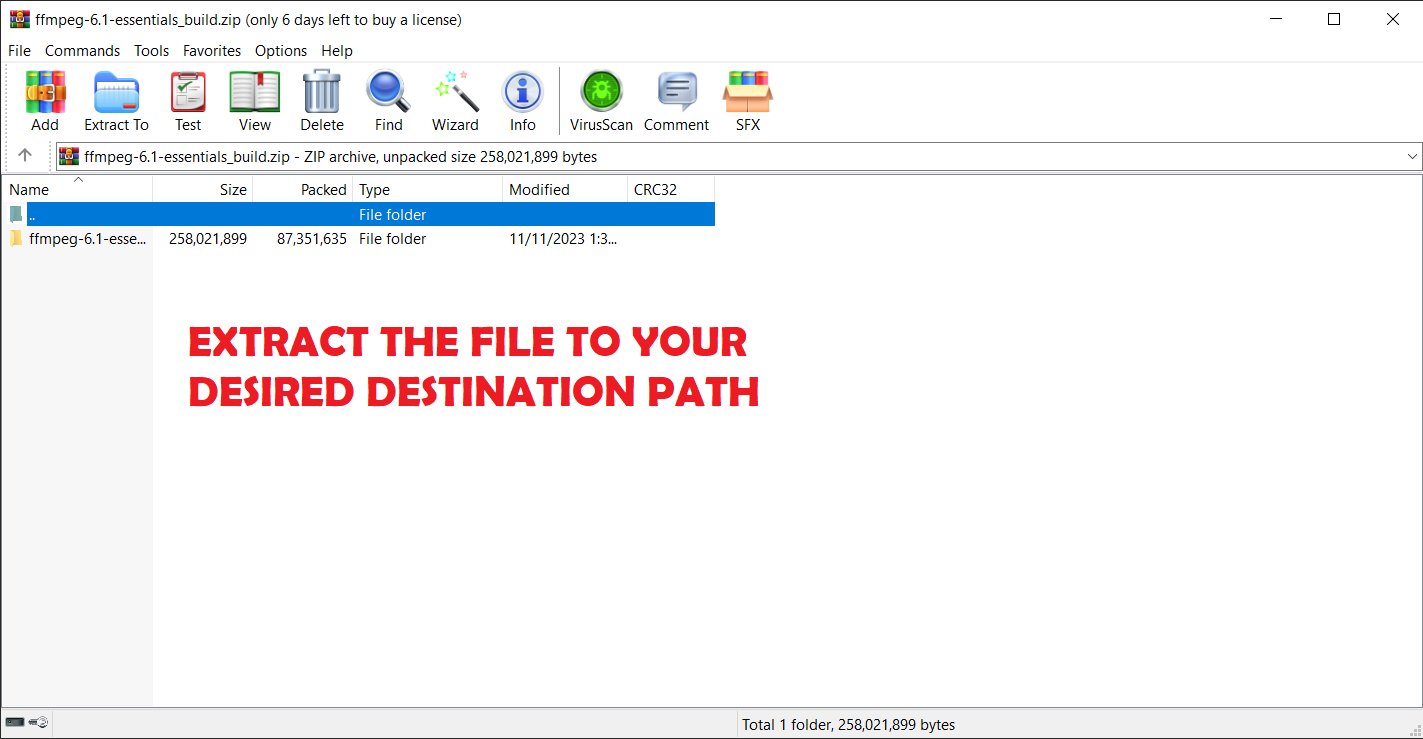
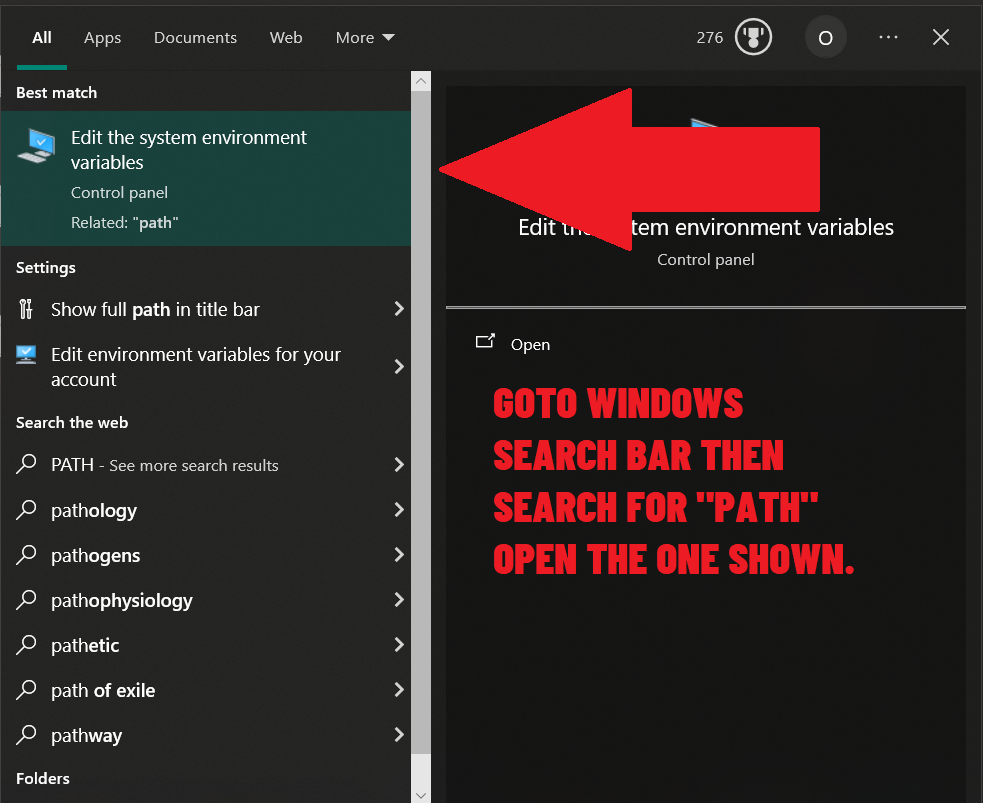
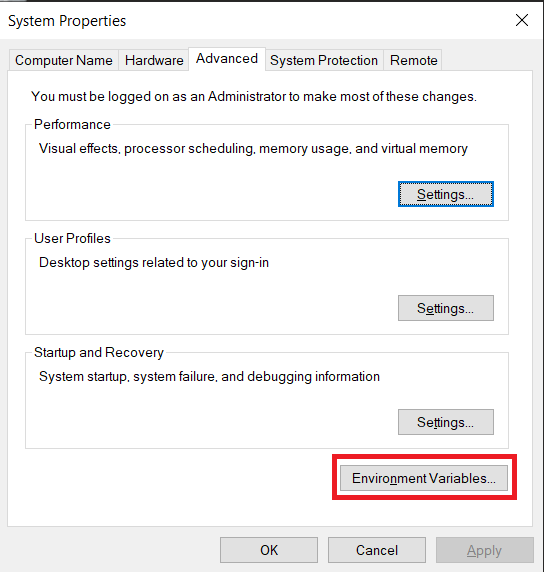
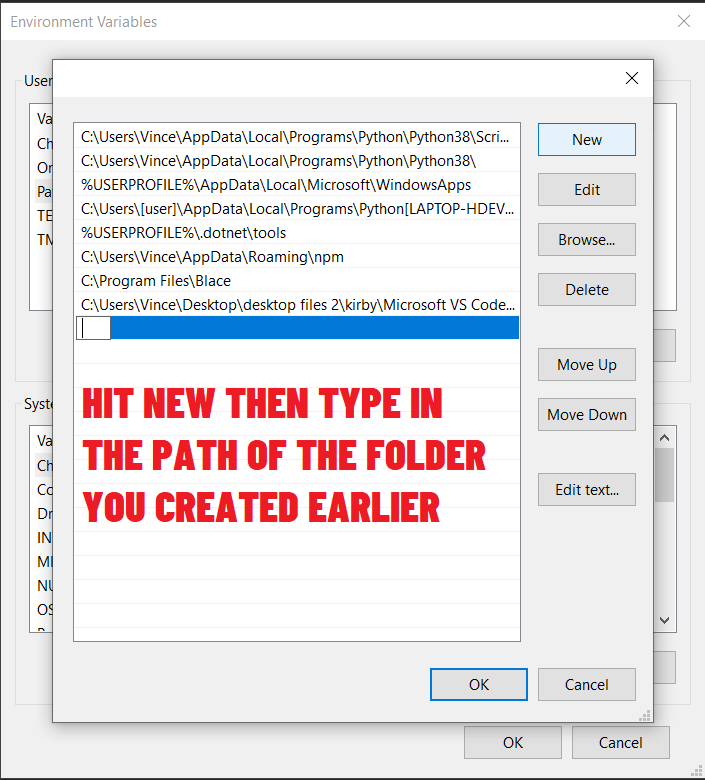
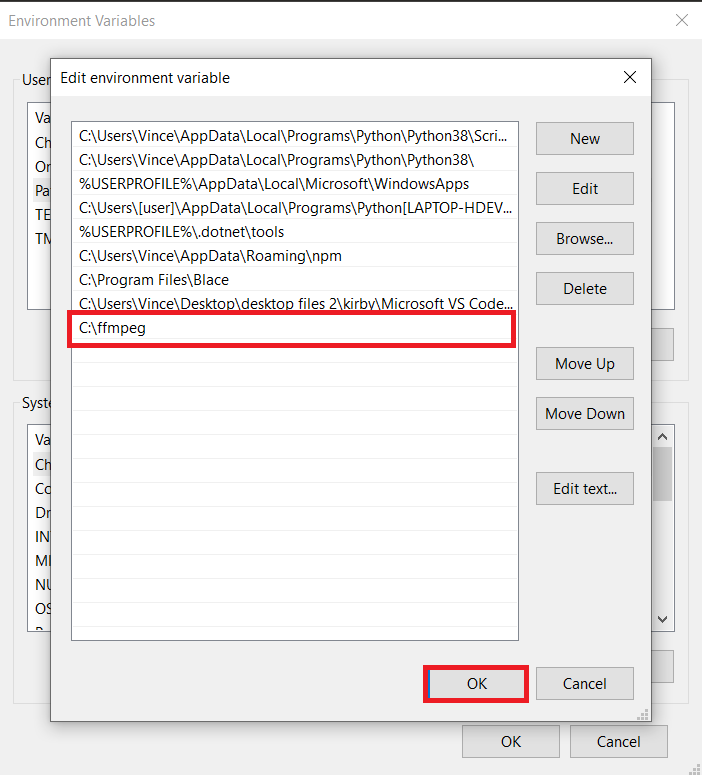
- Installation Procedure: Follow the simple installation instructions.

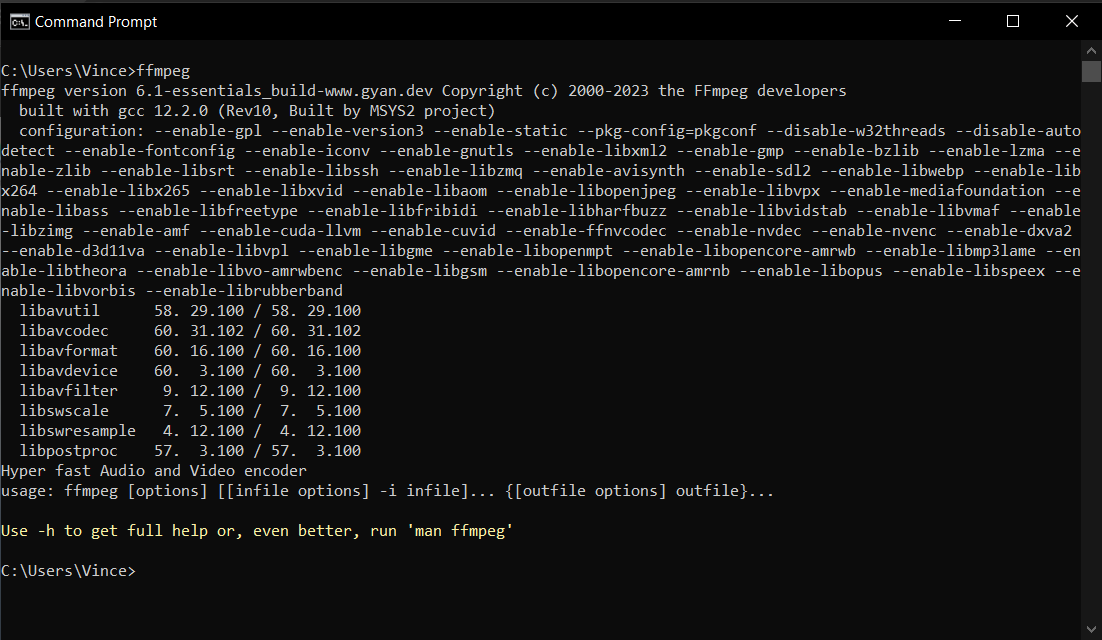
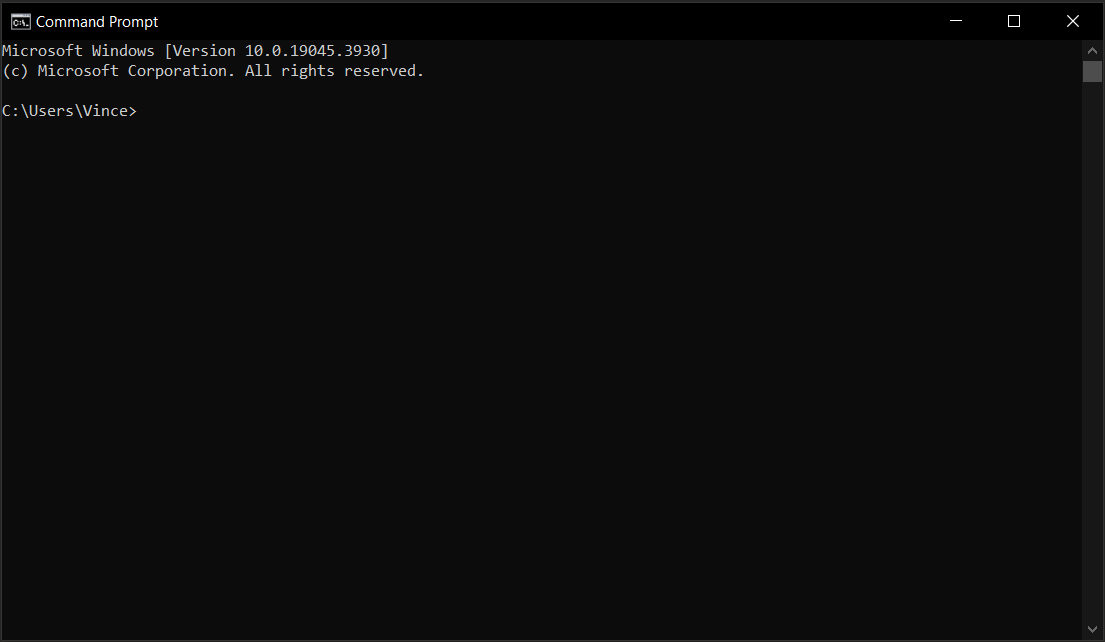
- Check Installation: Open command prompt and type in “ffmpeg”. If you see similar output in the image below, It means you have successfully installed ffmpeg to your computer. Congratulations!
How To Compress a Video with FFmpeg
Once you have FFmpeg installed, it’s time to squash those video files!
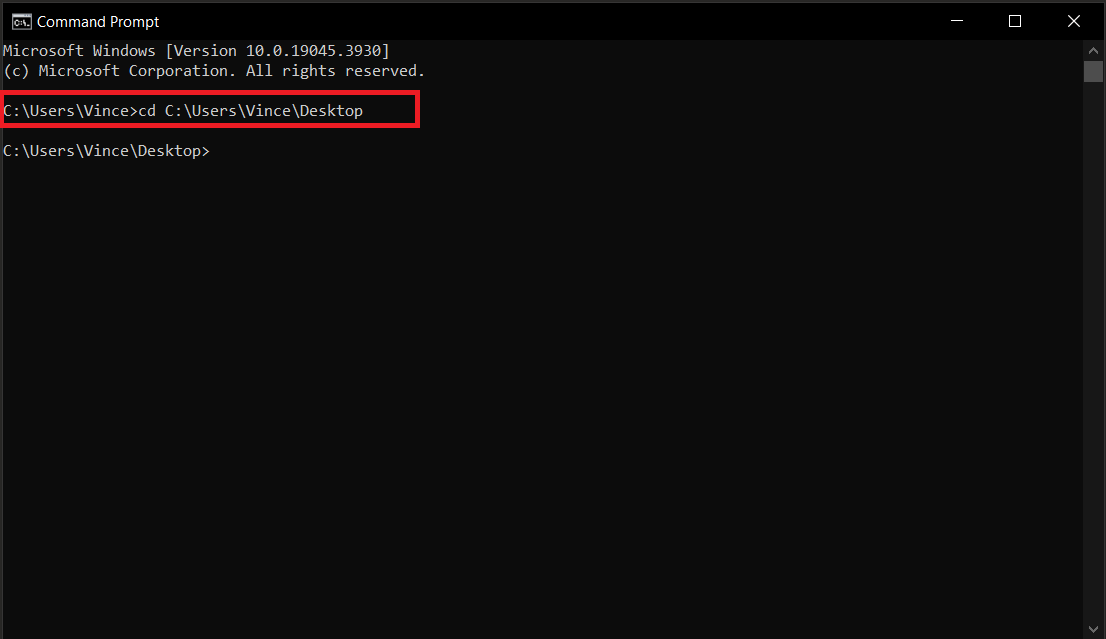
- Open Terminal or Command Prompt: This is like the jungle gym where all the command line magic happens.
- Navigate to Your Video: Use the cd command to swing to the directory where your video is. For example: cd Downloads.
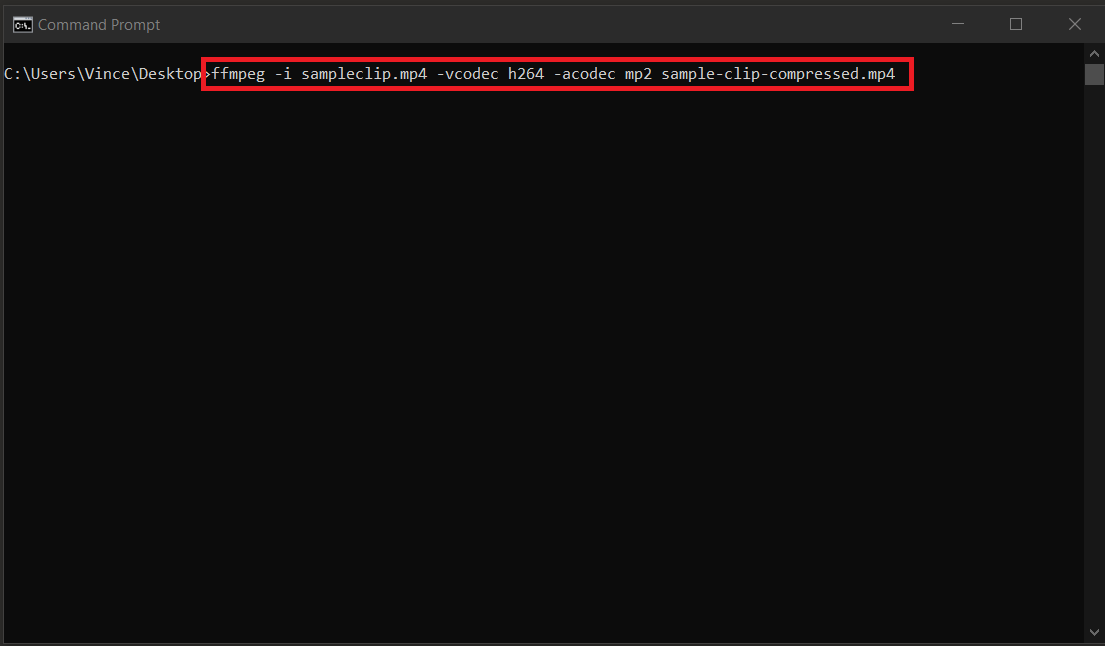
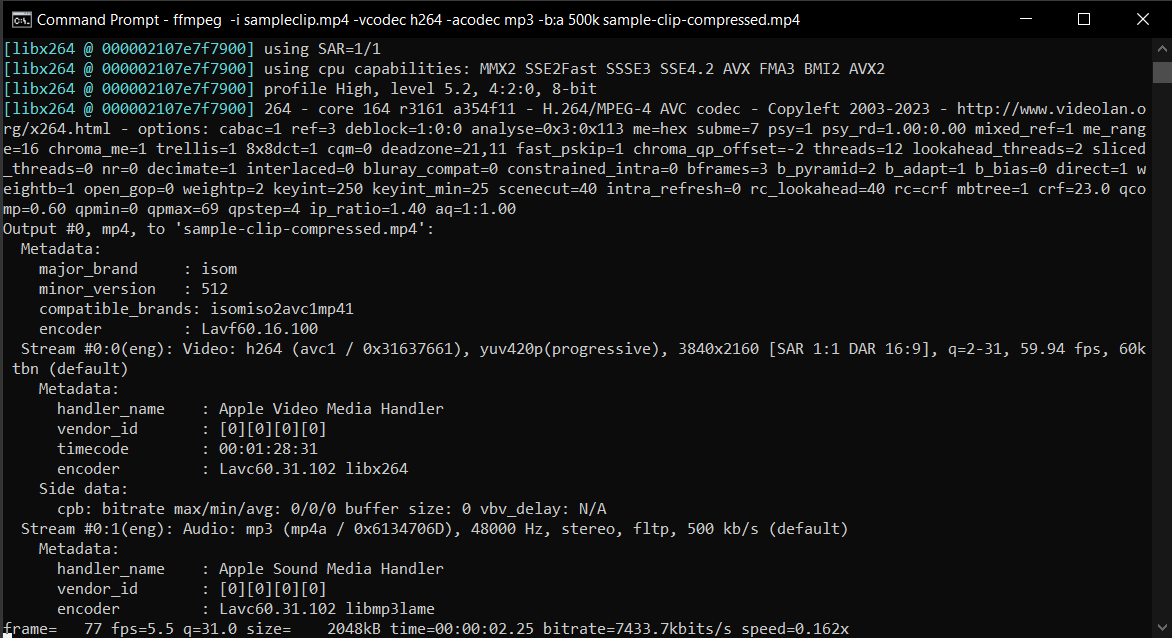
- Run the Compression Command: Here’s where the fun begins. Use this simple spell: ffmpeg -i input.mp4 -vcodec h264 -acodec mp2 output.mp4. Replace input.mp4 with your video’s name and output.mp4 with what you want the compressed file to be called.
ffmpeg -i input.mp4 -vcodec h264 -acodec mp2 output.mp4Here’s a breakdown of what each part of the command means:
- ffmpeg: This is the command to invoke FFmpeg.
- -i input.mp4: This specifies the input file, in this case, input.mp4.
- -vcodec h264: This part of the command sets the video codec for the output file. h264 is a popular video compression standard, known for its high compression efficiency and good video quality.
- -acodec mp2: This specifies the audio codec for the output file. mp2 stands for MPEG-1 Audio Layer II, which is a standard for the compression of audio signals. It’s an older audio format that predates more modern codecs like AAC and MP3 but is still used in some contexts for its compatibility and decent sound quality.
- output.mp4: This is the name of the output file, which in this case will be encoded with the H.264 video codec and MP2 audio codec.
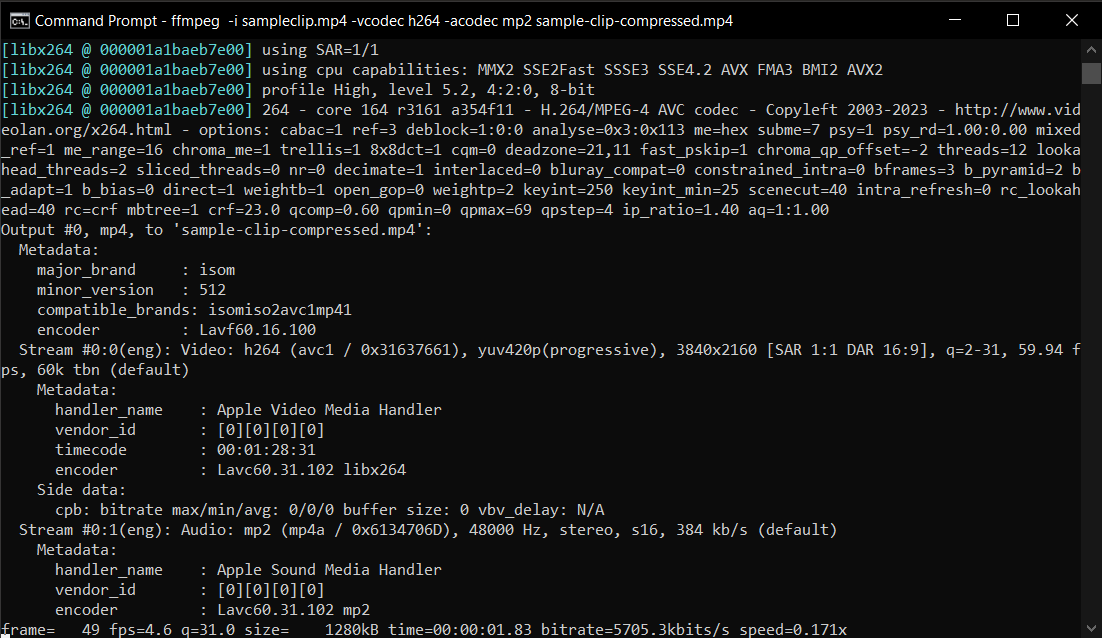
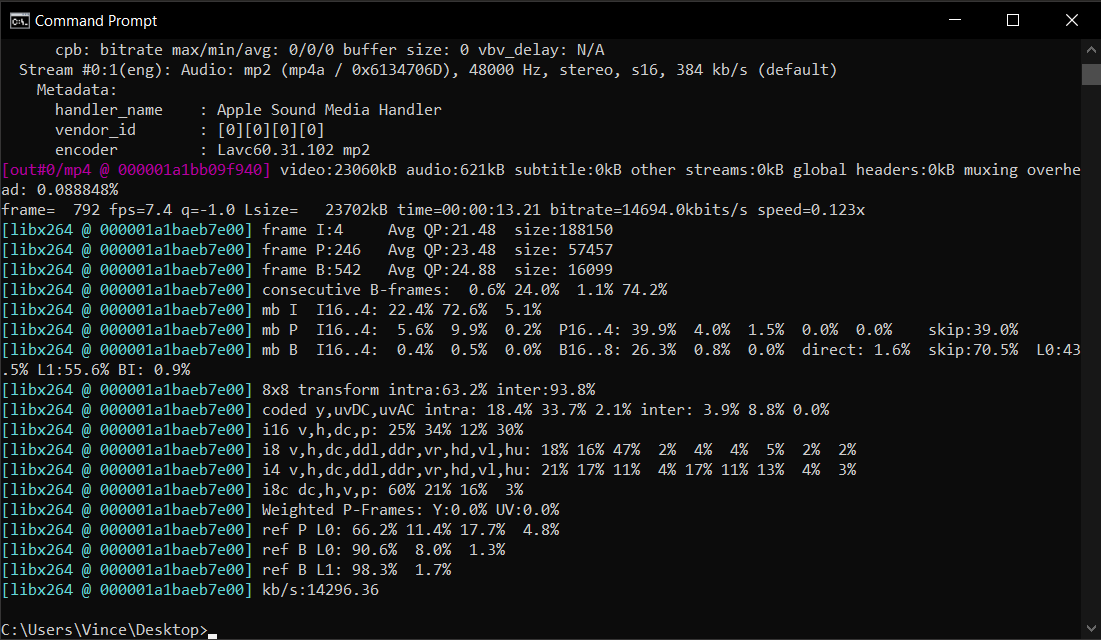
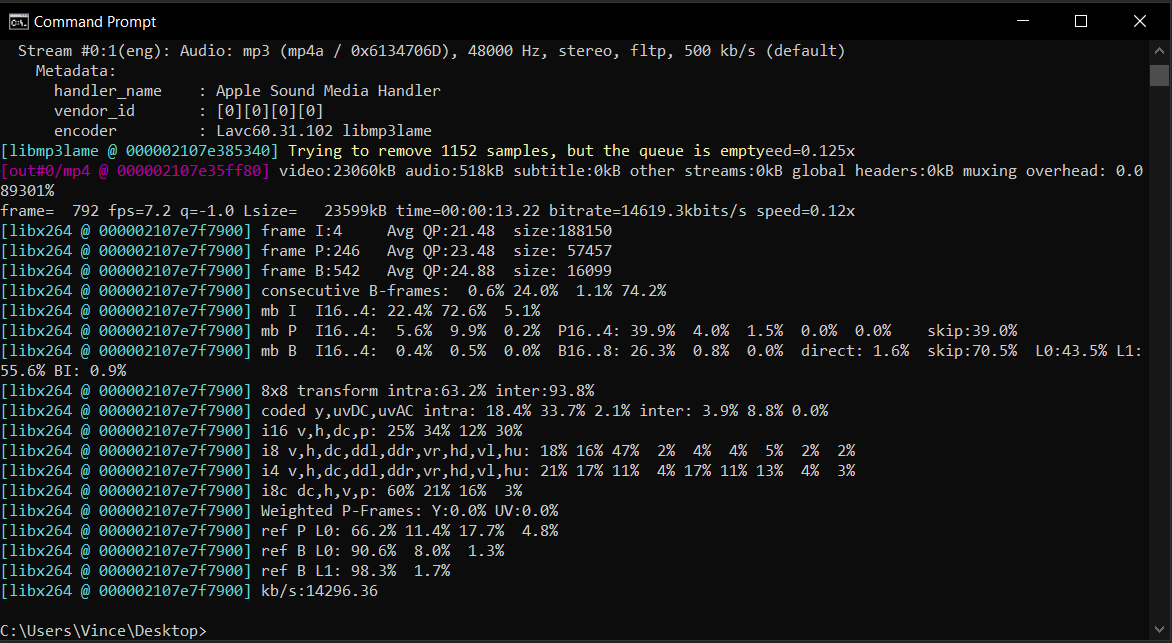
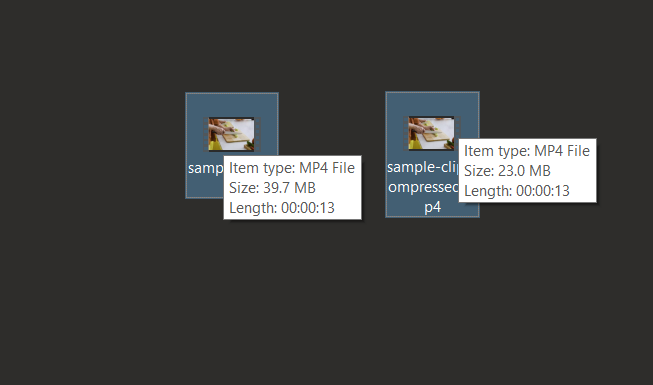
- Wait for the Magic: Watch as FFmpeg performs its voodoo – compressing your video! This might take a bit, like waiting for bananas to ripen.

How To Customize Compression Using Bitrate
Tweak the video quality and size by adjusting the bitrate, a real monkey’s wrench in your toolbox!
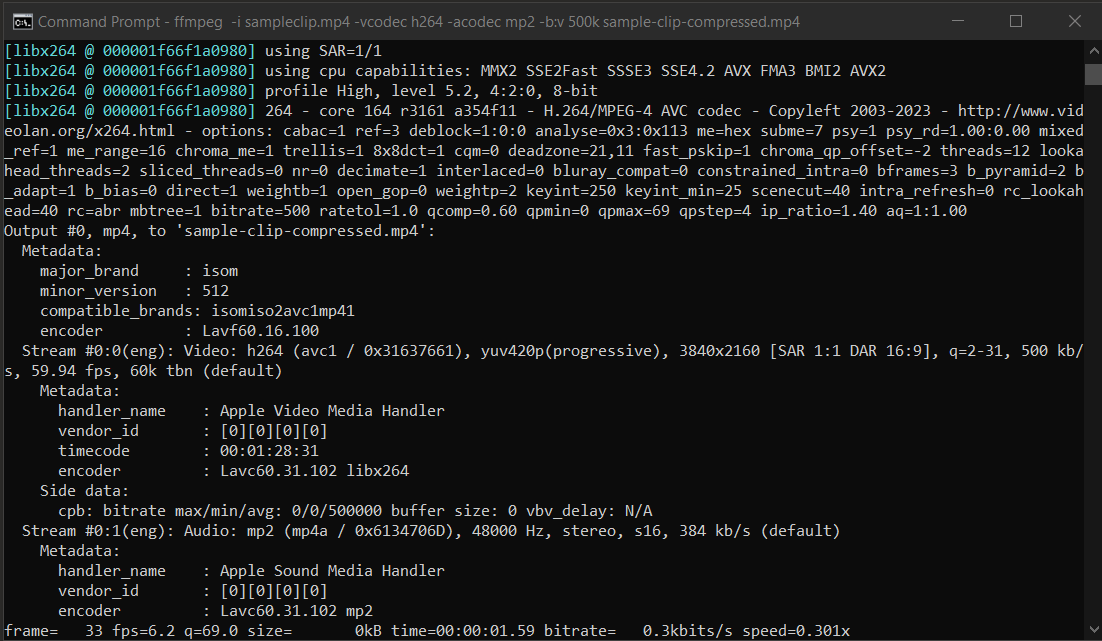
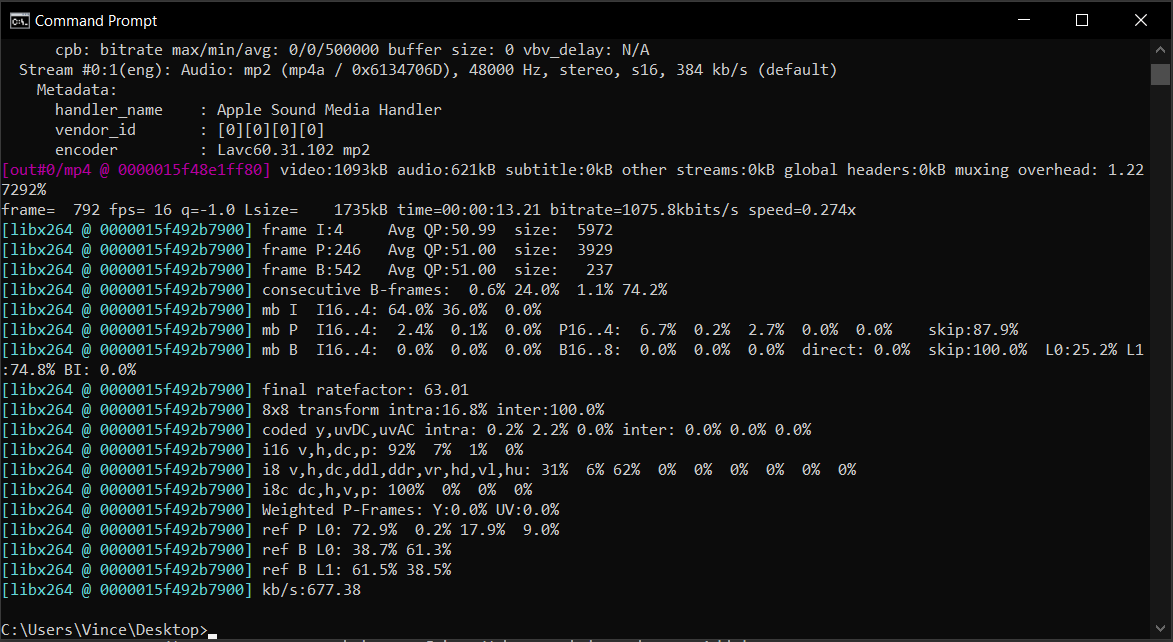
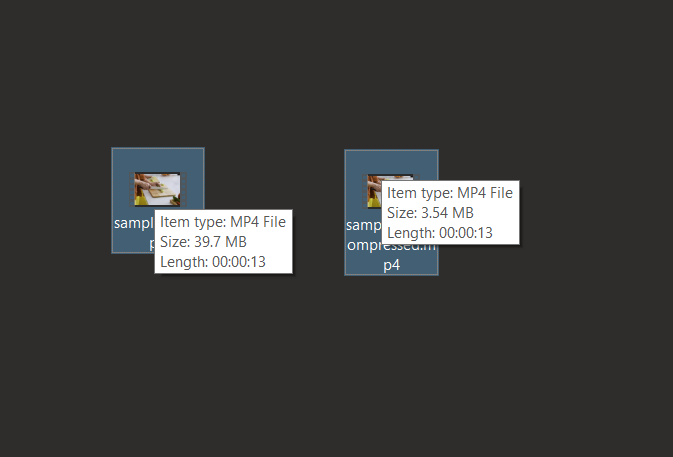
- Choose a Bitrate: Use the -b:v option to set a video bitrate (like 500k for 500 kbps). Lower bitrates mean smaller files but lower quality. It’s all about finding the right balance between size and quality.
ffmpeg -i input.mp4 -vcodec h264 -acodec mp2 -b:v 500k output.mp4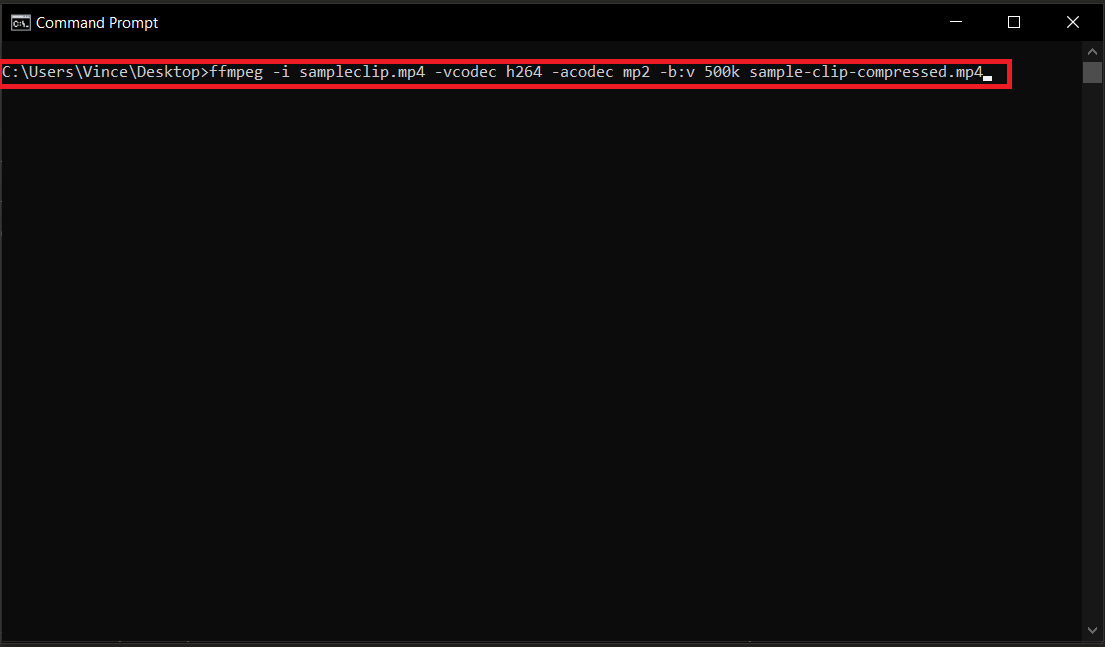
How To Customize Compression by Adjusting Resolution
Sometimes you need to trim the tree to fit your jungle. Let’s adjust the video resolution!
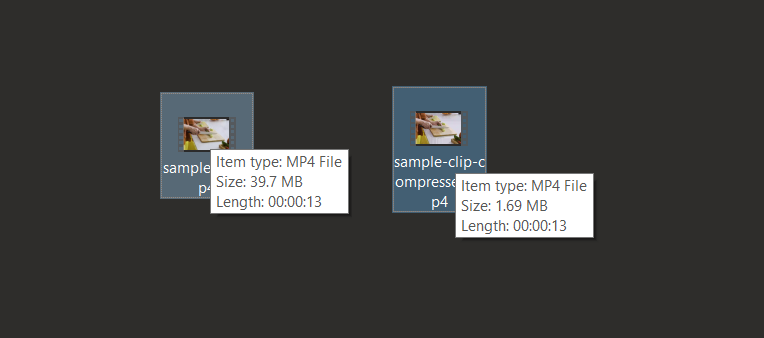
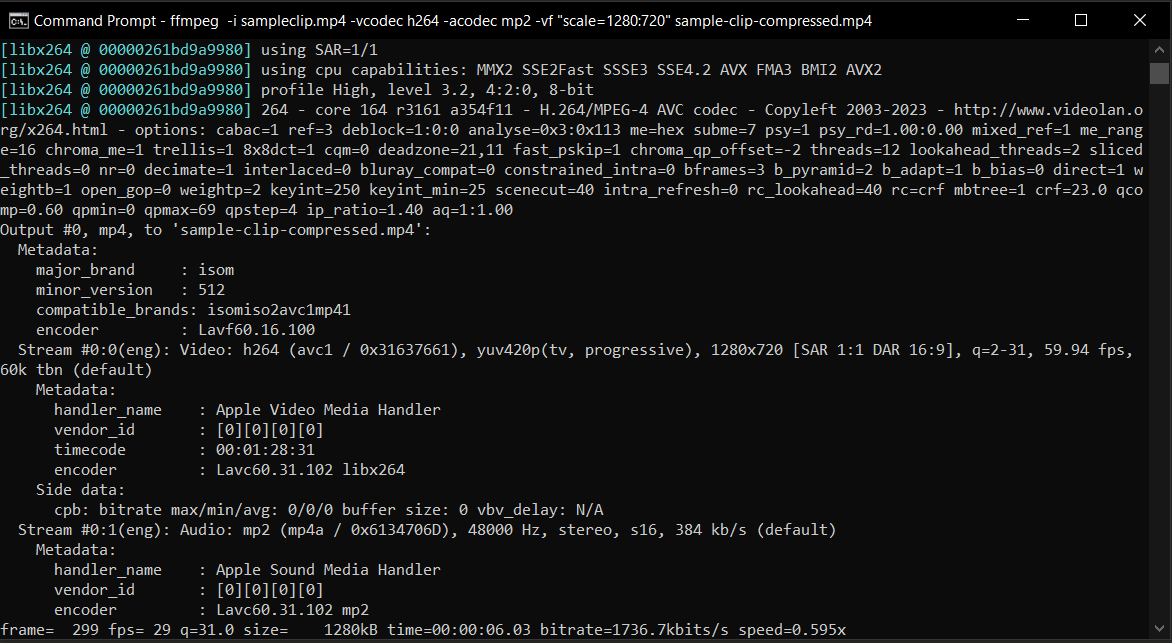
- Scale the Resolution: Use -vf “scale=1280:720” to change the resolution. This is like finding the right branch to swing from – not too high, not too low!
ffmpeg -i input.mp4 -vcodec h264 -acodec mp2 -vf "scale=1280:720 output.mp4

How To Customize Compression by Modifying Audio Bitrate
Let’s not forget the rhythm of the jungle – the audio! Fine-tune it to your liking.
- Adjust the Audio Bitrate: With -b:a, you can set the audio bitrate. This is like tuning your jungle drums to the perfect beat!
ffmpeg -i input.mp4 -vcodec h264 -acodec mp2 -b:a 500k output.mp4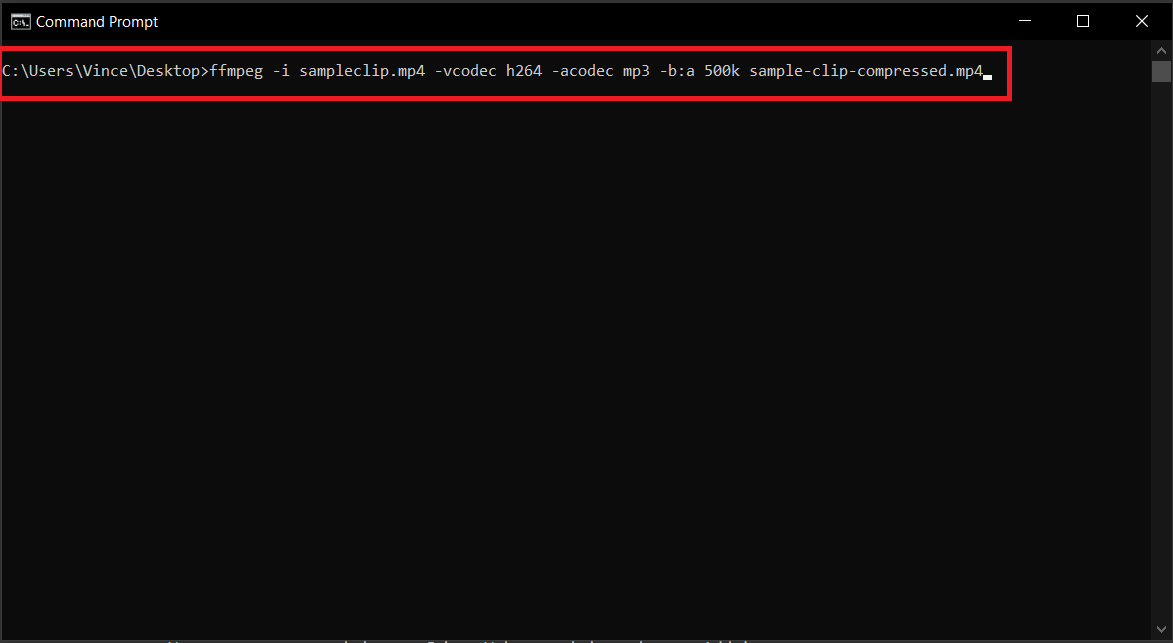
Conclusion
Now, you’re ready to swing through the digital jungle with your newly compressed videos. Remember, in the world of file sizes, being a bit smaller can mean a lot more room to play. Go ahead, compress those videos, and enjoy swinging from tree to tree with a lighter load!