
Hey there, jungle buddies! Ever felt like your Mac files are as unruly as a troop of monkeys? Well, it’s time to bring some order to the chaos! This guide will show you how to neatly pack those files into a 7z archive, as easily as a monkey packs bananas into its cheek pouches.
7z files are compressed archive files created with 7-Zip open-source software. These files use the 7z format, which supports various methods of data compression, encryption, and pre-processing. The 7z format is known for its high compression ratio, meaning it can create smaller archives than other standard formats like ZIP or RAR.
The 7z format also supports AES-256 encryption, large file sizes, Unicode file names, and solid compression. Solid compression groups similar files together before compression, which can result in higher compression ratios.
To open a 7z file, you need a file archiver program that supports the 7z format. Examples of such programs include 7-Zip (for Windows), Keka (for macOS), and p7zip (for Linux).
Table of contents
Video guide showing how to create 7z files in Mac.
How To Create 7z File Using Keka
Keka is a free file archiver for macOS. It’s as friendly as a fellow monkey and just as helpful! Here’s how to use it to create a 7z file.
-
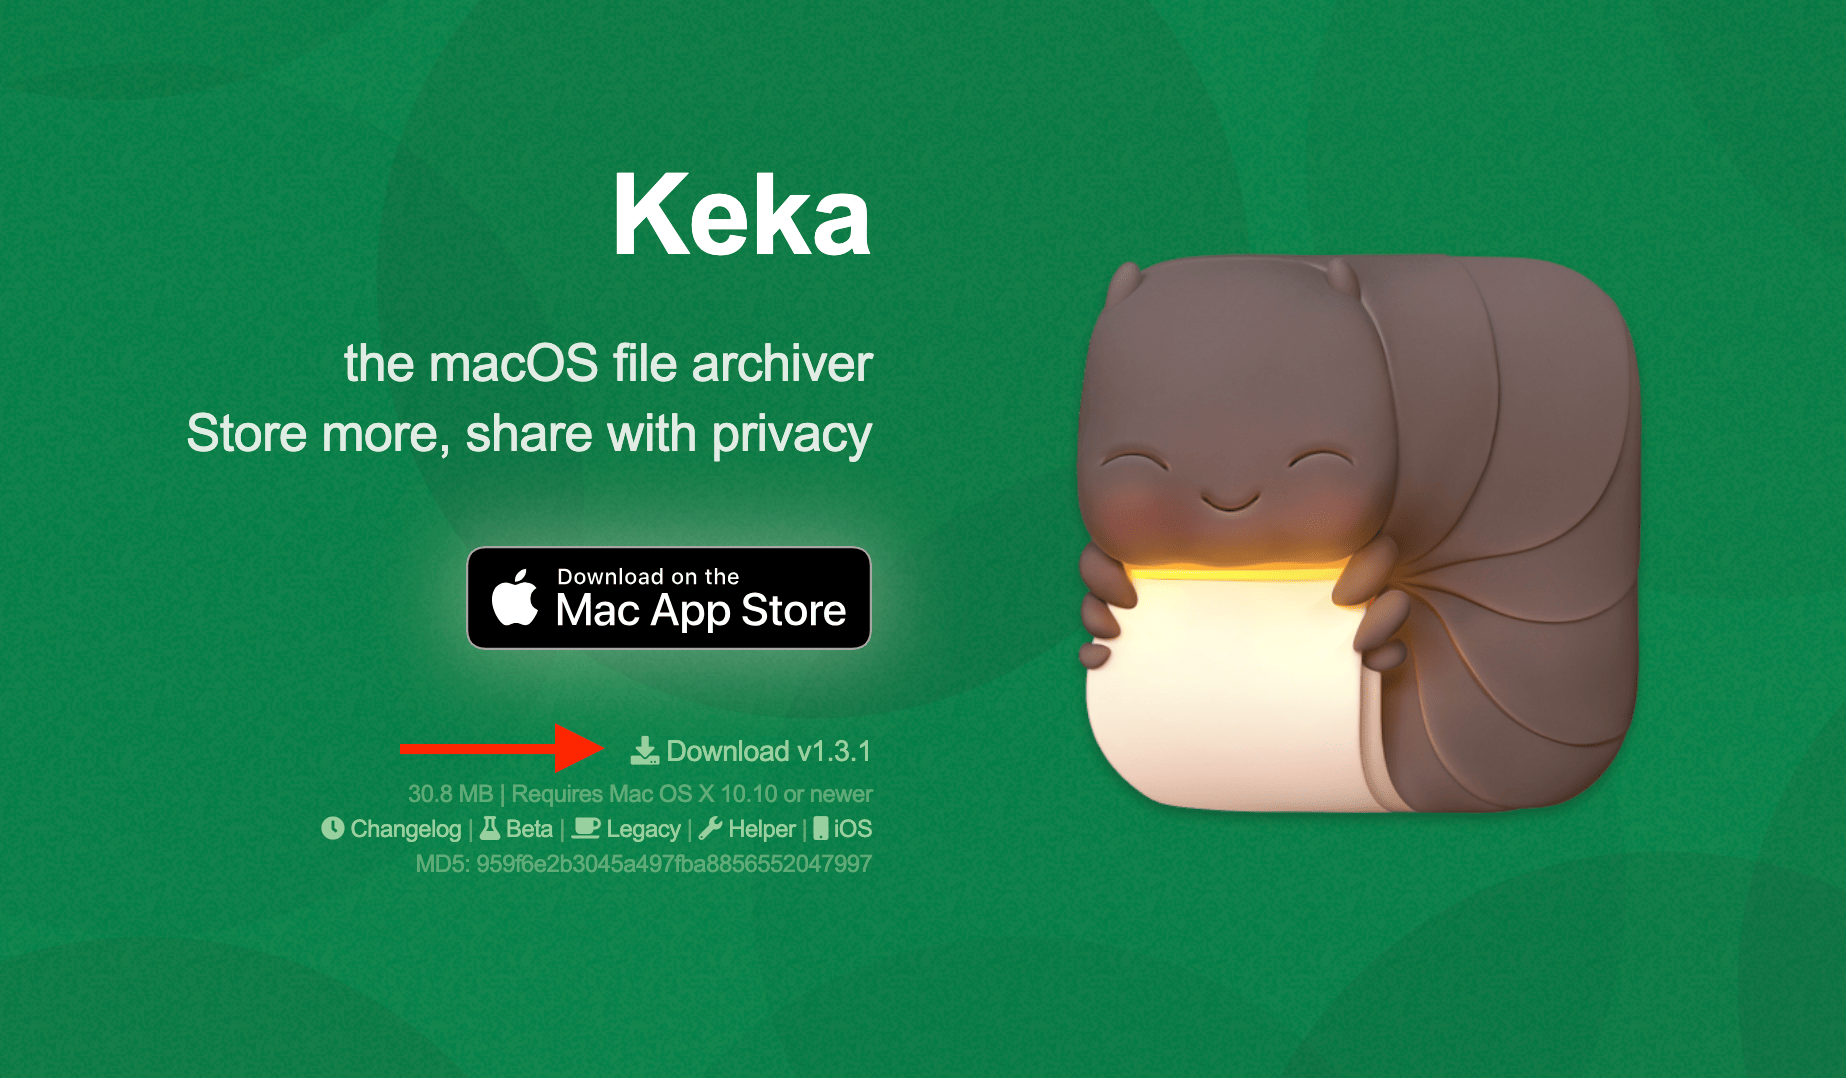
Download Keka: Swing over to the Keka website and download the app. It’s as easy as finding a banana in a fruit market!
-
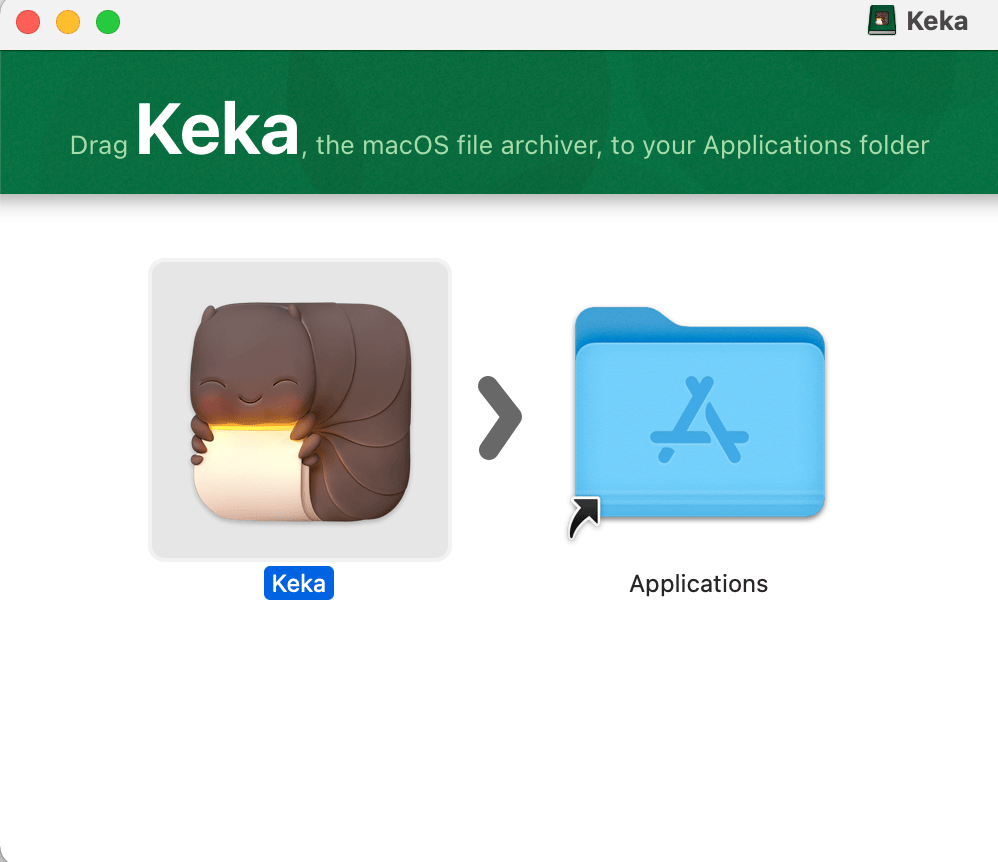
Install Keka: Once the download is complete, open the downloaded file and drag the Keka icon to your Applications folder. It’s like stashing a banana for later!
-
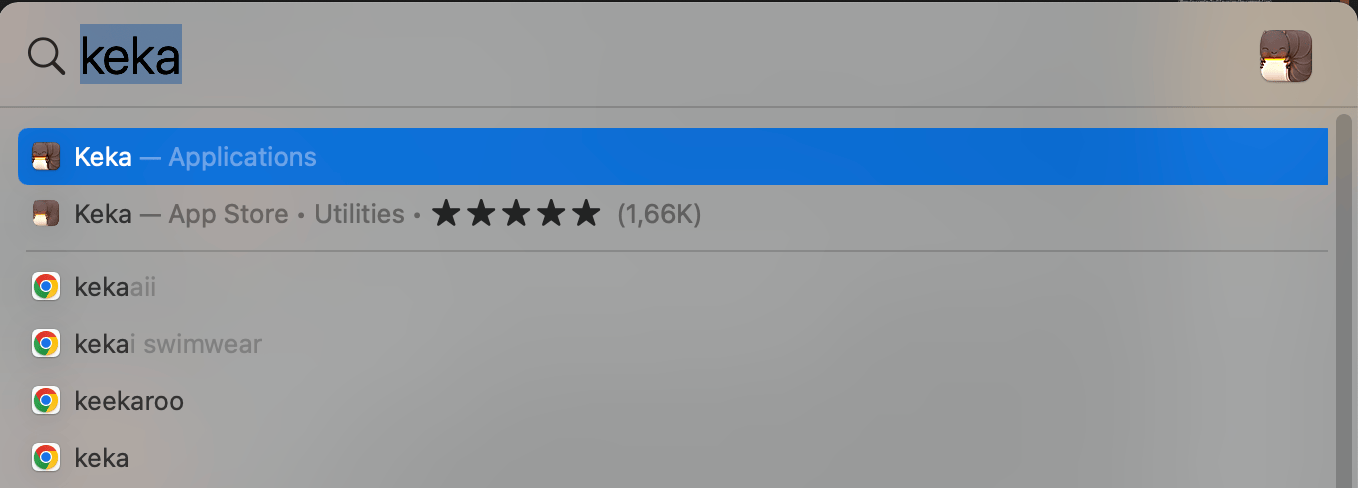
Open Keka: Find Keka in your Applications folder and open it. It’s like swinging into a new part of the jungle. Another way is to search in Spotlight for Keka like so.
-
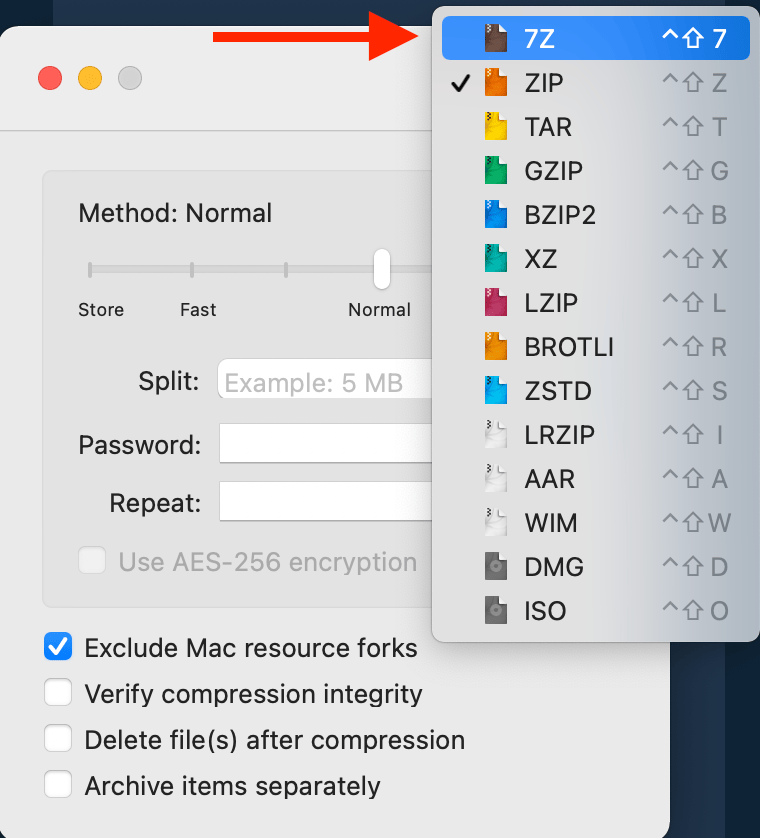
Choose 7z Format: In the Keka window, click on the ‘7z’ button. It’s like picking the tastiest banana from the bunch.
-
Drag and Drop Files: Find the files you want to compress and drag them into the Keka window. It’s like gathering bananas to take back to your tree.
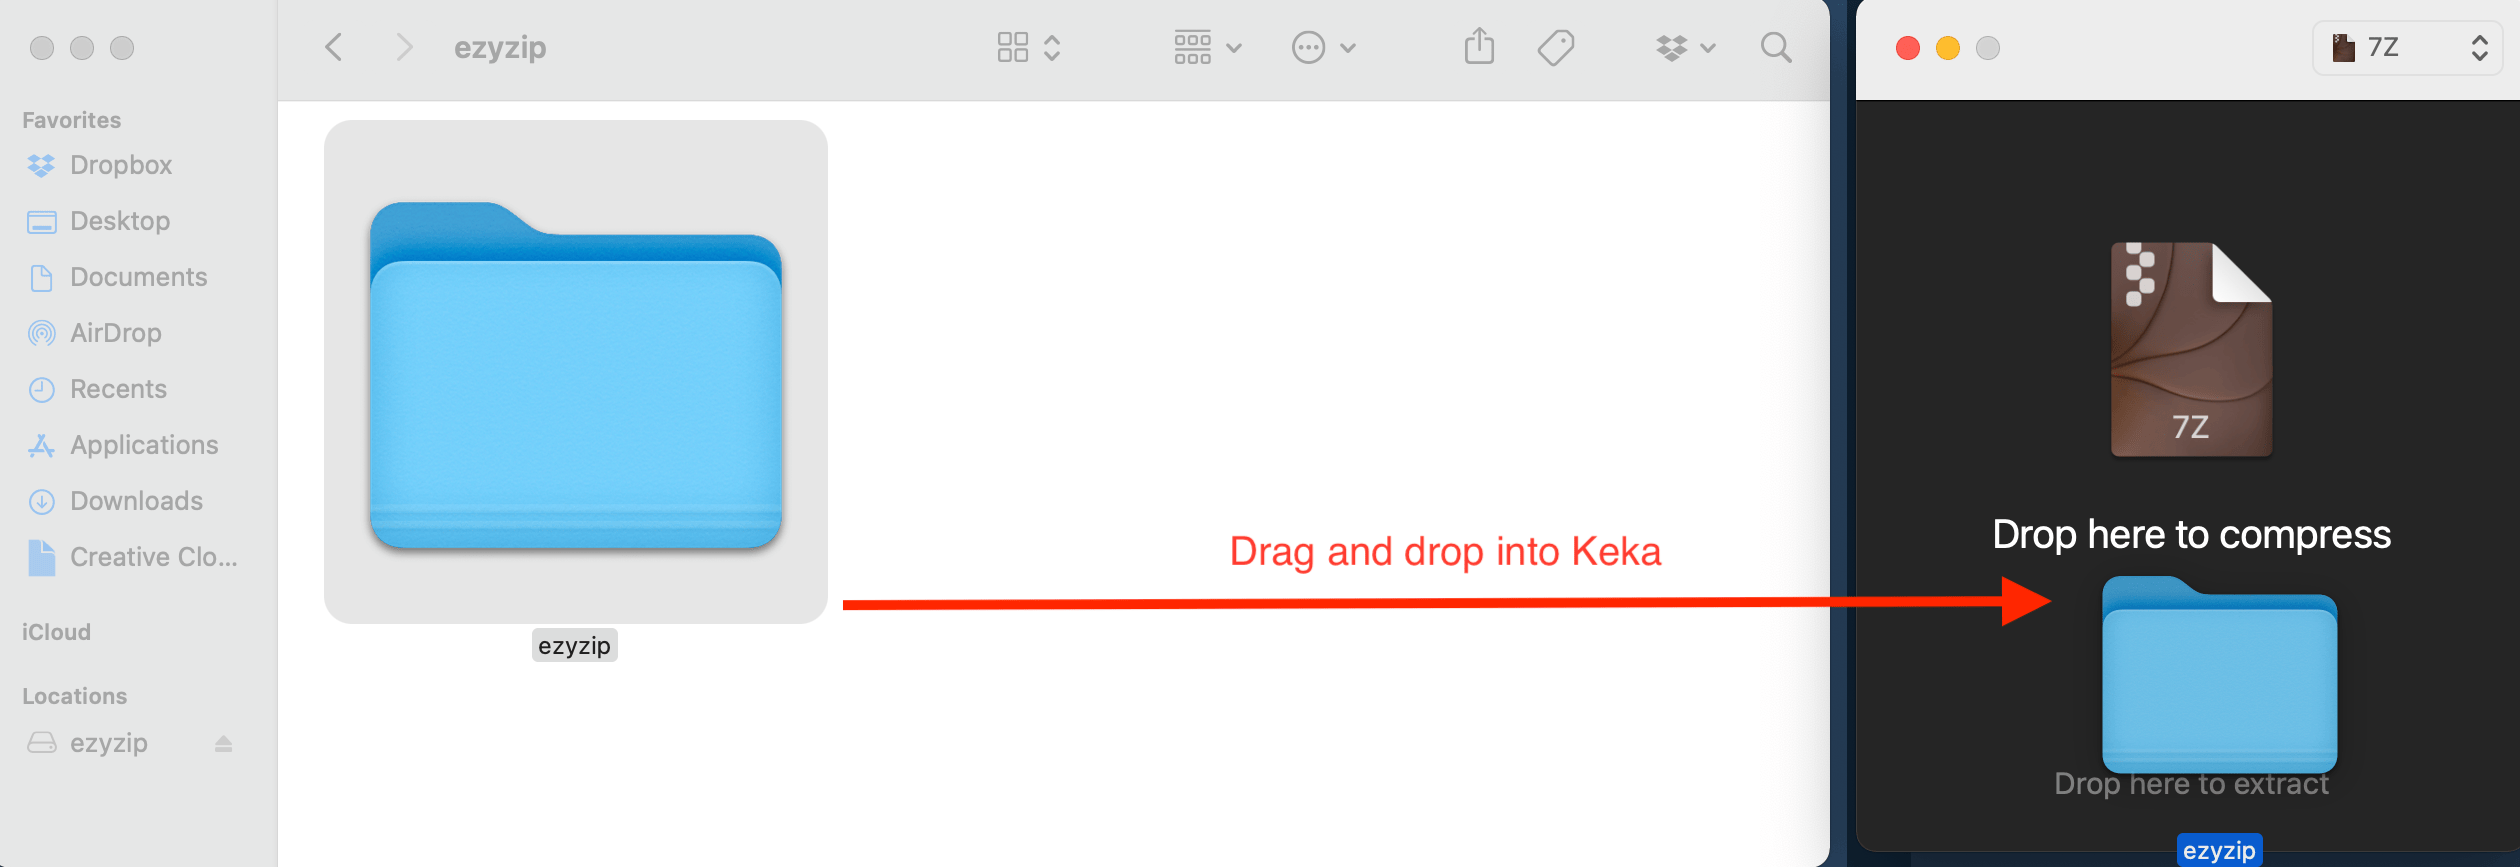
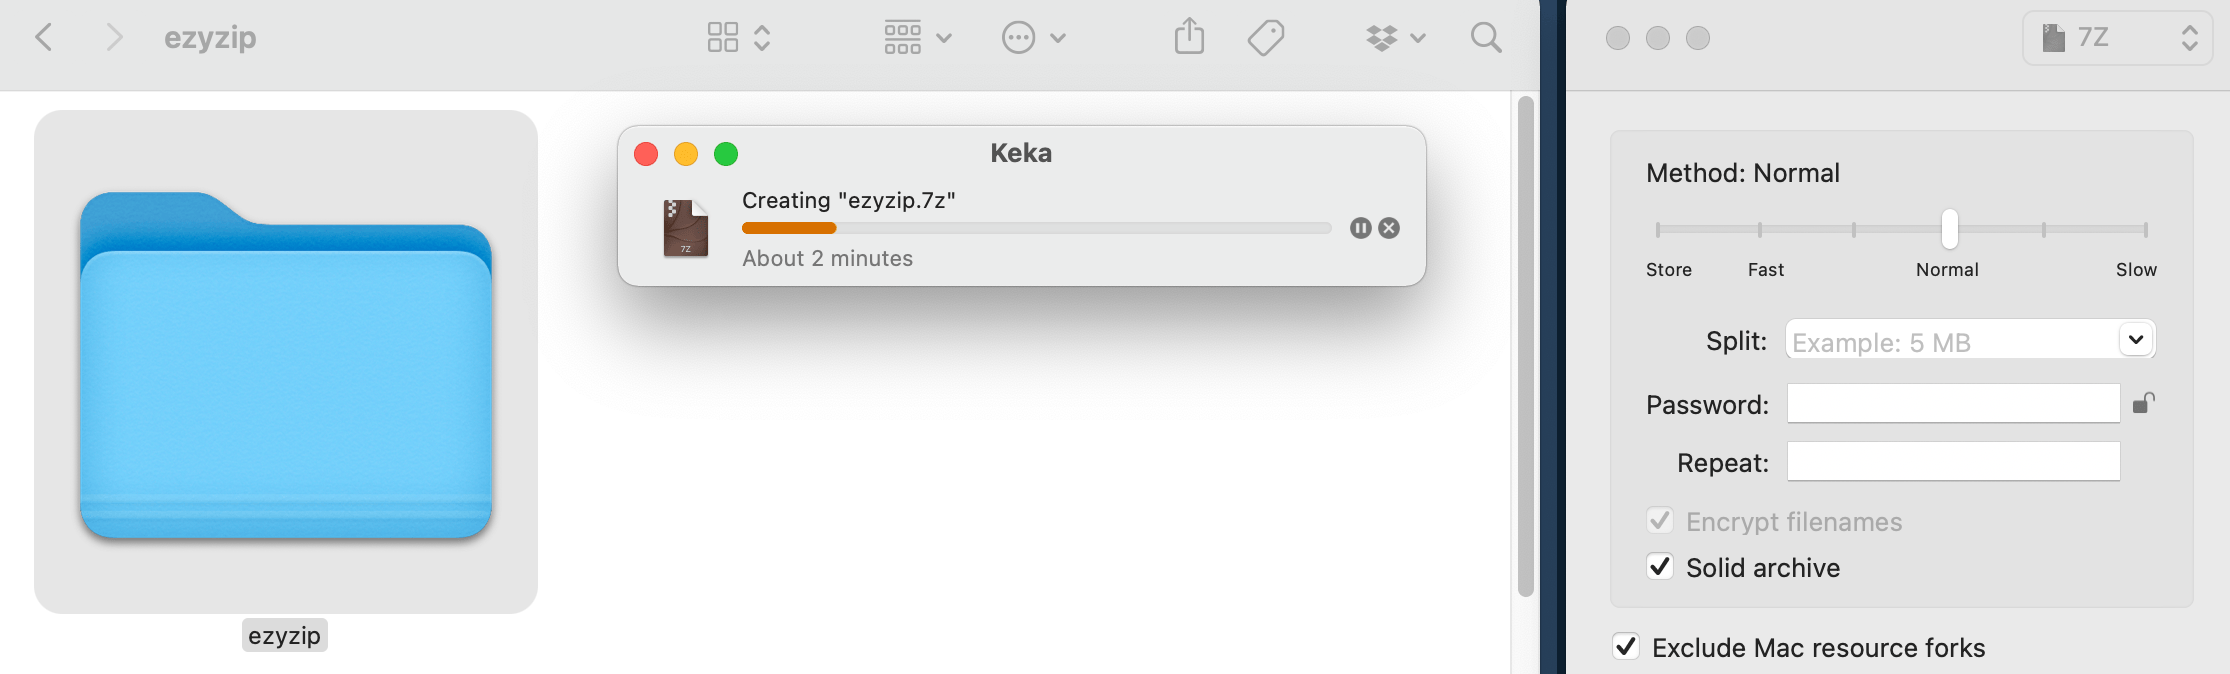
Wait for the 7z file to be created.
-
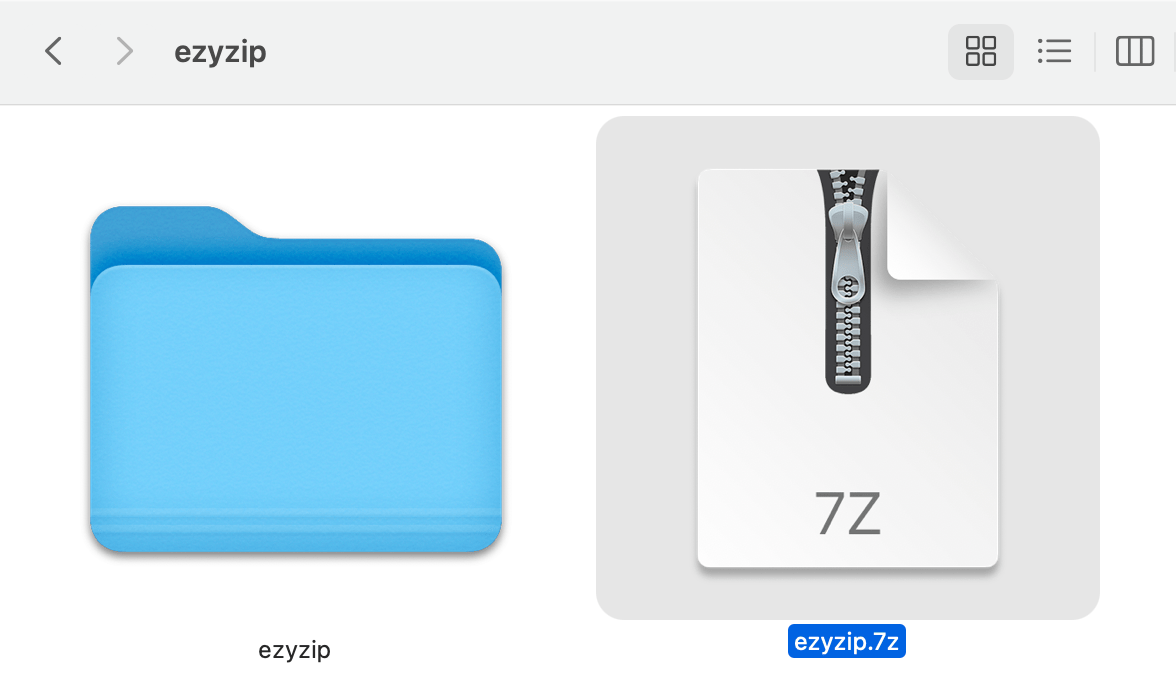
Create Your 7z File: Keka will automatically create a 7z file in the same location as your original files. It’s like watching a fellow monkey do all the work while you relax and enjoy your banana!
And there you have it, folks! A simple way to create a 7z file on your Mac. So next time you’re going bananas over big files, remember this tip and squash them up for you! Remember, when it comes to file sizes, it’s a jungle out there, but with this tip, you’ll be swinging through the trees with ease!
How To Create 7z File Using the Command Line
The command line is a powerful tool that’s built into your Mac. It’s like the mighty jungle vines we monkeys love to swing on! Here’s how to use it to create a 7z file.
-
Open Terminal: You can find Terminal in your Applications folder under Utilities. Opening Terminal is like entering the heart of the jungle!

-
Navigate to Your Files: Use the cd command to navigate to the directory containing the files you want to compress. It’s like swinging through the jungle to find your favorite banana tree!
cd desktop/ezyzip -
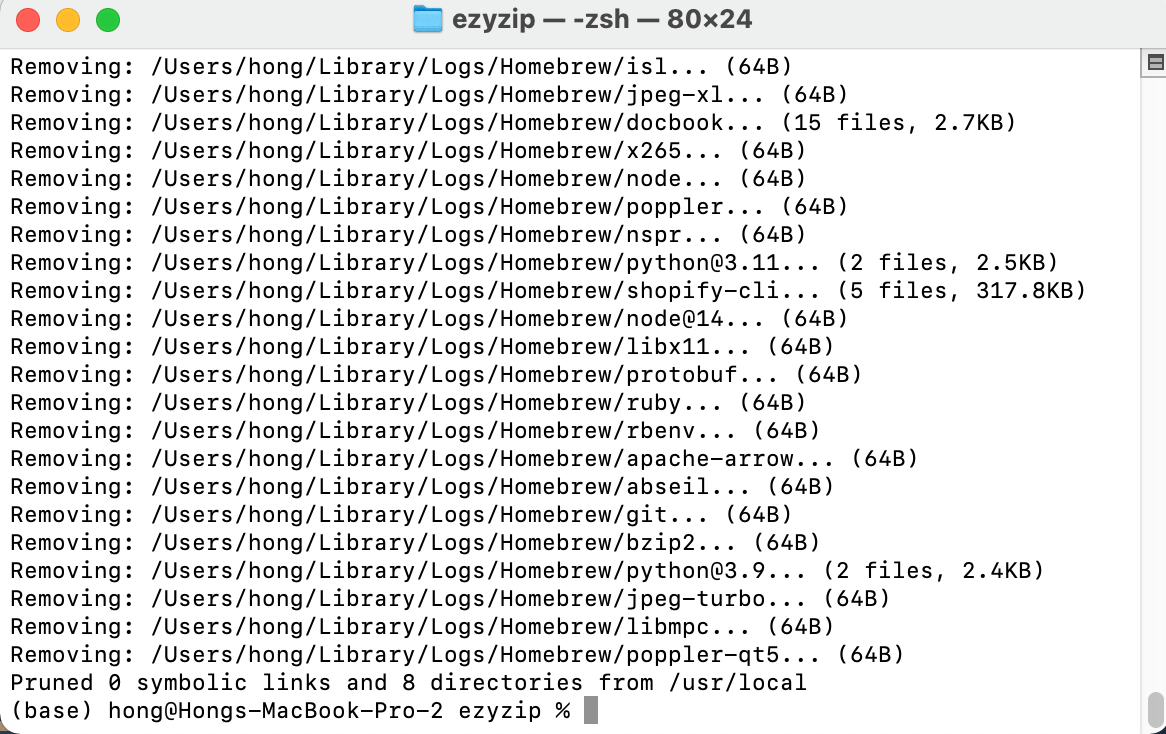
Install p7zip: Before you can create a 7z file, you need to install p7zip. Type
brew install p7zip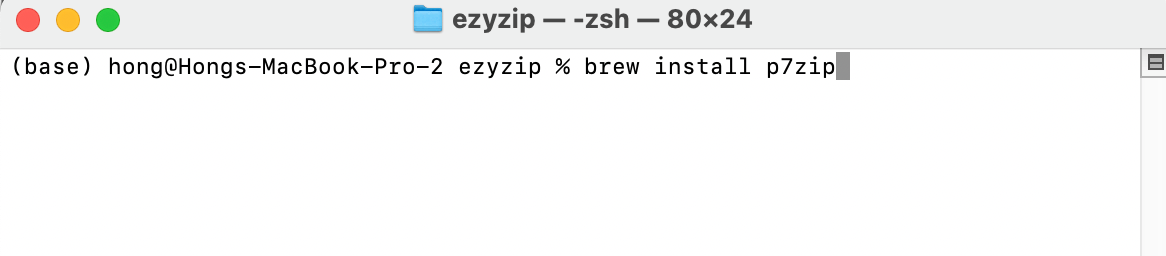 and press Enter. You should see a screen like this.
 If you don’t have Homebrew installed, you can install it by typing
/bin/bash -c "$(curl -fsSL https://raw.githubusercontent.com/Homebrew/install/HEAD/install.sh)"and pressing Enter. It’s like calling on a fellow monkey to bring you a tool! -
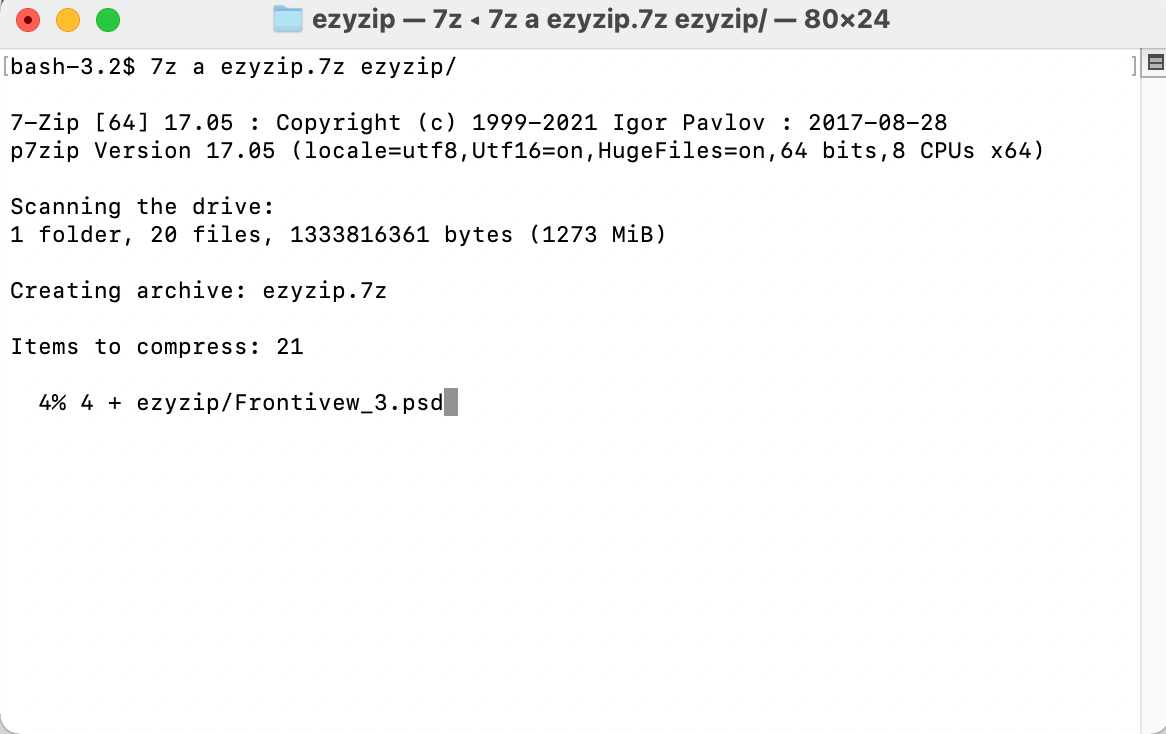
Create Your 7z File: Once p7zip is installed, you can create a 7z file by typing
7z a your-archive.7z /path/to/your/files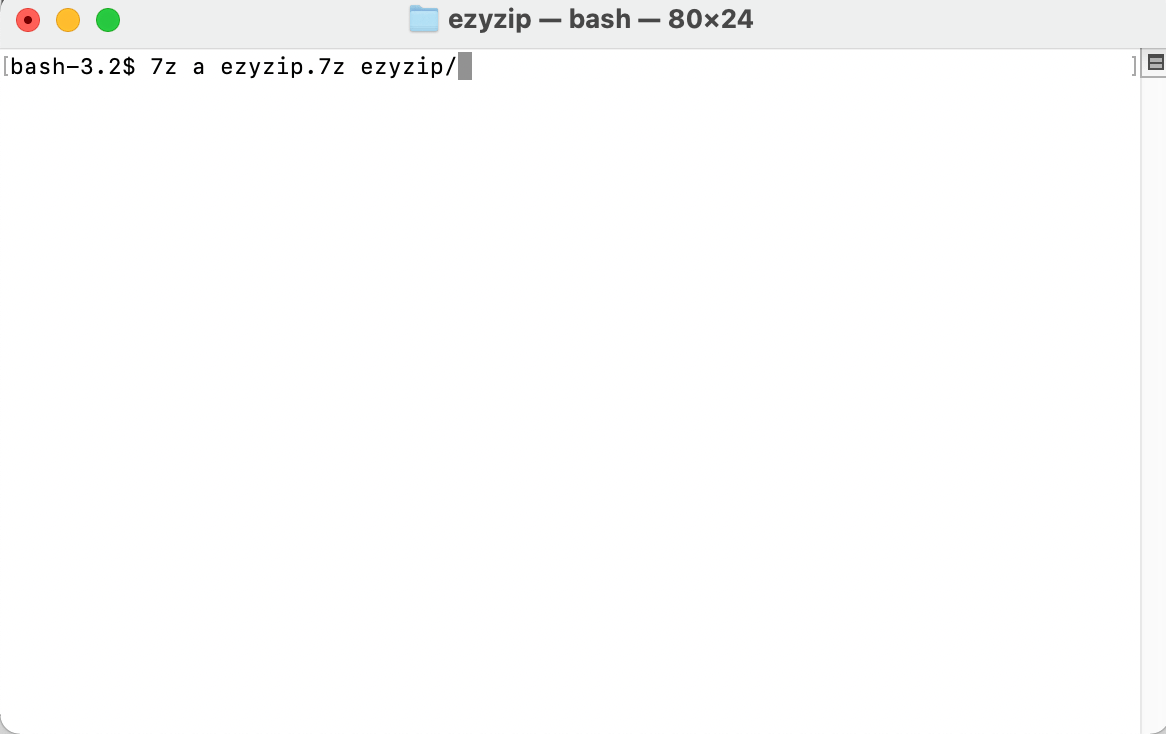 and pressing Enter. Be sure to replace your-archive with the name you want for your 7z file, and /path/to/your/files with the actual path to your files. It’s like packing bananas into a sack for easy transport!
-
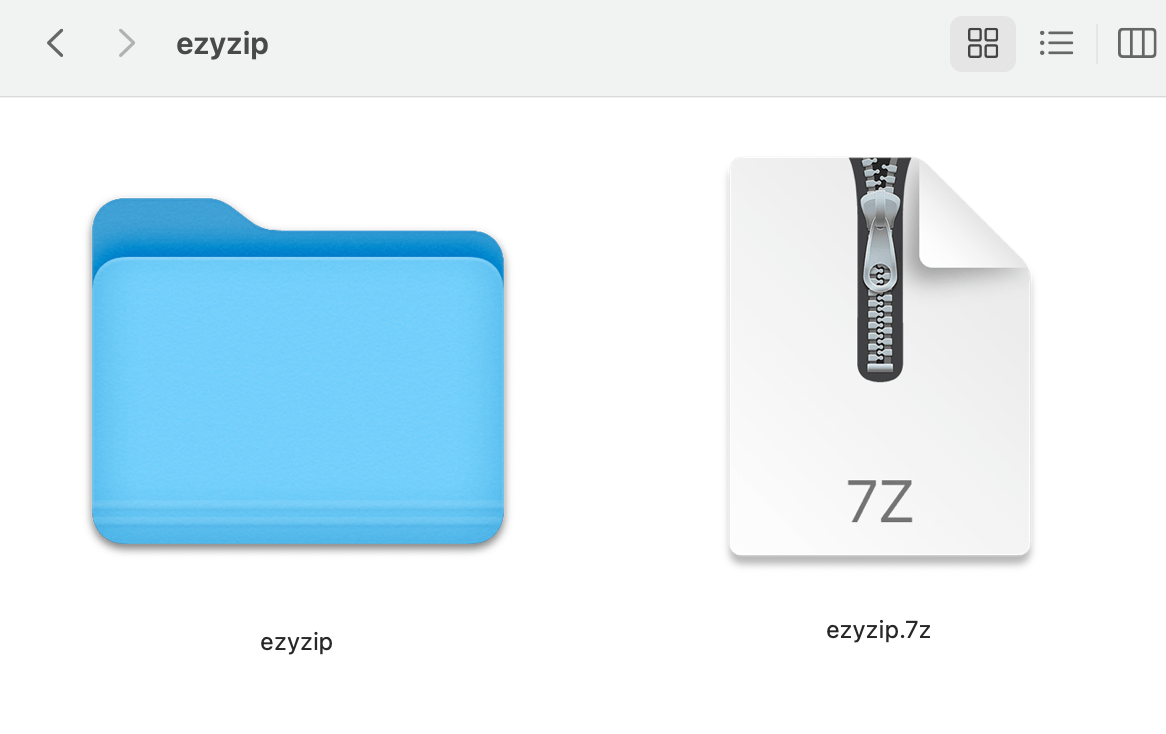
Check Your 7z File: After the command finishes running, you’ll have a new 7z file in the same directory. It’s like finding a sack of bananas waiting for you!
Check out our extensive guide on how to use 7z on command line for more tips and tricks.
And there you have it, folks! Two simple ways to create a 7z file on your Mac. So next time you’re going bananas over big files, remember these tips and squash them up for you! Remember, when it comes to file sizes, it’s a jungle out there, but with these tips, you’ll be swinging through the trees with ease!