
Hello there, swinging coders of the Linux jungle! Are you going bananas over big files? Have your directories grown as tangled as vines in the rainforest? Well, let me introduce you to the magic of 7Z files! Much like a pack of monkeys working together to reach the top branches, a 7Z file is an archive format that efficiently bundles together your data. So, forget about fiddling with oversized files or messy directories – let’s zip ‘em up! Ready? Then let’s beat our chests and dive into the lush forest of Linux file compression!
Table of contents
- Method 1: Create 7Z Files Using File Roller
- Method 2: Create 7Z Files Using Firefox Browser
- Method 3: Create 7Z Files Using p7zip
How To Create 7Z Files Using File Roller
If you’re less of a command-line chimp and more of a point-and-click monkey, you’ll be pleased to know that you can also create 7Z files using File Roller (also known as Archive Manager). It’s like picking the ripest fruits from the Linux tree without needing to climb it!
-
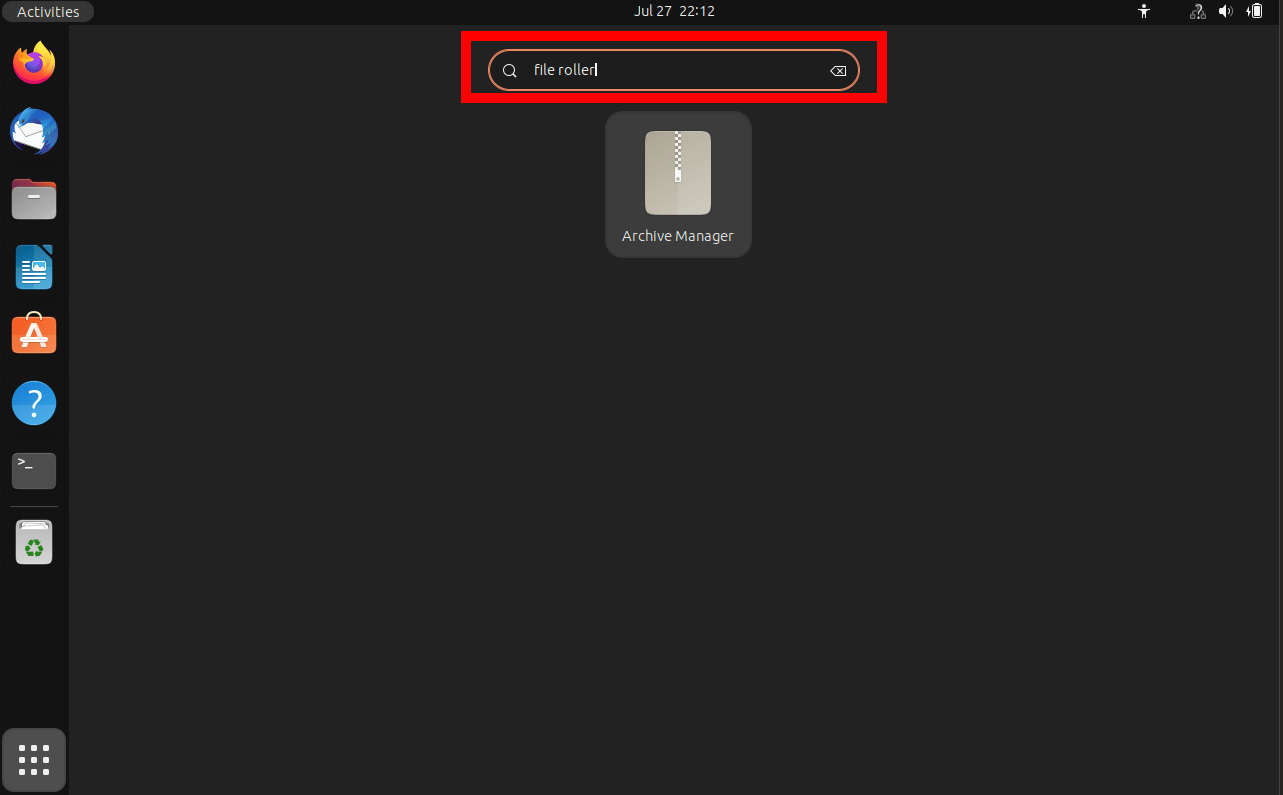
Open File Roller: Start your adventure by opening File Roller. You can do this by searching for “Archive Manager” or “File Roller” in your applications menu. It’s a breeze, just like swinging through the forest on a vine!
-
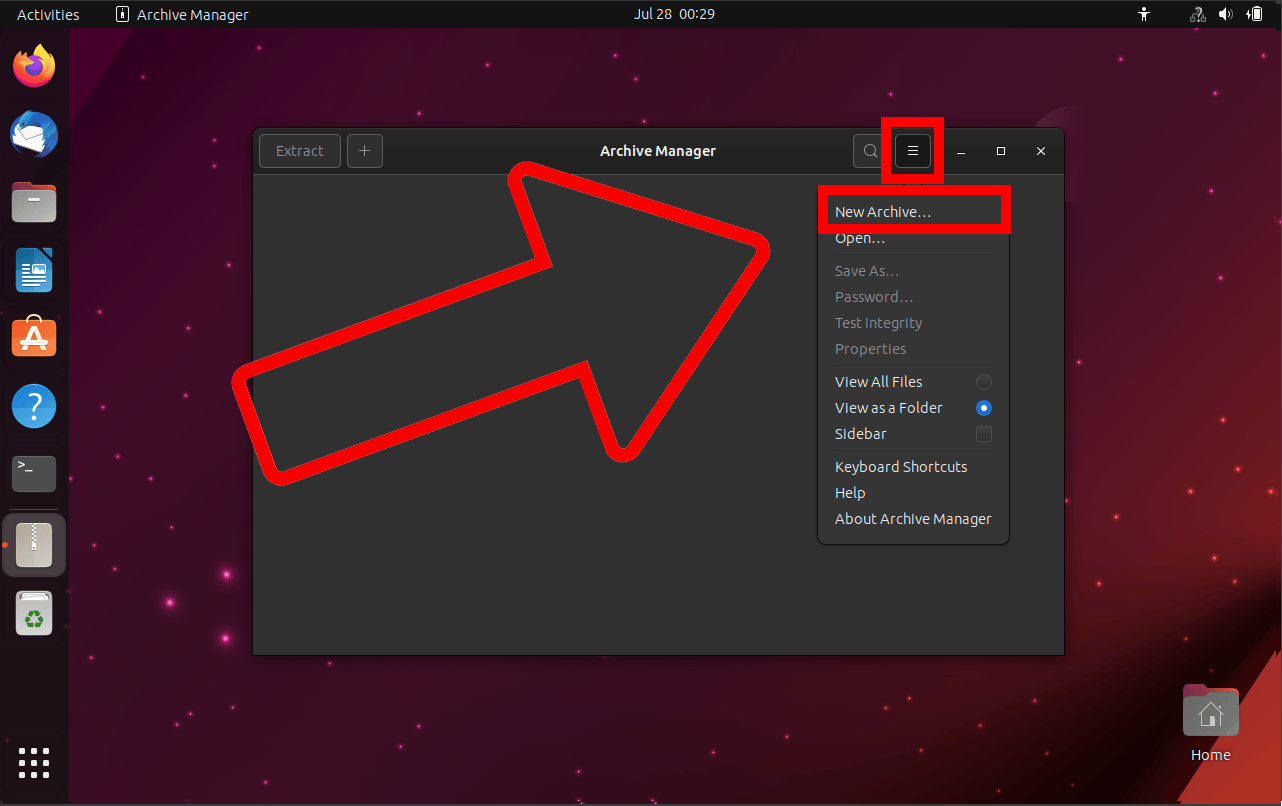
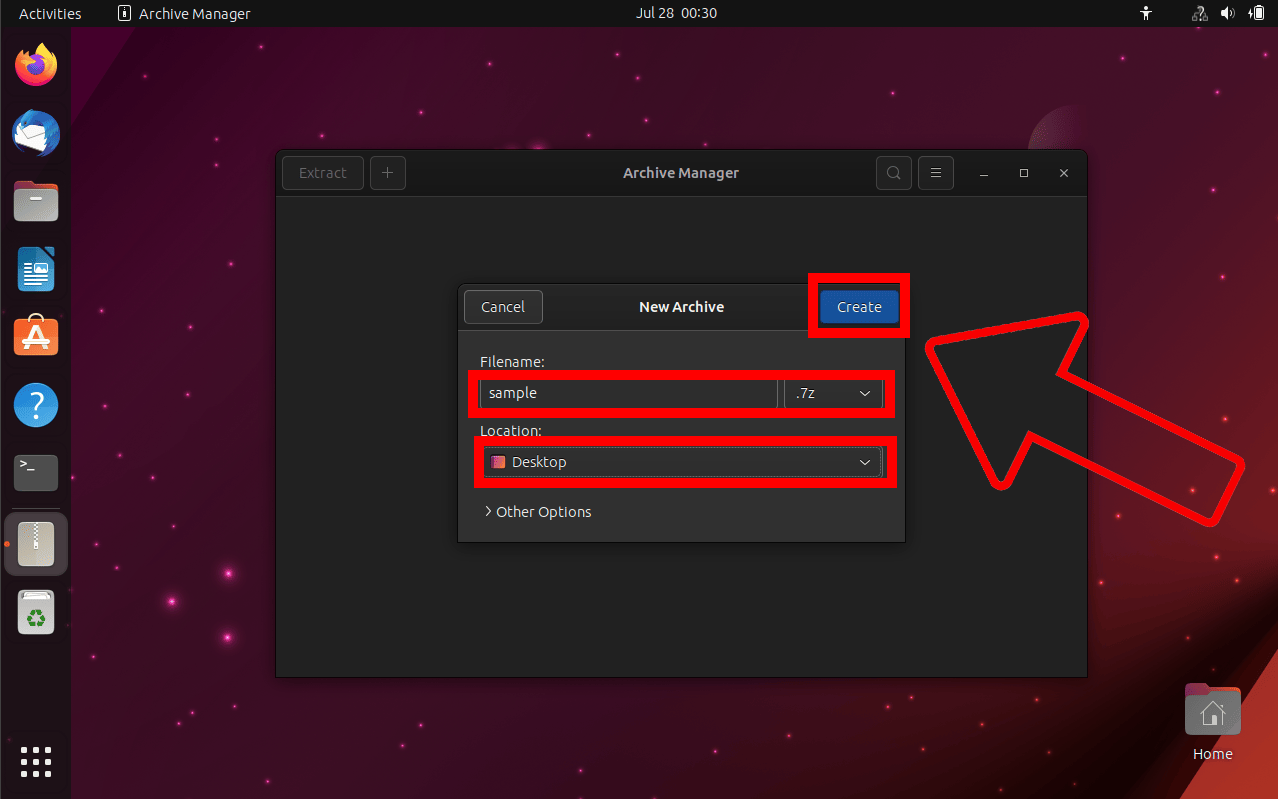
Create a New Archive: Now that File Roller is open, it’s time to make a new archive. Click on the “New” button on the top left corner. A dialog box will appear, asking you for the name of your archive. Type the name, ensuring it ends with .7z, and choose the location where you want to save it. Hit ‘Create’ when you’re done, much like how you’d thump your chest after a successful tree climb!
-
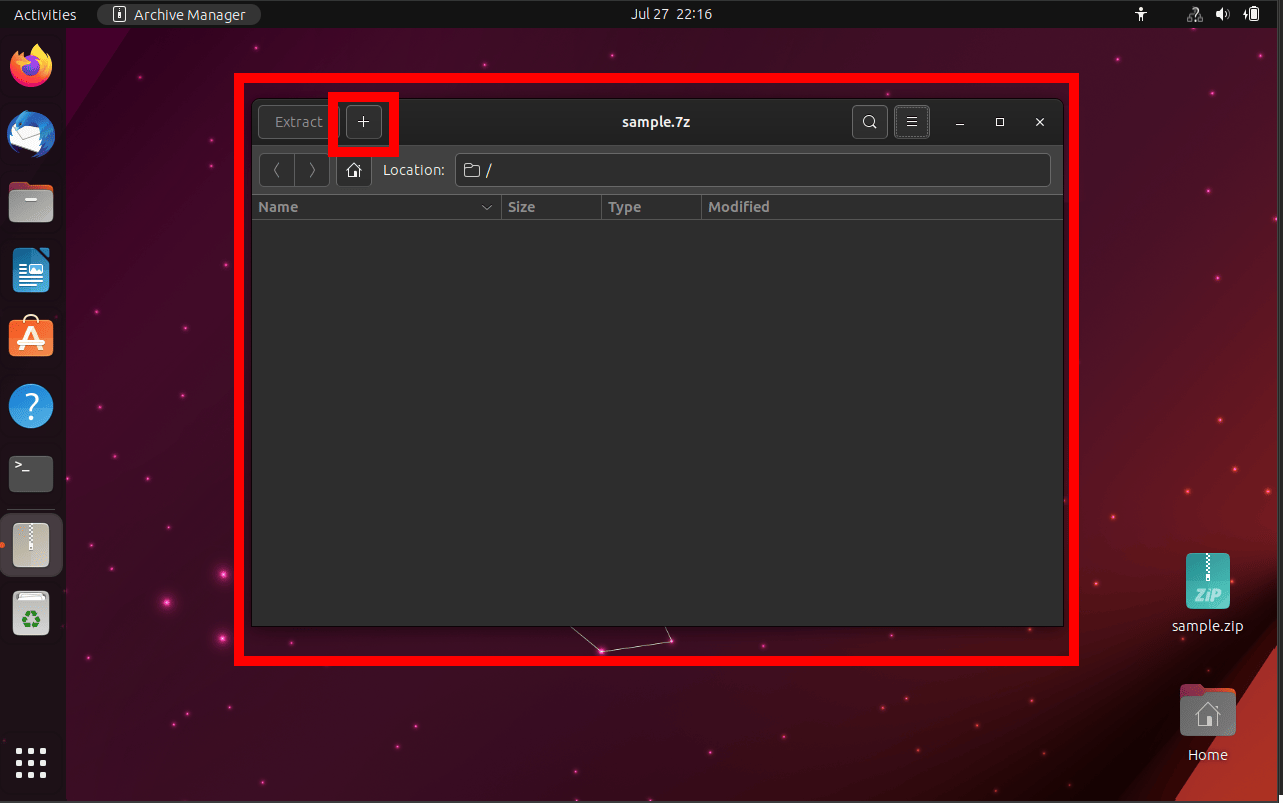
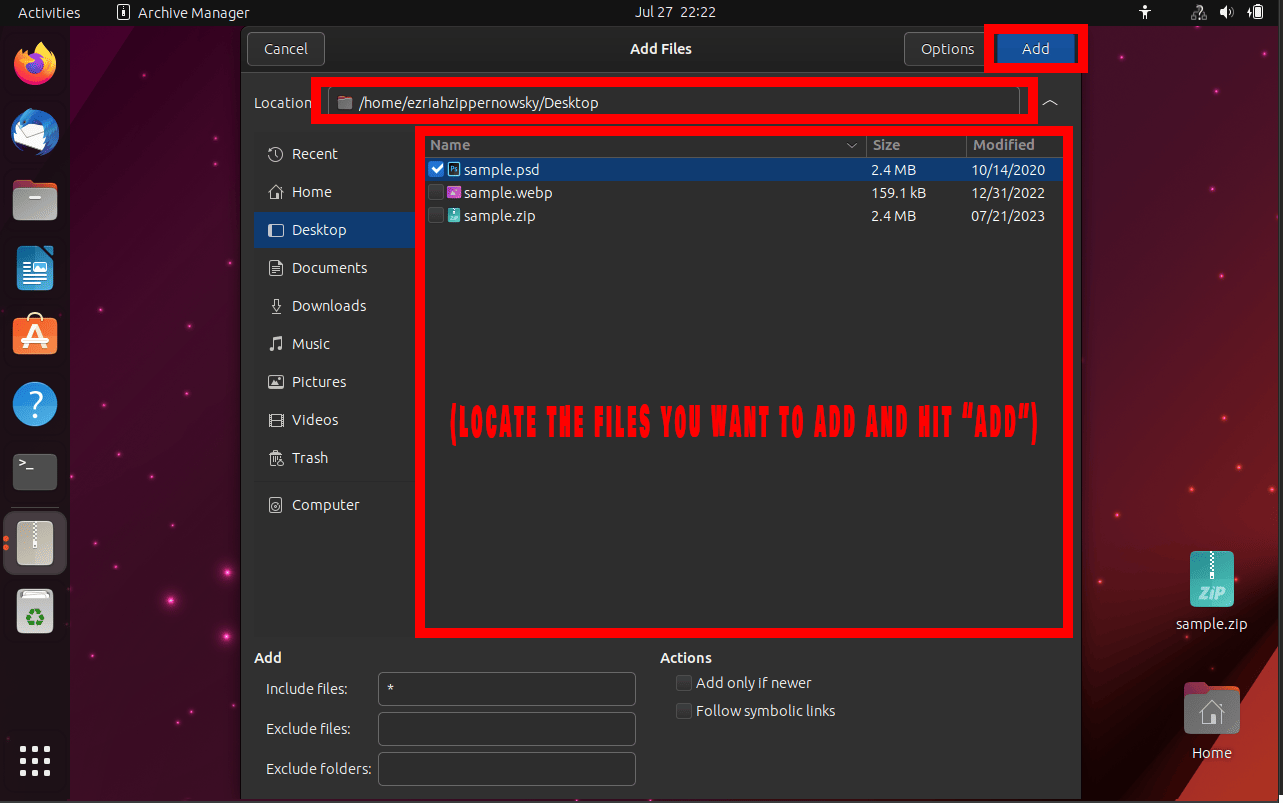
Add Files to the Archive: Your new archive is ready for you to fill it up! Click the ‘Add’ button, then navigate to the files you wish to add. Select your files and hit ‘Add’ again. This step is as easy as scooping up a handful of delicious bugs for a snack!
-
Wait for the Compression to Finish: Now, just sit back and relax while File Roller does the heavy lifting. Once it’s done, you’ll have a neat 7Z file, ready to use!
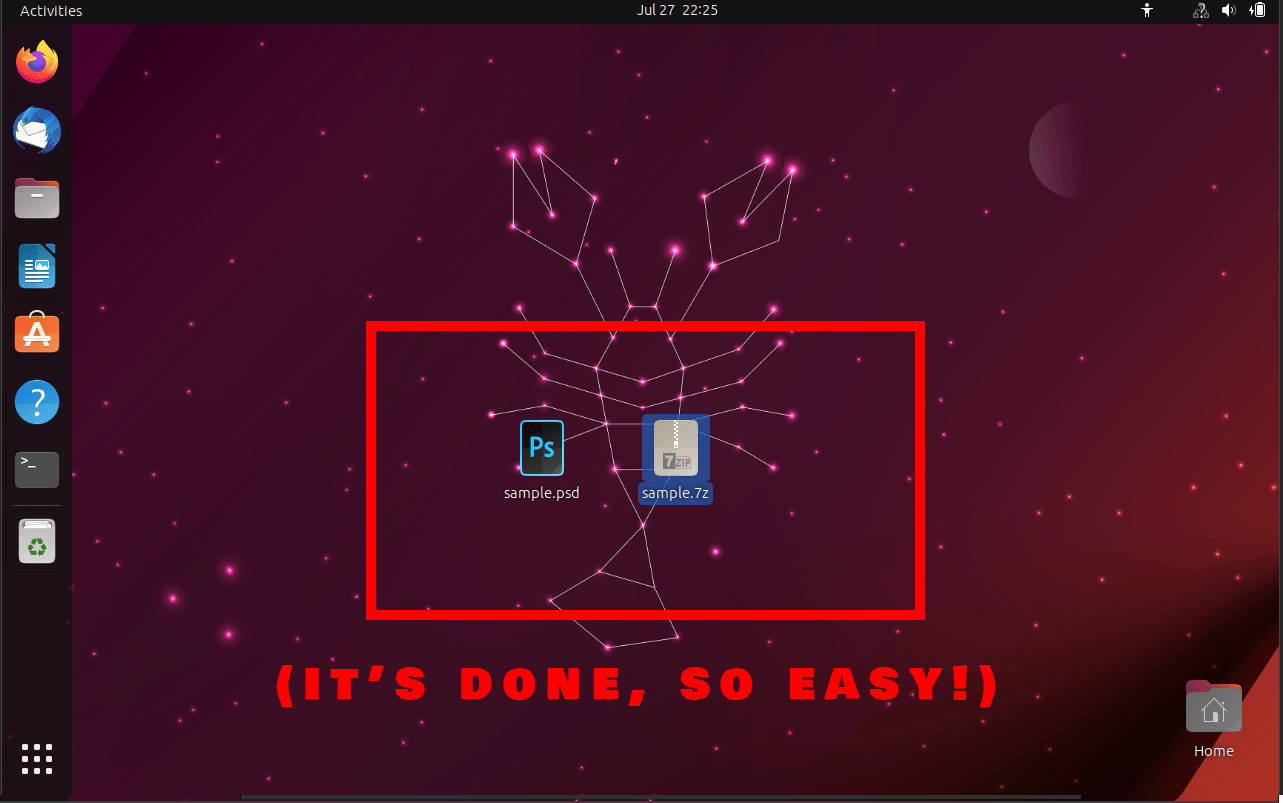
And that’s it! With File Roller, creating 7Z files is as easy as peeling a banana! You’ve mastered another way to navigate through the thick foliage of file compression in the Linux jungle. So swing high, my friends, knowing that no oversized file can stand in your way!
How To Create 7Z Files Using Firefox Browser
If you’re the kind of monkey who enjoys swinging through the online jungle without the need to download any software, you’re in luck. Here’s a guide on how to create 7Z files using an online tool called Online-Convert.
-
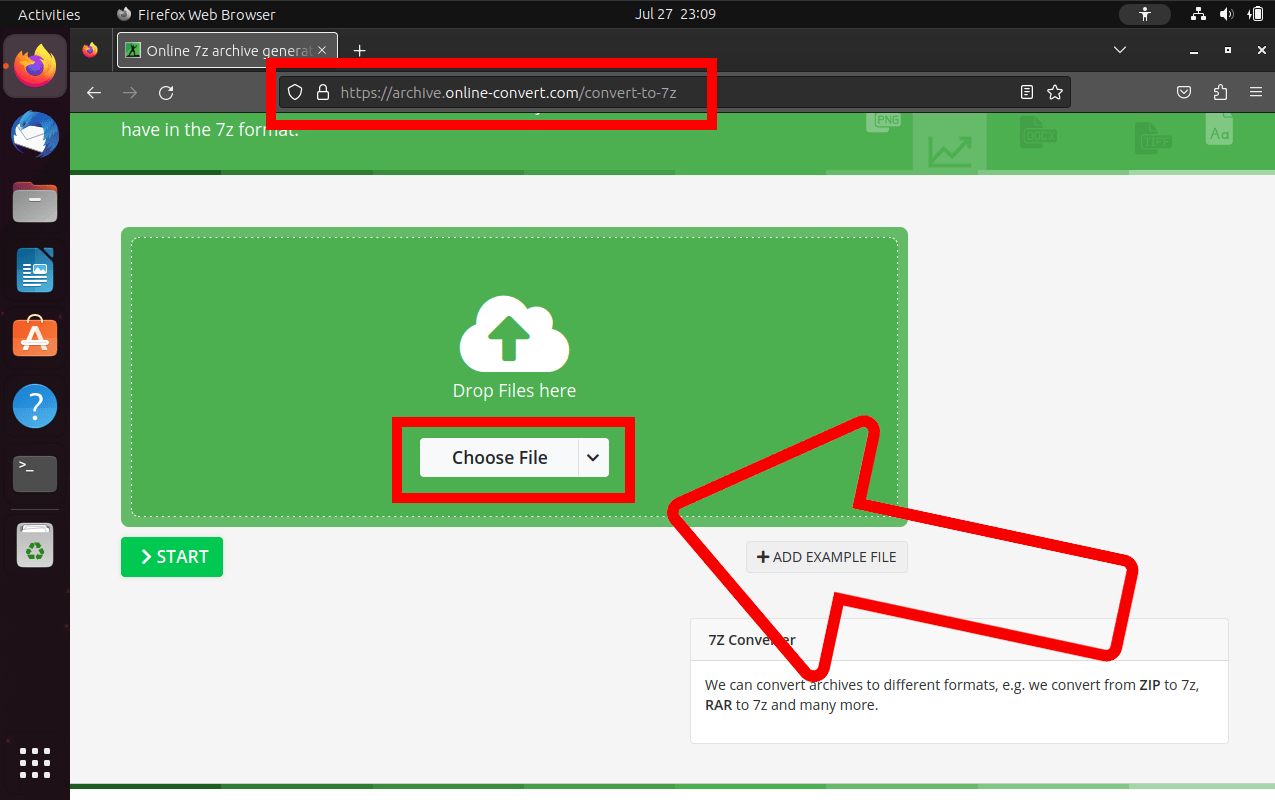
Visit Online-Convert: Start your adventure by visiting the 7Z converter page on Online-Convert. No need to memorize the way, just click on this link: Online-Convert.
-
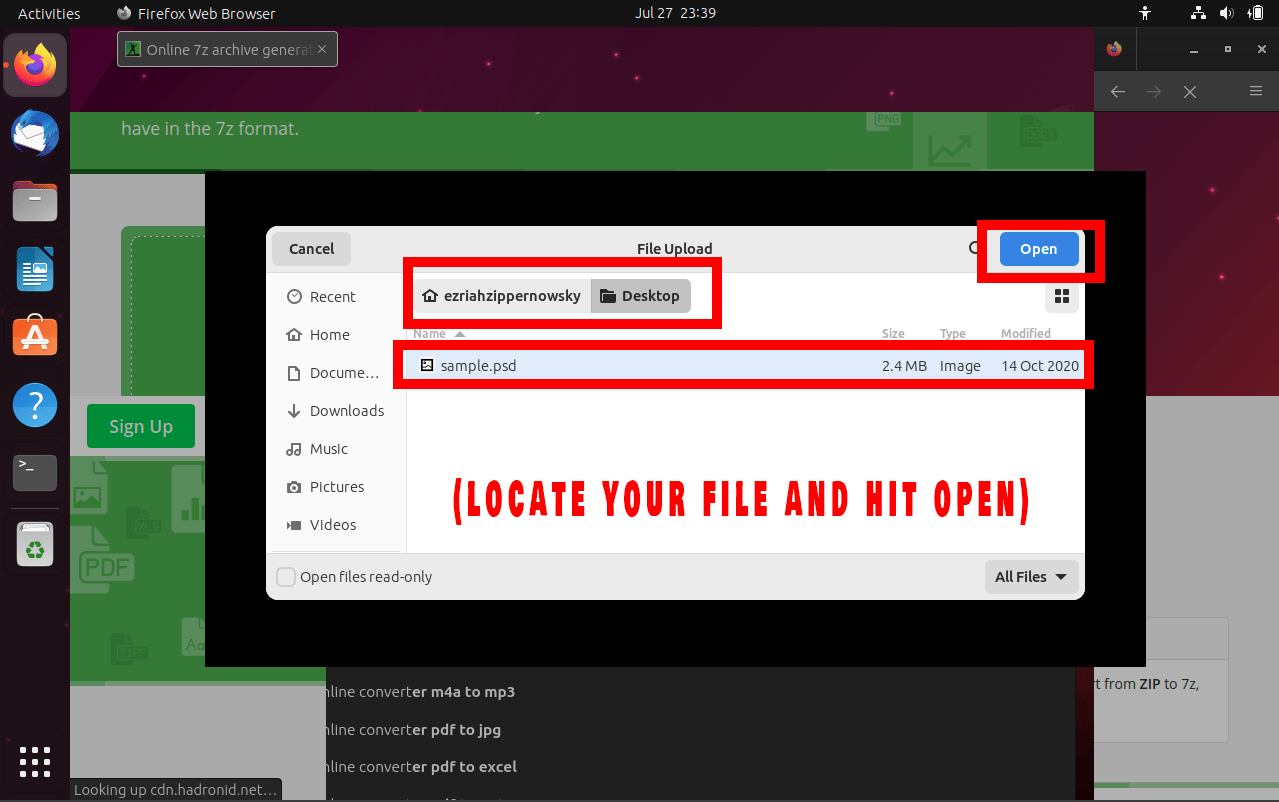
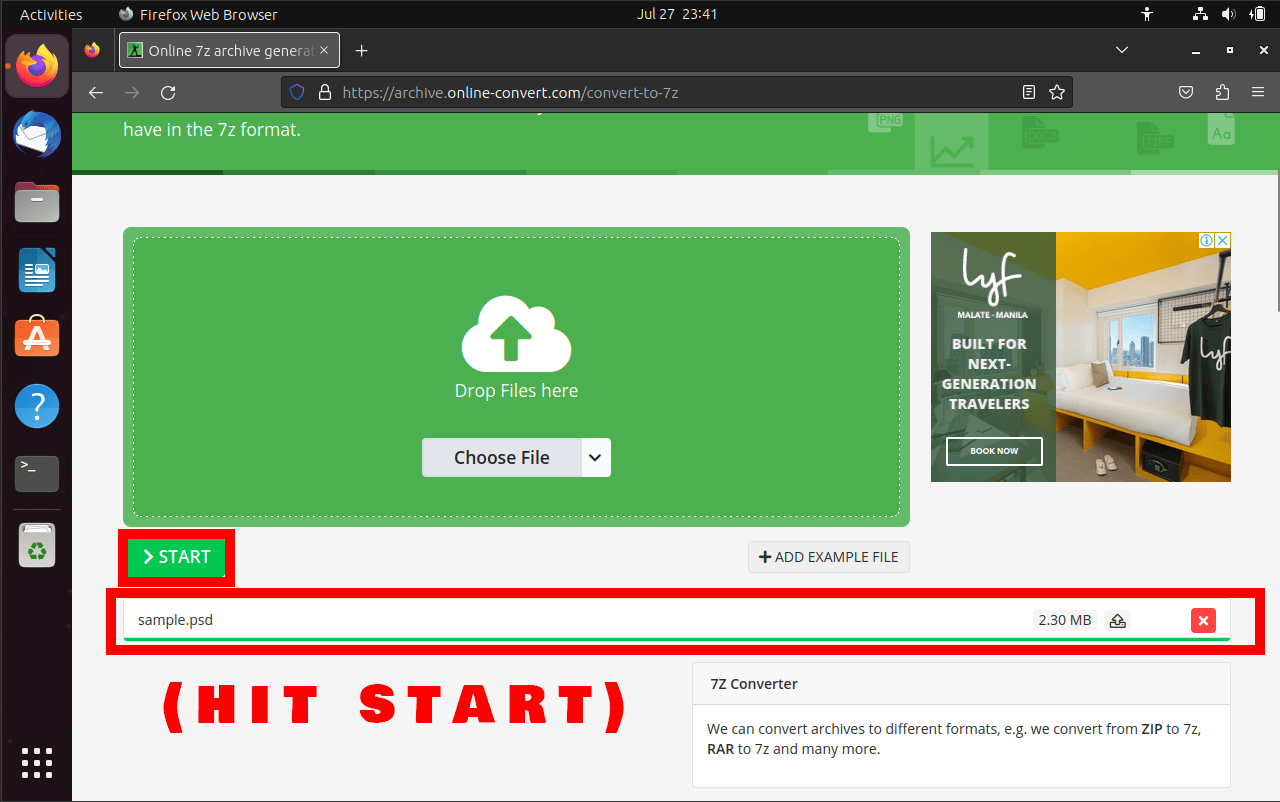
Upload Your Files: Once you’re on the site, you’ll see an option to ‘Choose Files’. Click on this, then navigate to the files you want to compress. It’s as simple as a monkey grabbing a banana!
-
Start the Conversion: Click the ‘Start conversion’ button. It’s time to watch the magic happen! This part’s easier than a nap in a treetop hammock.
-
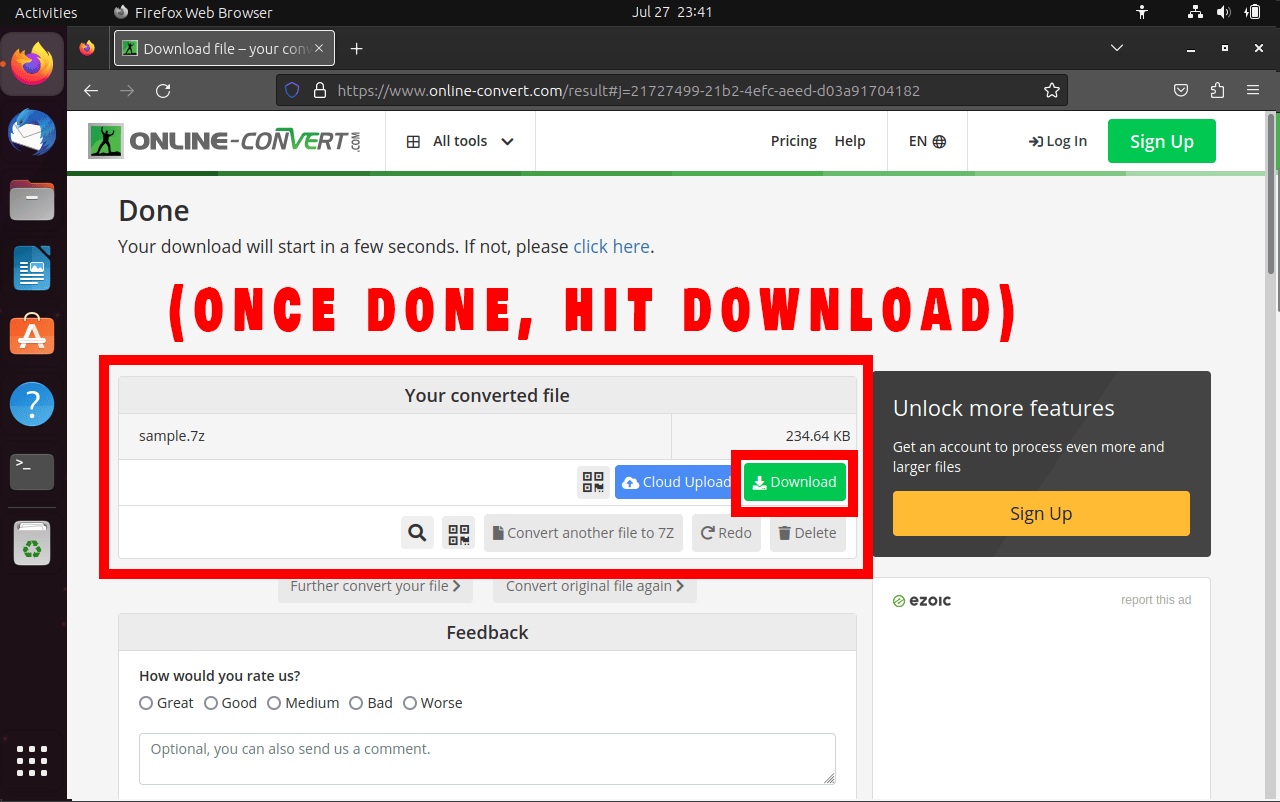
Download the 7Z File: After the conversion process is complete, your file should be automatically downloaded to your computer; but if not, a ‘Download’ button will appear. Click on it to download your newly created 7Z file. It’s just like plucking a juicy fruit from a tree!
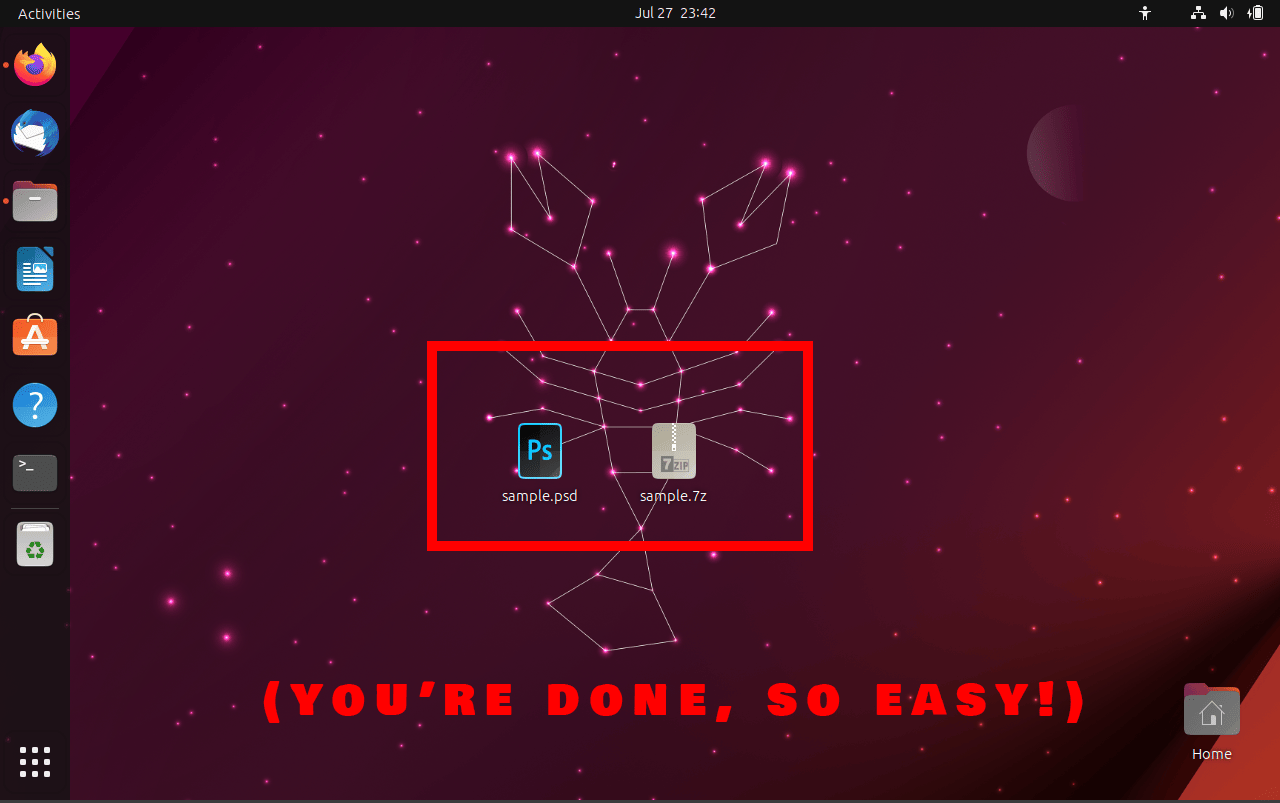
And just like that, you’ve created a 7Z file right from your web browser! This online solution makes compressing files a walk in the park, or should I say a swing in the jungle? So whether you’re jumping from tree to tree or file to file, you’re fully equipped to handle the wilderness of the digital world!
How To Create 7Z Files Using p7zip
Just like swinging through the treetops is second nature to us, so should creating 7Z files be for you, my Linux-loving friends. So, let’s p7zip our way through this together!
-
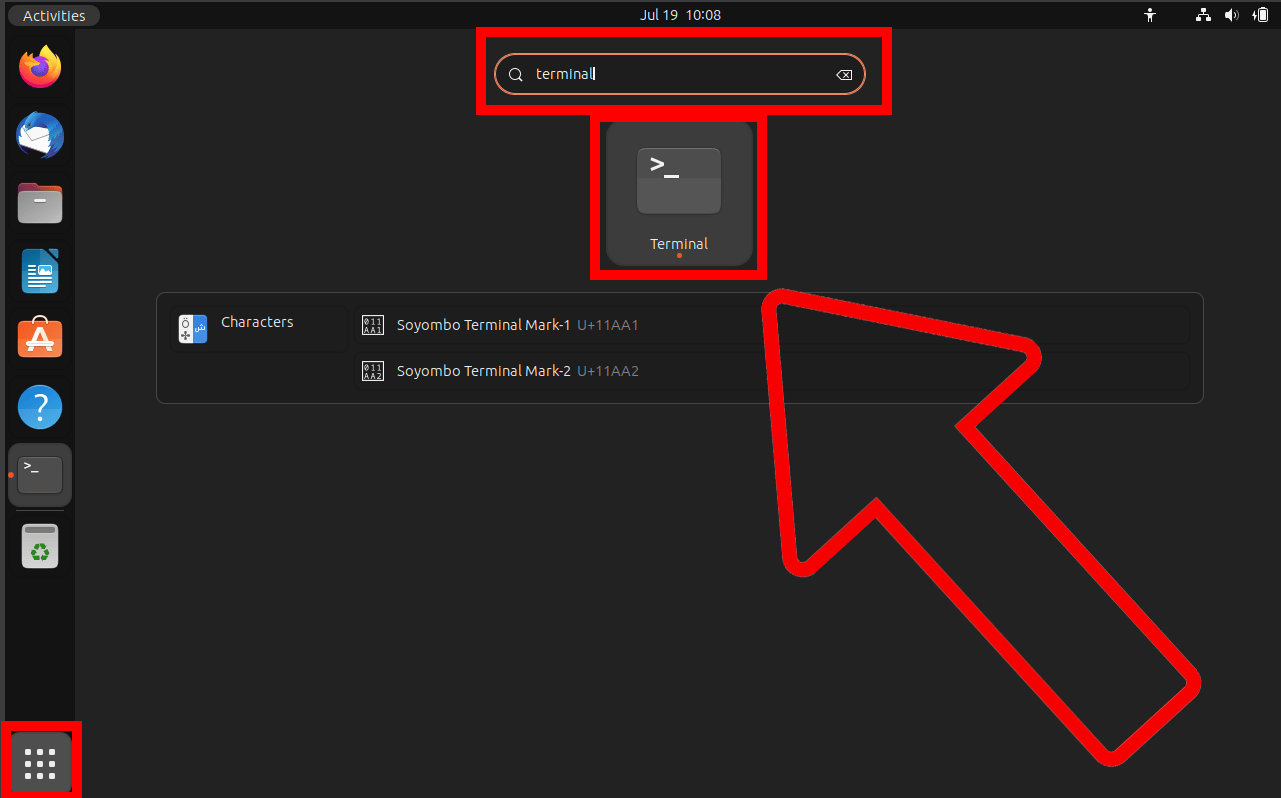
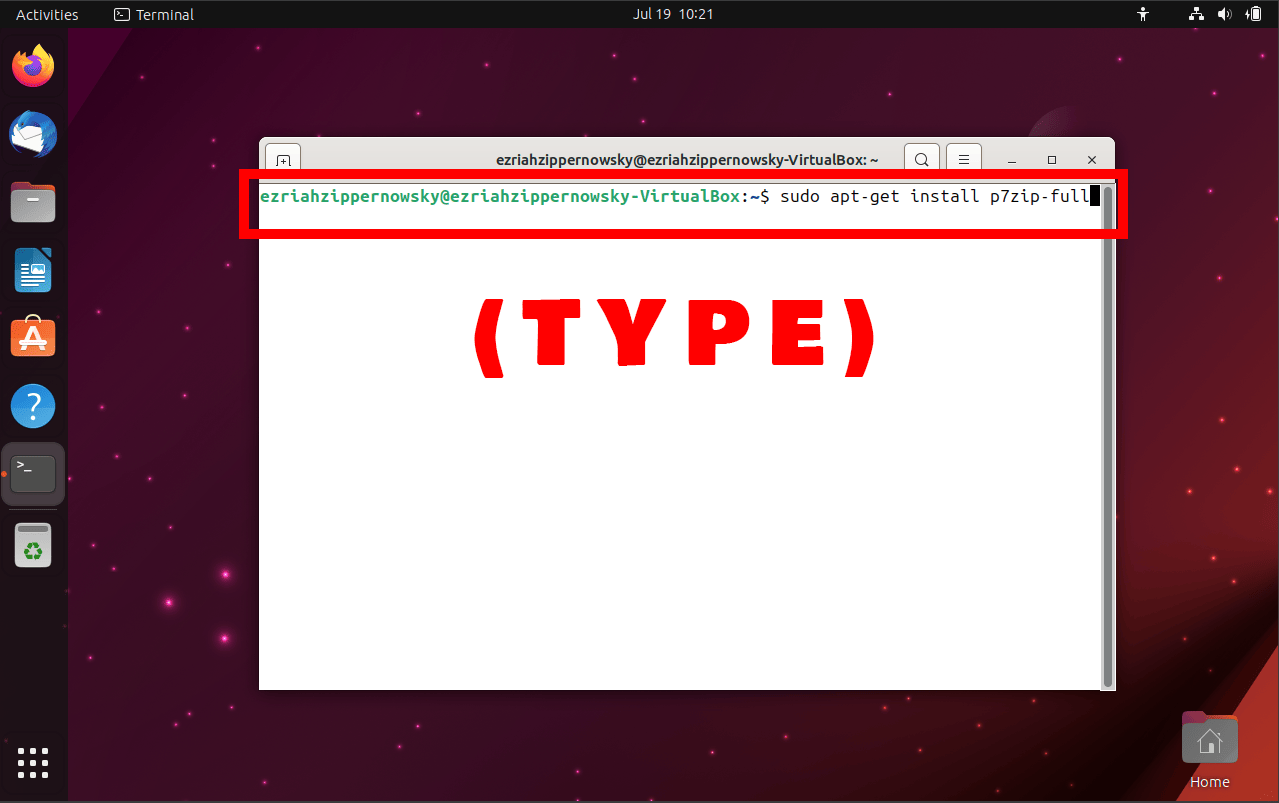
Install p7zip: Open up your terminal, that’s right, the magical box of commands! Type in
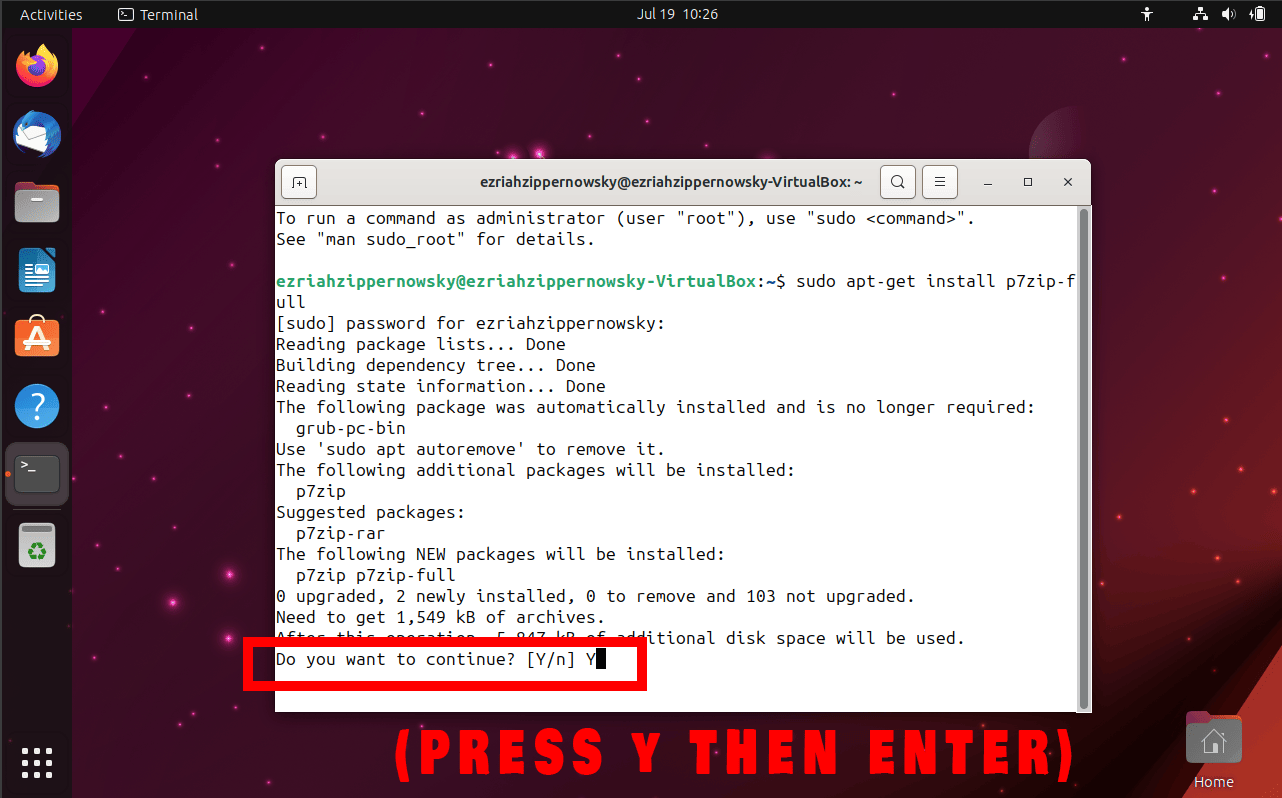
sudo apt-get install p7zip-fulland hit enter like a gorilla banging a drum! If you’re asked for your password, just type it in and press enter again. Don’t worry, no sneaky snakes will see your password, it’ll stay hidden!
-
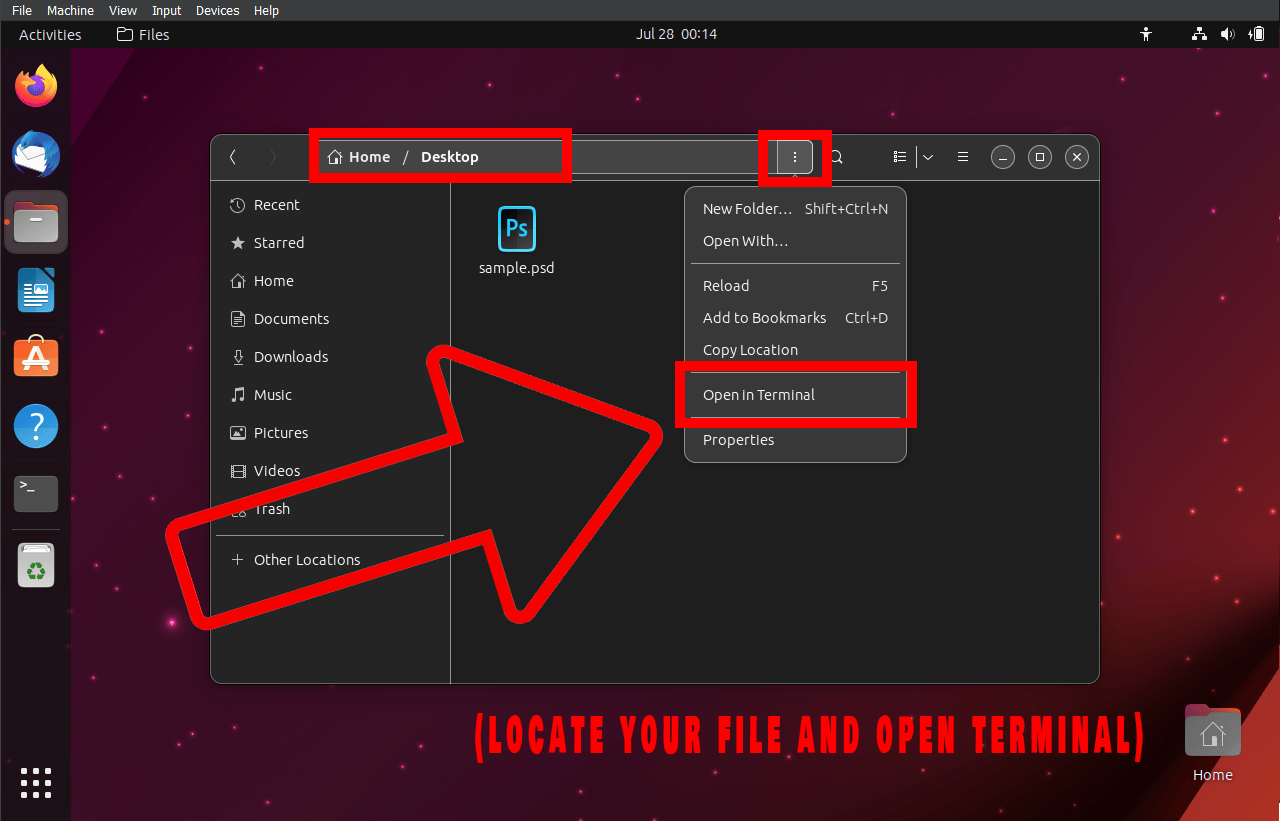
Navigate to File: Now, we need to swing over to the directory containing your file. Let’s say your file is in the Documents directory. You’d type cd Documents and hit enter, or simply navigate to the directory where your file is located and click the three dots, and click open in terminal. Easy as peeling a banana!
-
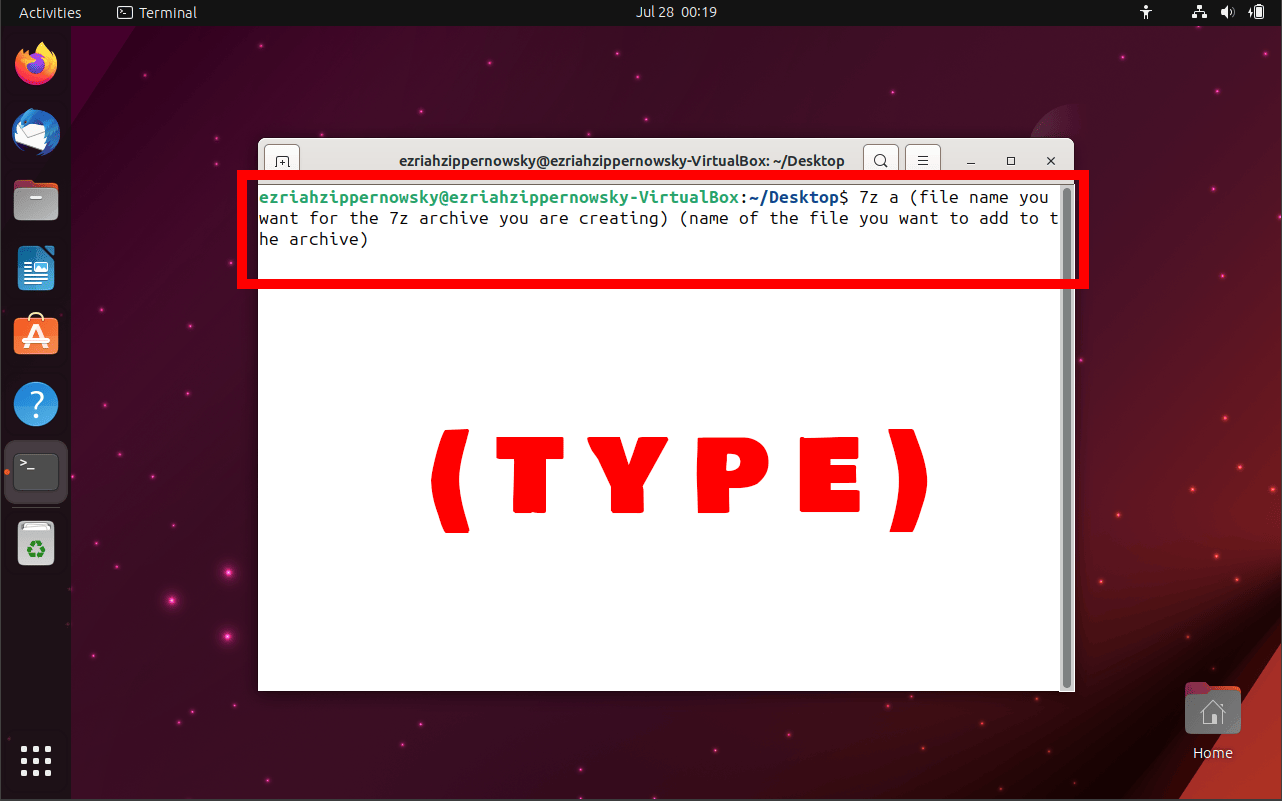
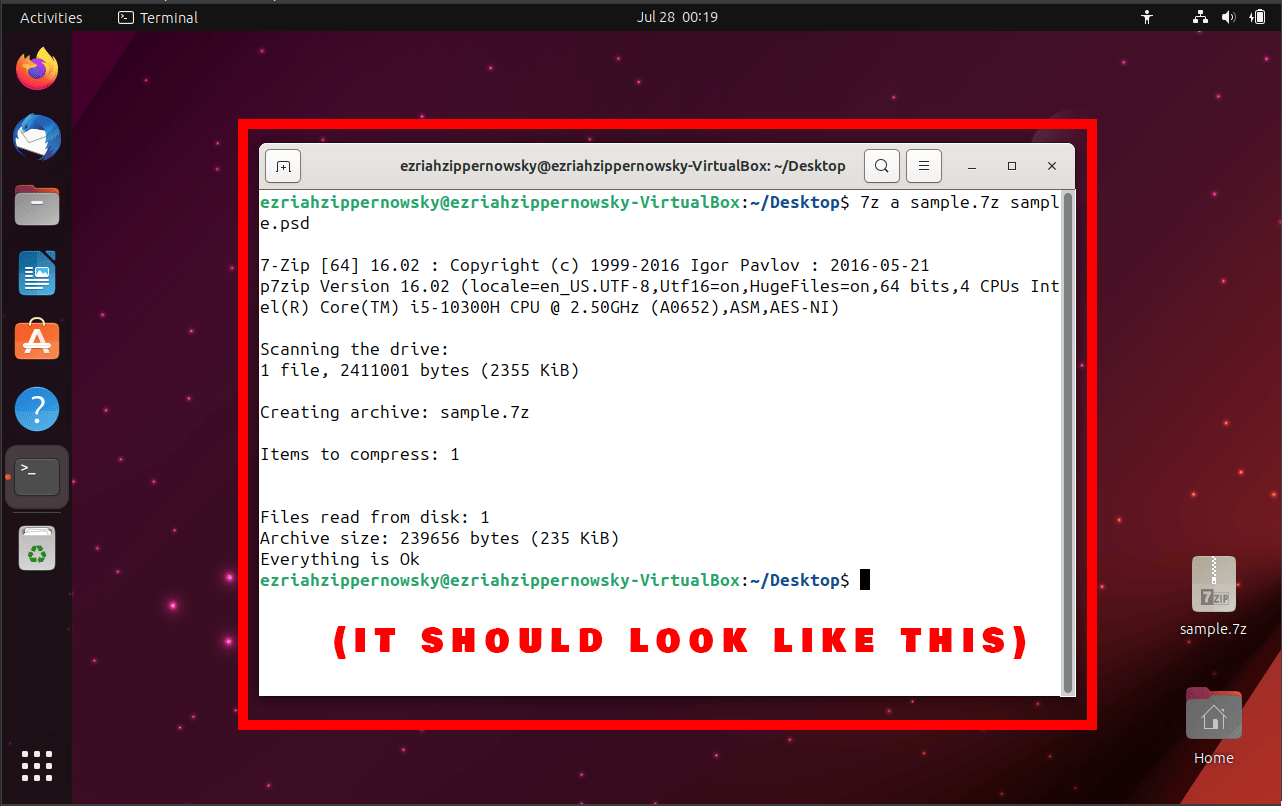
Create 7Z File: Alright, you’ve made it this far, awesome job! Now, let’s do the magic. Type
7z a YourArchiveName.7z YourFileNameand hit enter (replace YourArchiveName.7z with the name you want for your 7Z file, and YourFileName with the name of the file you want to compress). Boom! You’ve just created a 7Z file! It’s like taming a wild boar, but less dangerous!
And there you have it! A juicy 7Z file, all ready and zipped up. Now you can tackle those big files without going ape! Just remember, in this vast jungle of Linux, creating 7Z files is as natural as a monkey hanging from a tree!