
Welcome to the techie jungle, where videos are as heavy as elephants and file sizes are as vast as the Amazon! Fear not, my fellow digital adventurers, for I, your trusty monkey guide, am here to help you swing through the vines of video compression. We’re not just reducing file sizes; we’re making digital life easier, one gigabyte at a time. So, let’s peel this banana and get started on making those bulky videos more manageable!
Table of contents
- Ways to Reduce Video Quality
- Method 1: Reduce Video Quality Online With Browser
- Method 2: Reduce Video Quality Using VLC
- Method 3: Reduce Video Quality with FFmpeg
Ways to Reduce Video Quality
Before we jump onto the branches of tools and techniques, let’s understand the nuts and bolts of video quality. It’s like knowing which trees have the tastiest bananas!
Adjust the Resolution
Resolution is like the density of leaves on a tree – the higher it is, the more detailed the view. Lowering the resolution makes the video less crisp, but also lighter to swing around.
Lower the Bitrate
Bitrate is how many bits of data are processed per second, kind of like how many bananas a monkey can eat per minute. Less bitrate means a less detailed video, but also a smaller file size.
Tweak the Frame Rate
The frame rate is the number of frames shown per second – imagine it as how fast a monkey blinks. A lower frame rate can make the video file smaller but might make the motion less smooth.
Change the Codec
Codec is the way video is compressed. Think of it as different ways of packing bananas into a box. Some codecs pack them more efficiently than others, resulting in smaller files.
Crop the Video
Cropping a video is like trimming the edges of a leaf. It removes parts of the video you don’t need, which can reduce the file size.
Reduce Audio Quality
Audio quality can also impact file size. It’s like the volume of a monkey’s chatter – turn it down, and the overall noise (or file size) reduces.
How To Reduce Video Quality Online with Browser
If diving into command lines sounds like a scary jungle excursion, ezyZip is your friendly treehouse. It’s an easy-to-use online tool, no downloads needed. ezyZip is user-friendly and accessible directly from your browser, ideal for quick and simple video compression tasks.
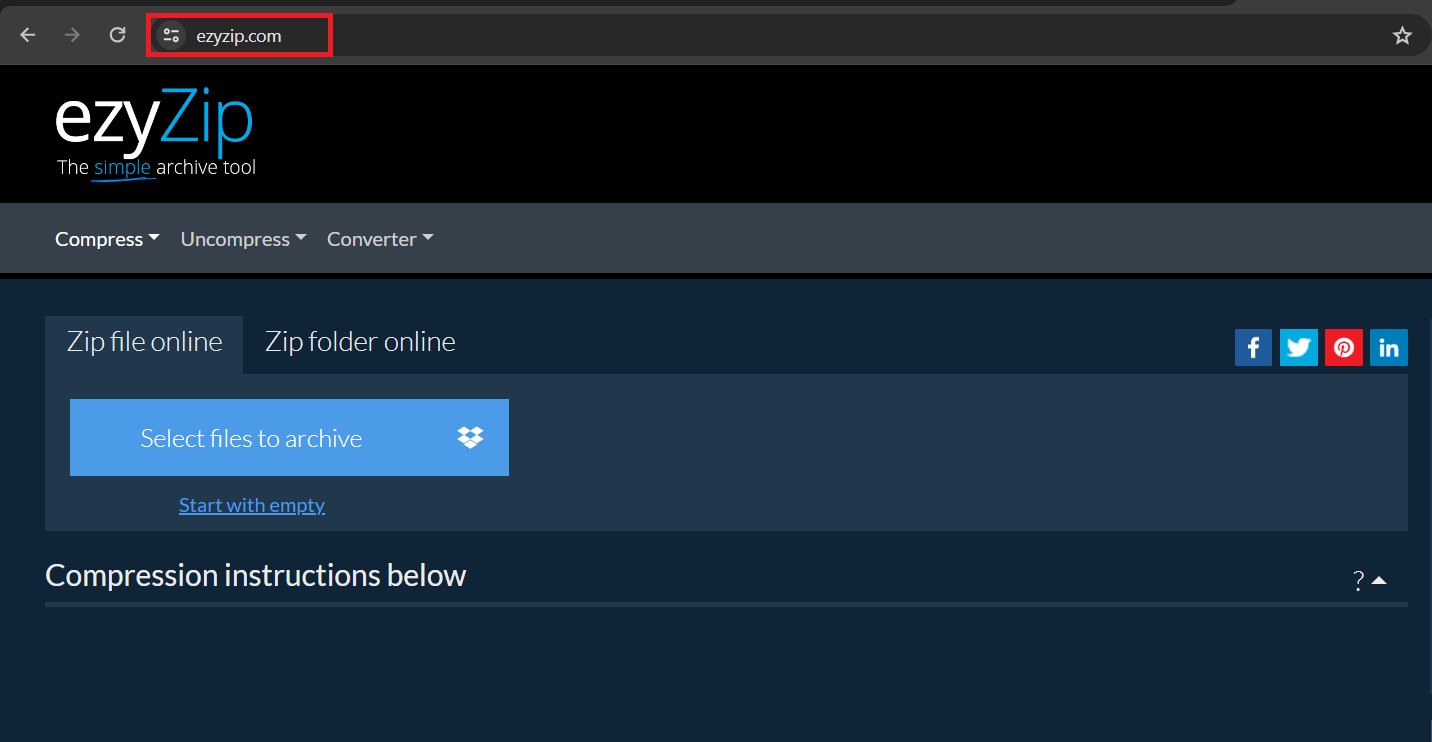
- Navigate to ezyZip: Open your browser and visit the ezyZip website. It’s like finding a clear path in the dense forest.
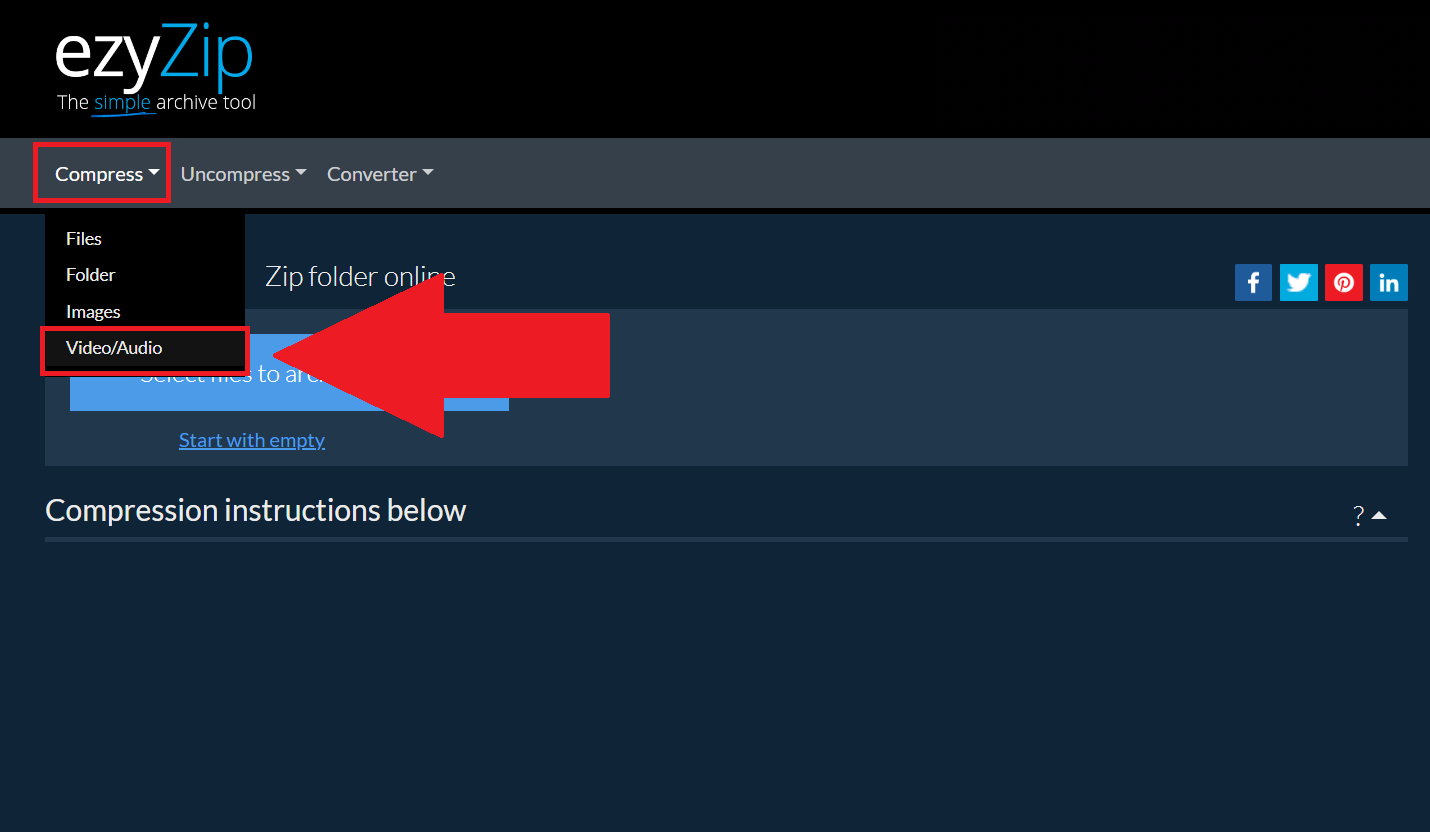
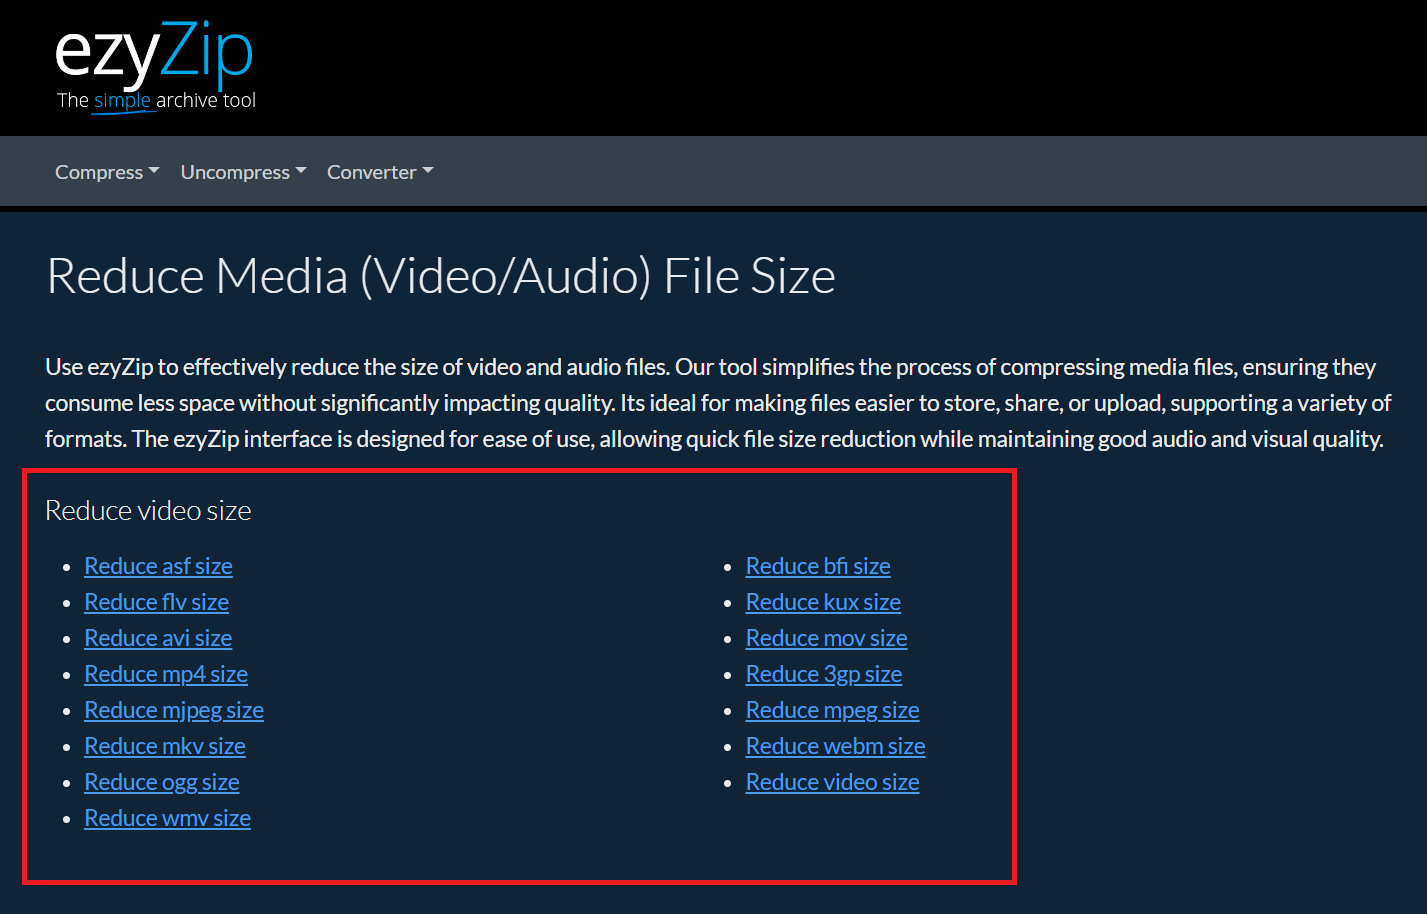
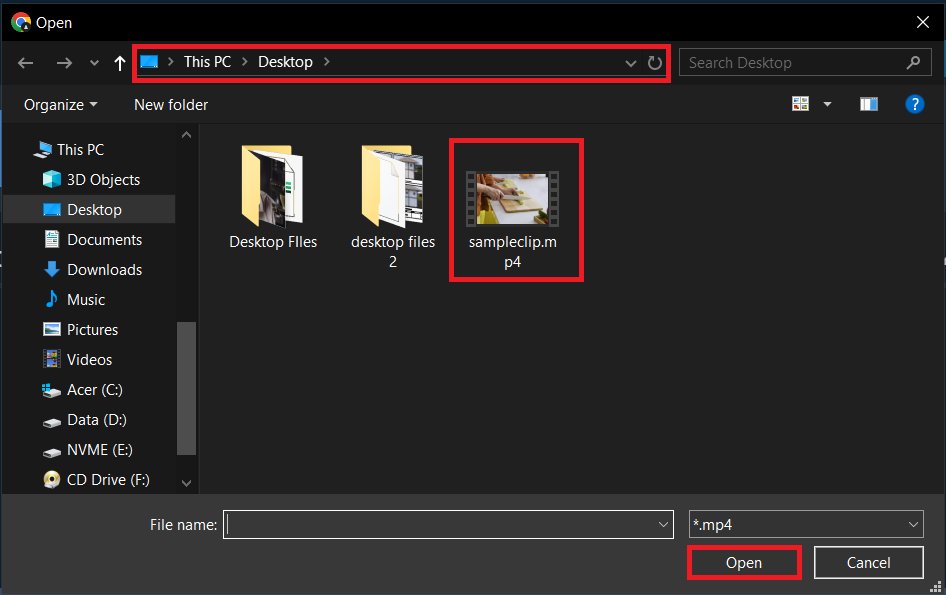
- Upload Your Video: Look for the video compression option and upload your video file. This step is as easy as grabbing a banana from a bunch.

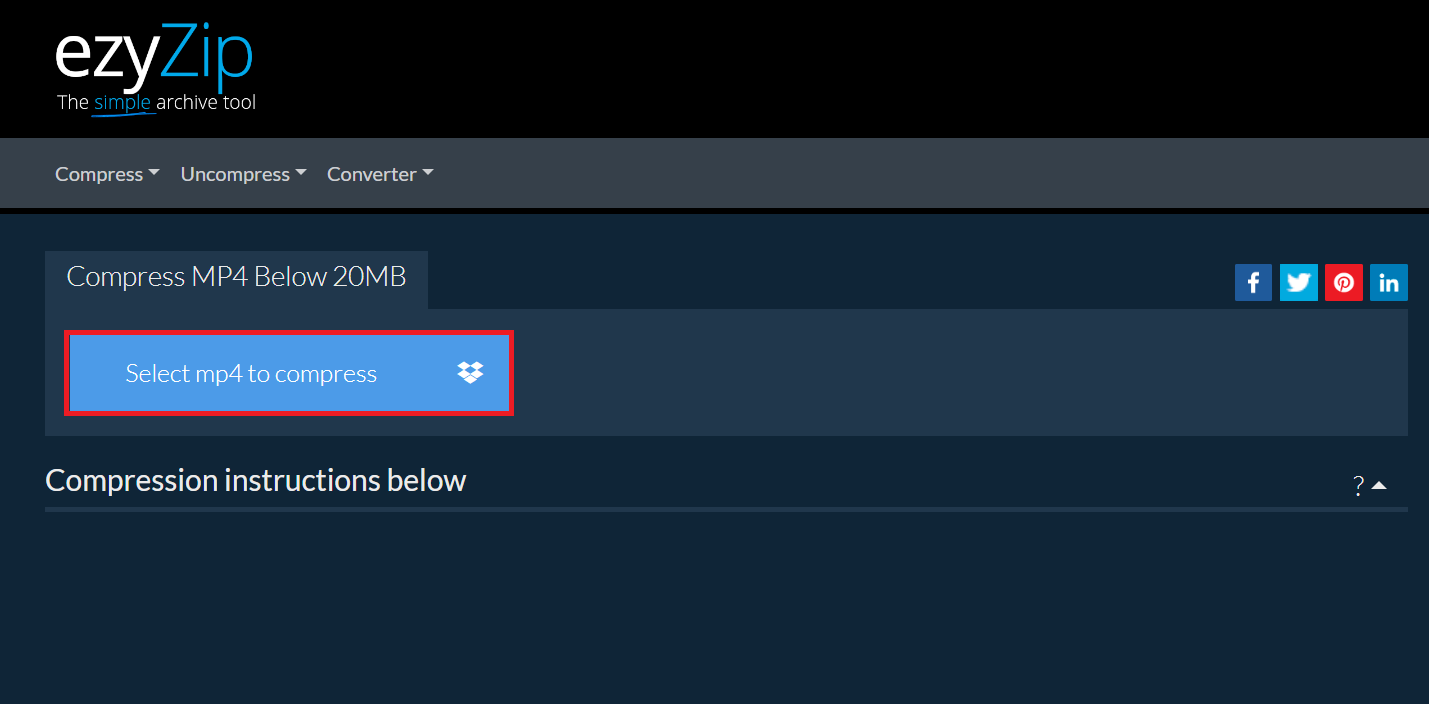
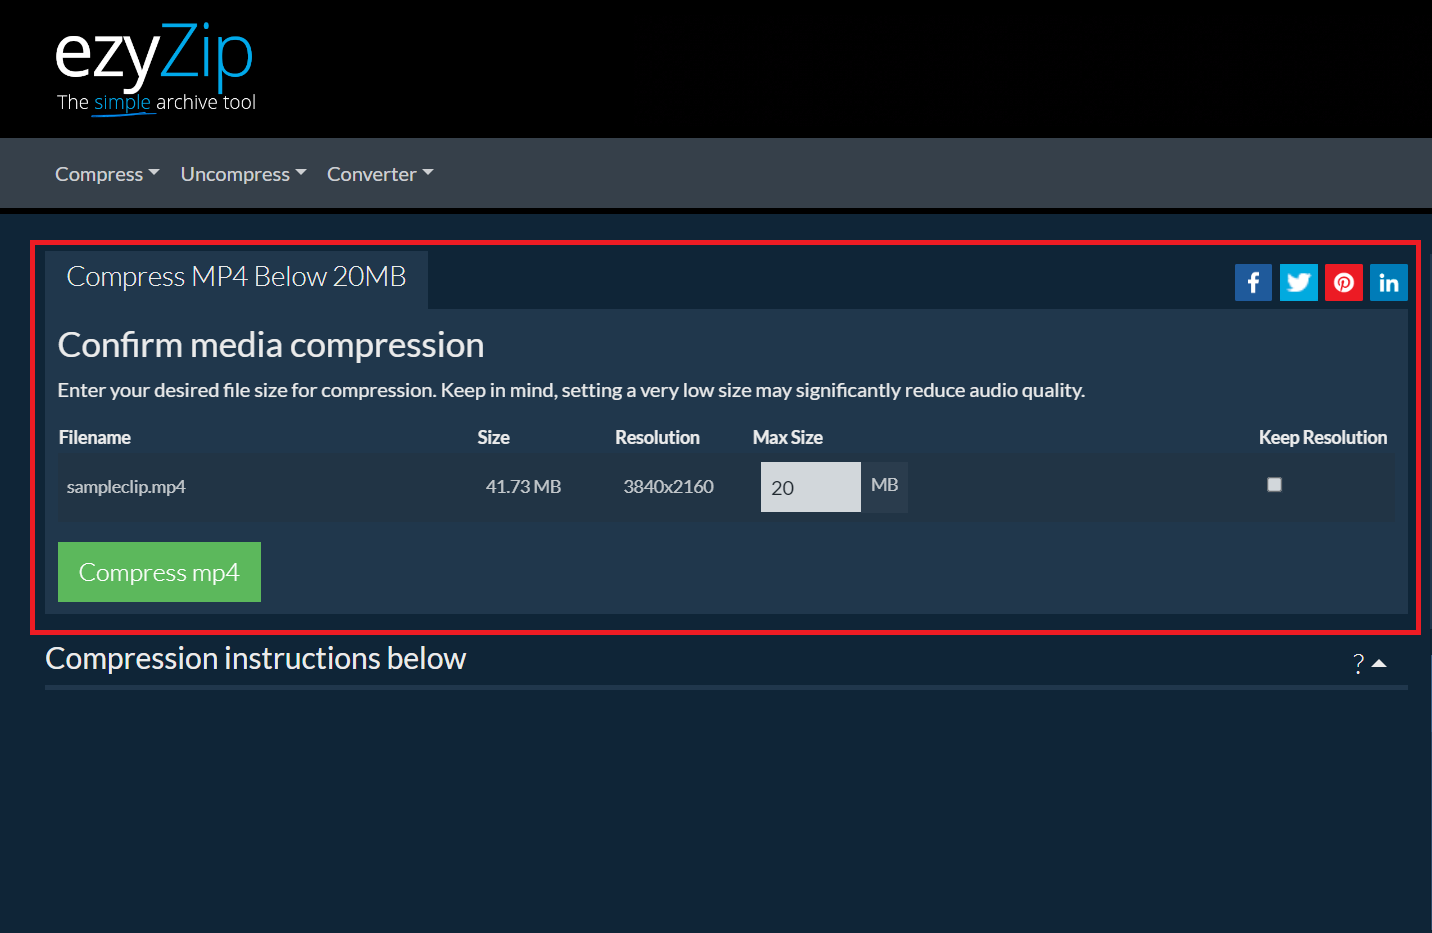
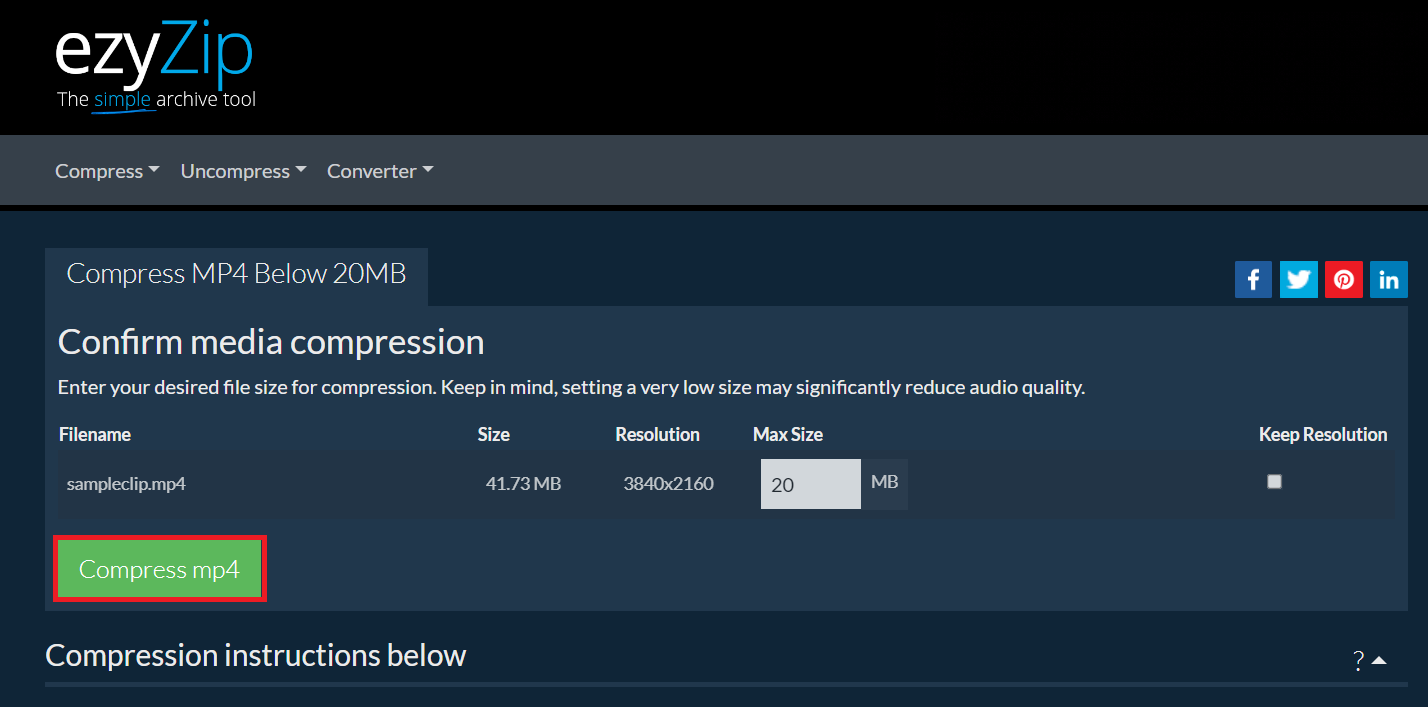
- Choose Compression Settings: Select your desired settings for resolution, bitrate, or other factors. Hit ‘Compress’ once then, it will start the conversion process. It’s like choosing how ripe you want your banana.
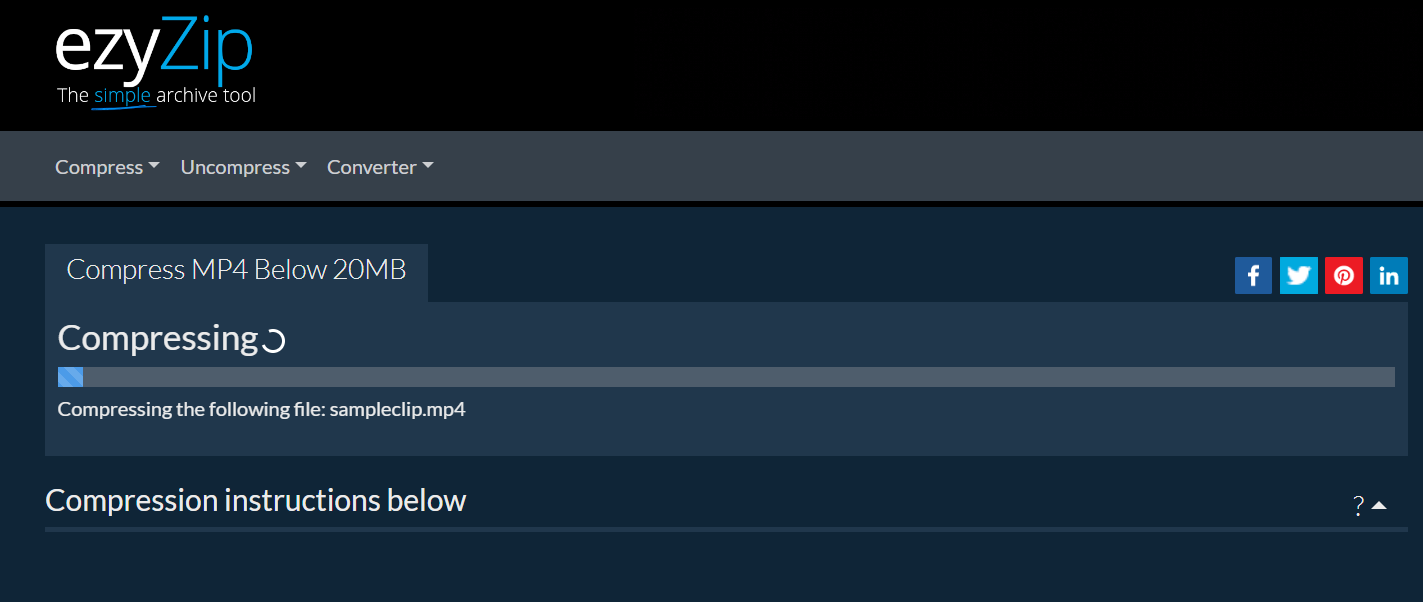
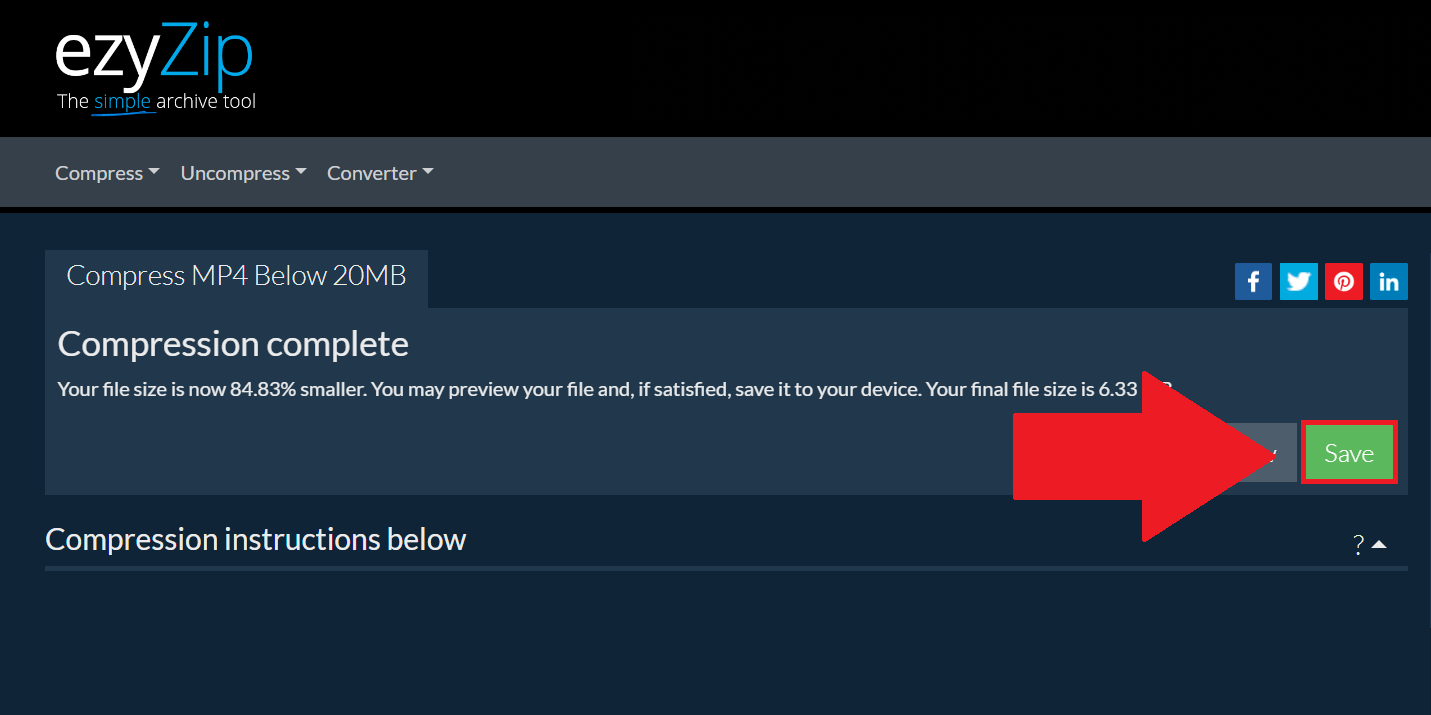
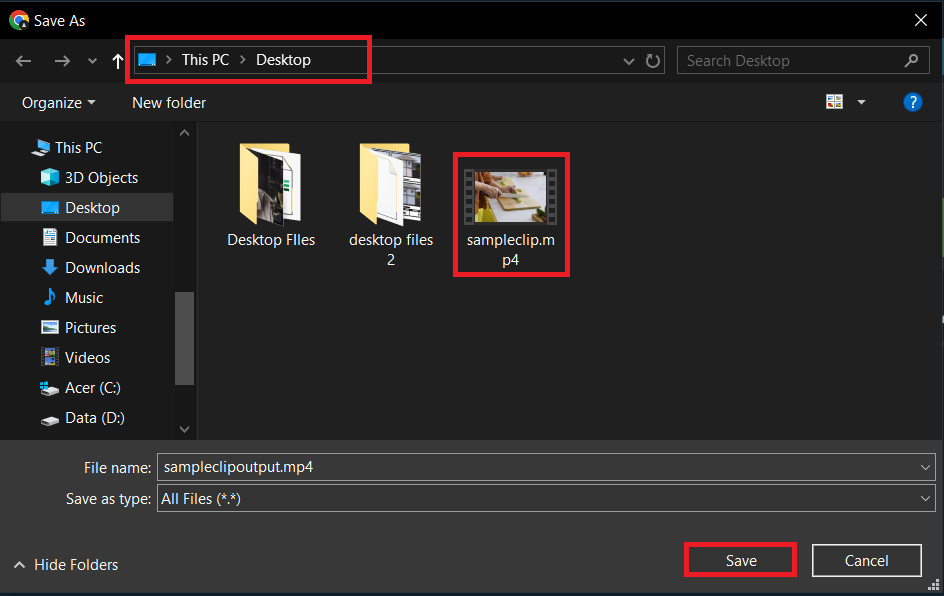
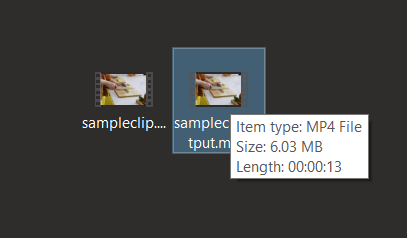
- Download Compressed Video: Once the compression is complete, download your video. It’s now ready for easier sharing and storage, as light as a feather (or a monkey’s whim)!
How To Reduce Video Quality Using VLC
VLC is widely used, free, and available on multiple platforms. It’s user-friendly and doesn’t require deep technical knowledge, perfect for all monkeys in the tech jungle.
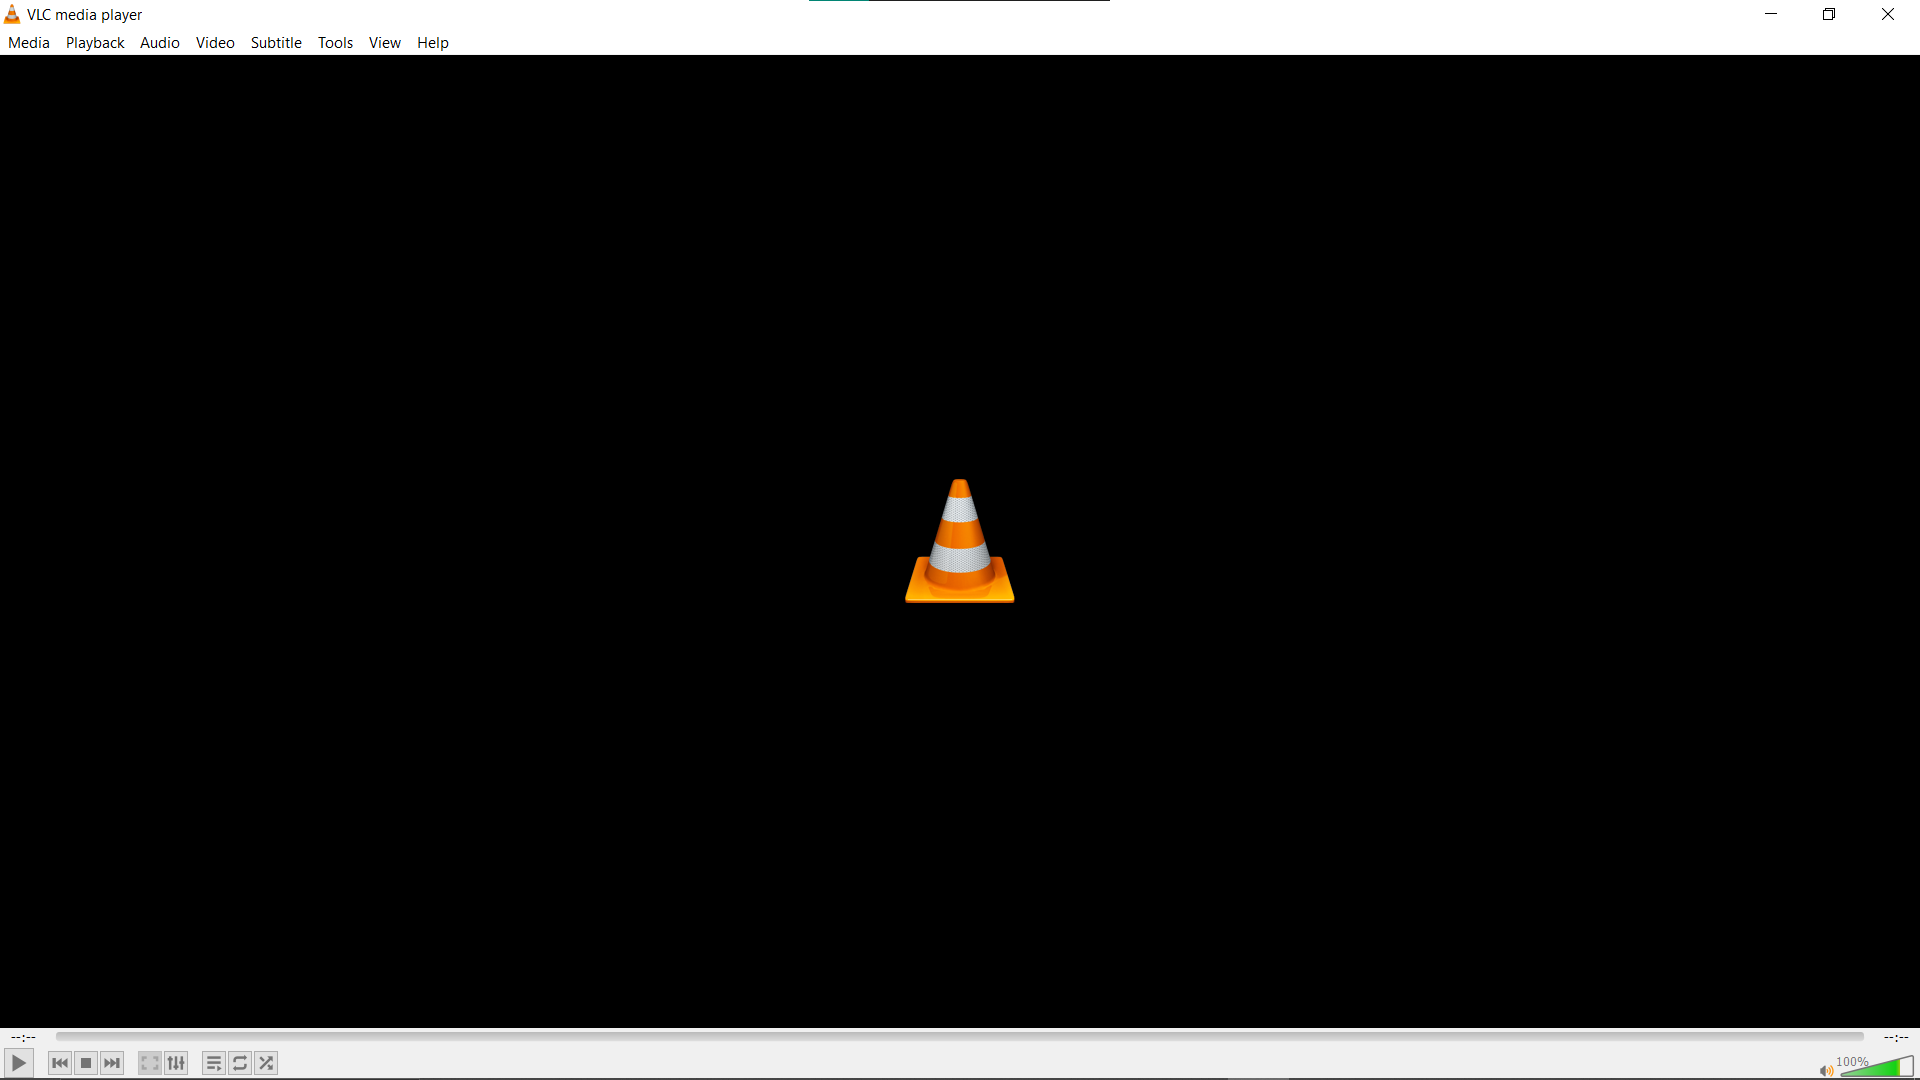
- Open VLC Media Player: Make sure you have VLC installed, then open it up. It’s like the base camp for your video quality reduction expedition.
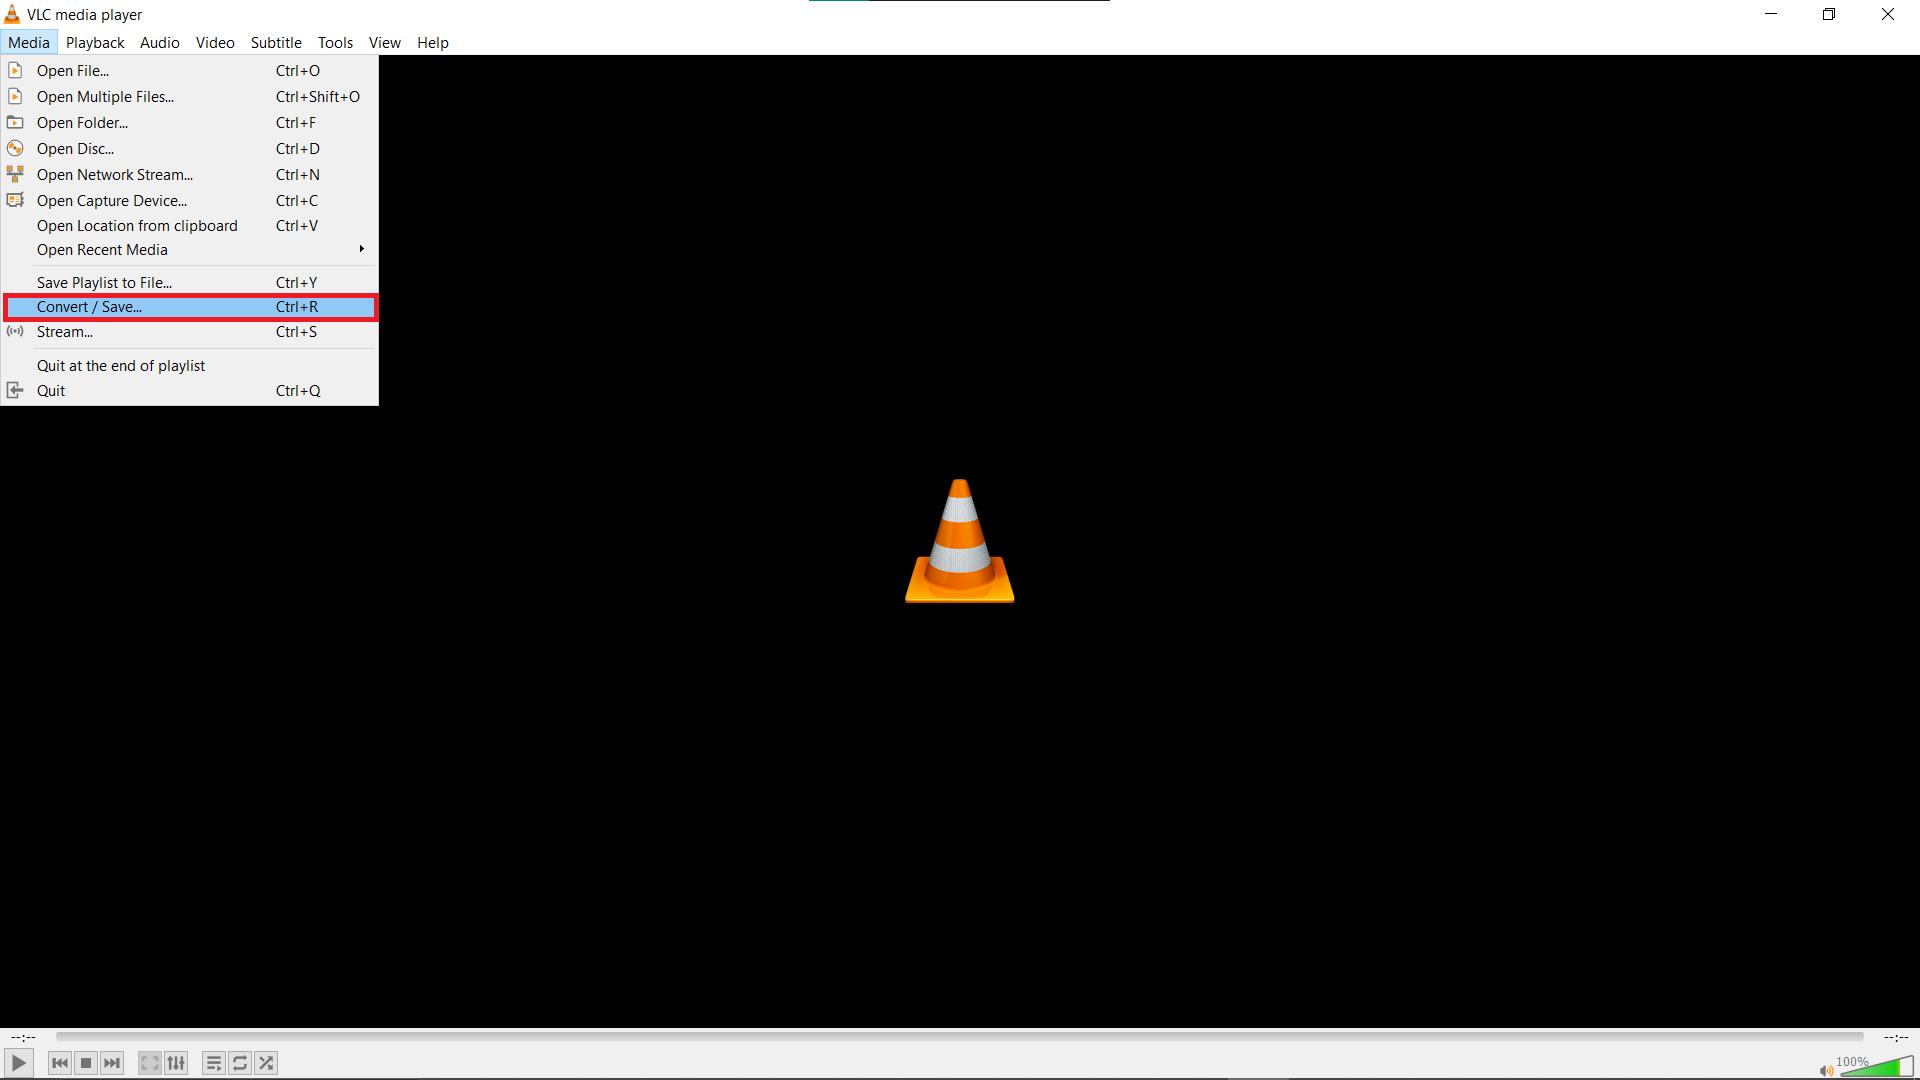
- Go to Media and Convert/Save: Navigate to the ‘Media’ menu, then select ‘Convert / Save’. It’s like picking the right tool for your banana peeling.
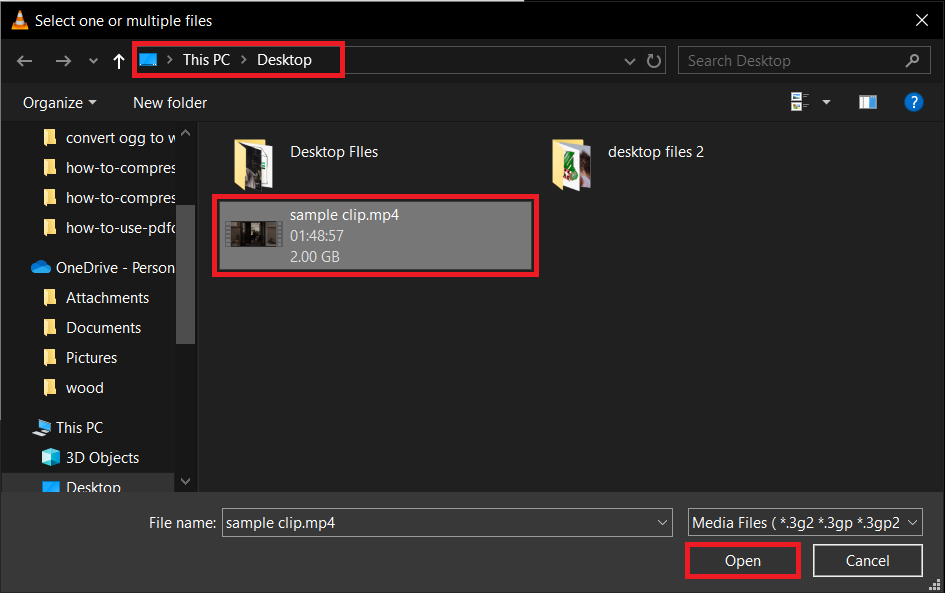
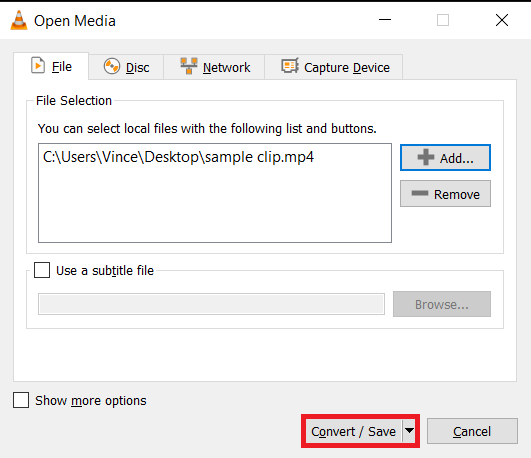
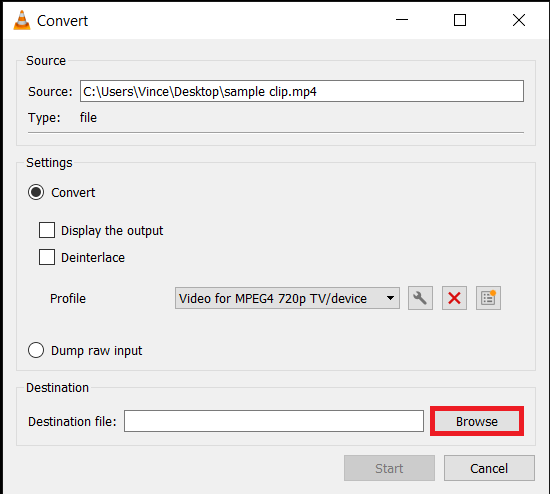
- Add Video and Select Convert/Save: Click on ‘Add’ to choose the video you want to compress, then click on ‘Convert / Save’. This step is as easy as swinging from vine to vine.

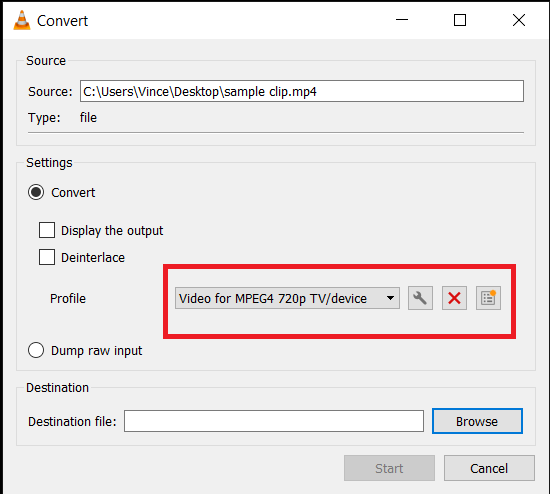
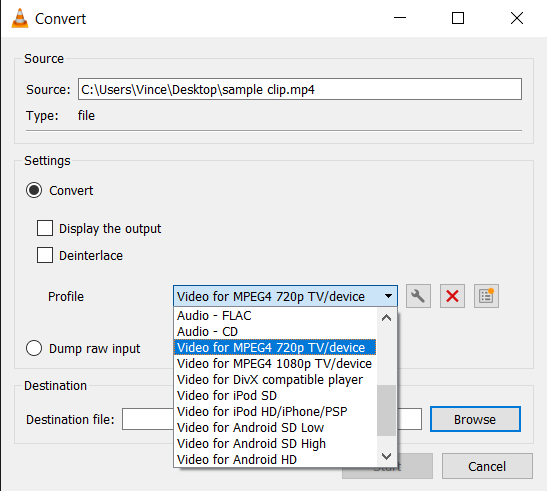
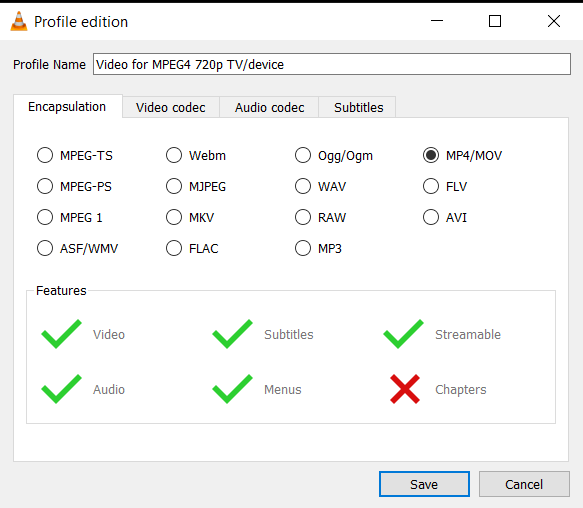
- Choose Your Compression Options: In the settings, select the format and adjust the resolution, bitrate, and other factors. It’s like customizing your jungle gear before an adventure.

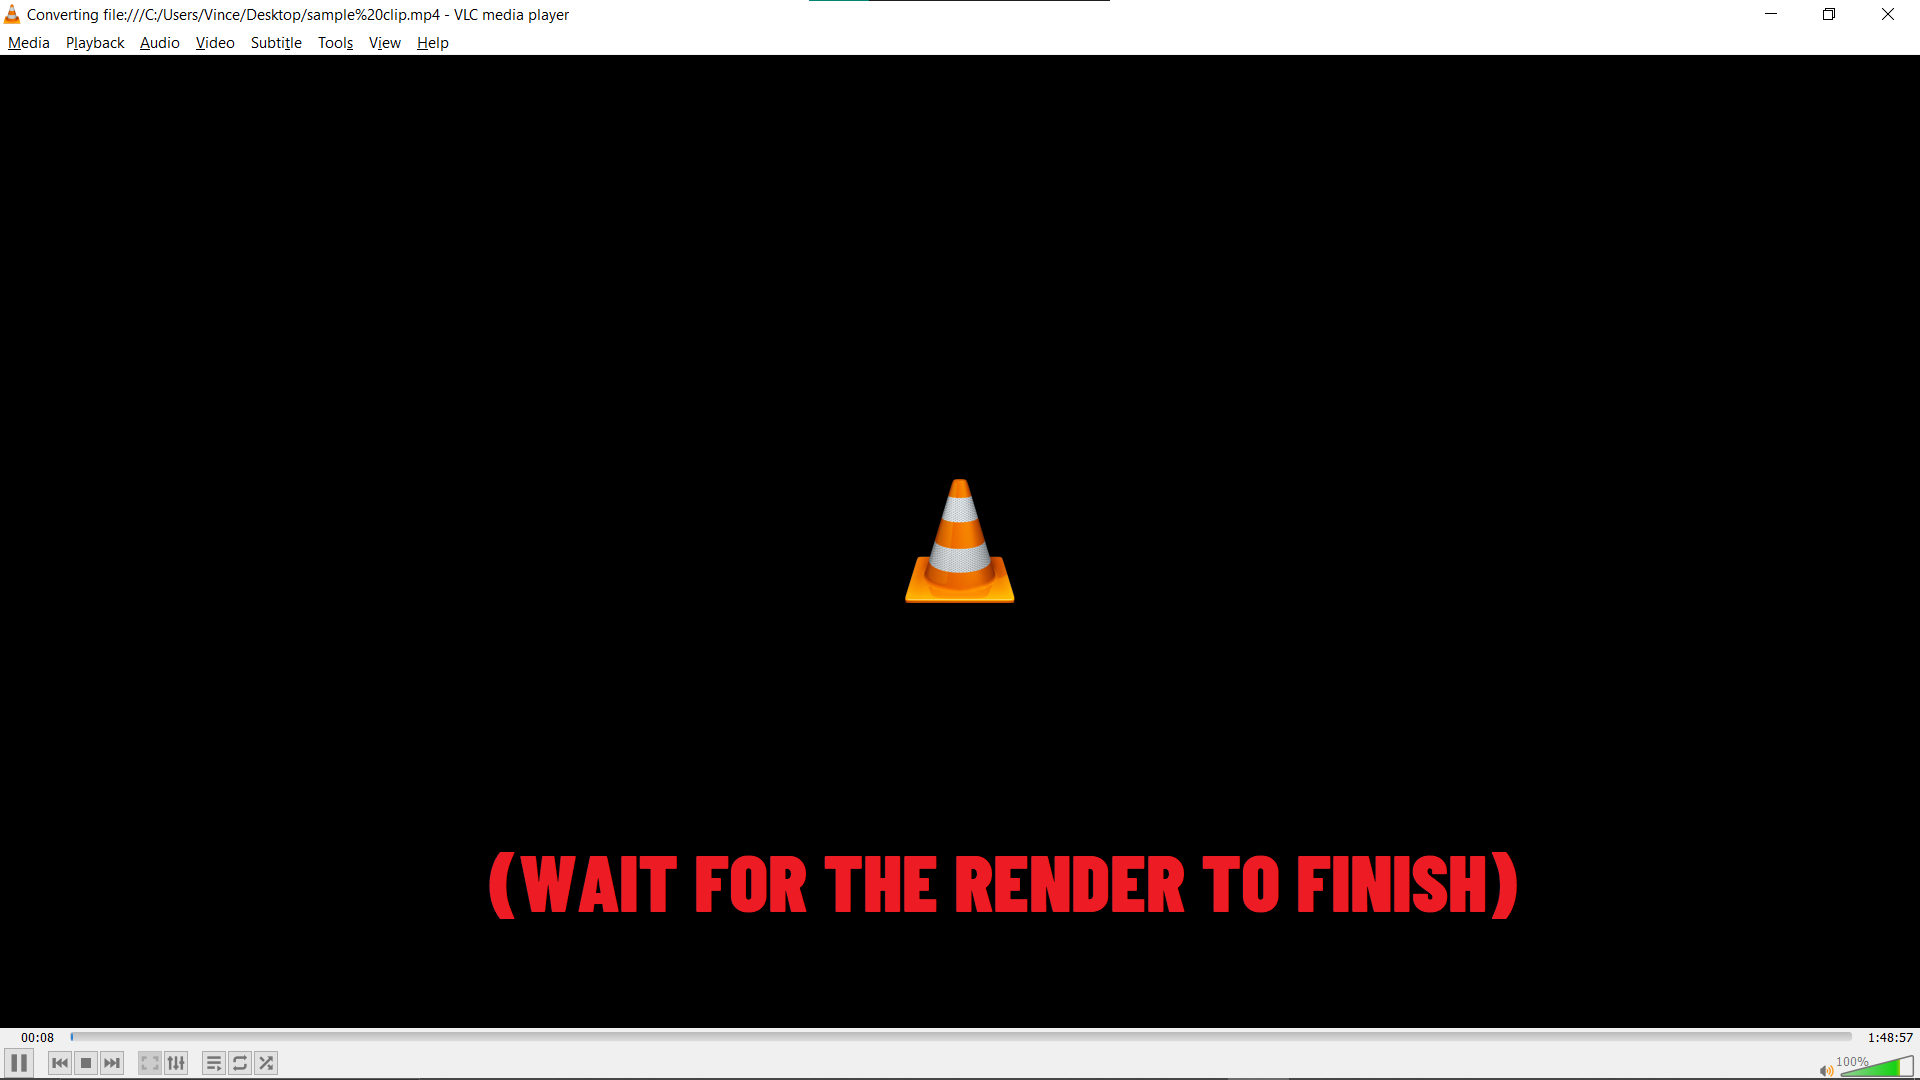
- Start the Conversion: Once you’re all set, start the conversion process. VLC will now work its magic, turning your hefty video into a nimble monkey, ready to leap through the digital trees!
How To Reduce Video Quality with FFmpeg
For those who love a bit of command-line adventure, FFmpeg is your jungle gym. It’s a powerful tool that can change video quality faster than a monkey finds bananas. FFmpeg is versatile and efficient, perfect for handling all sorts of video formats and quality adjustments.
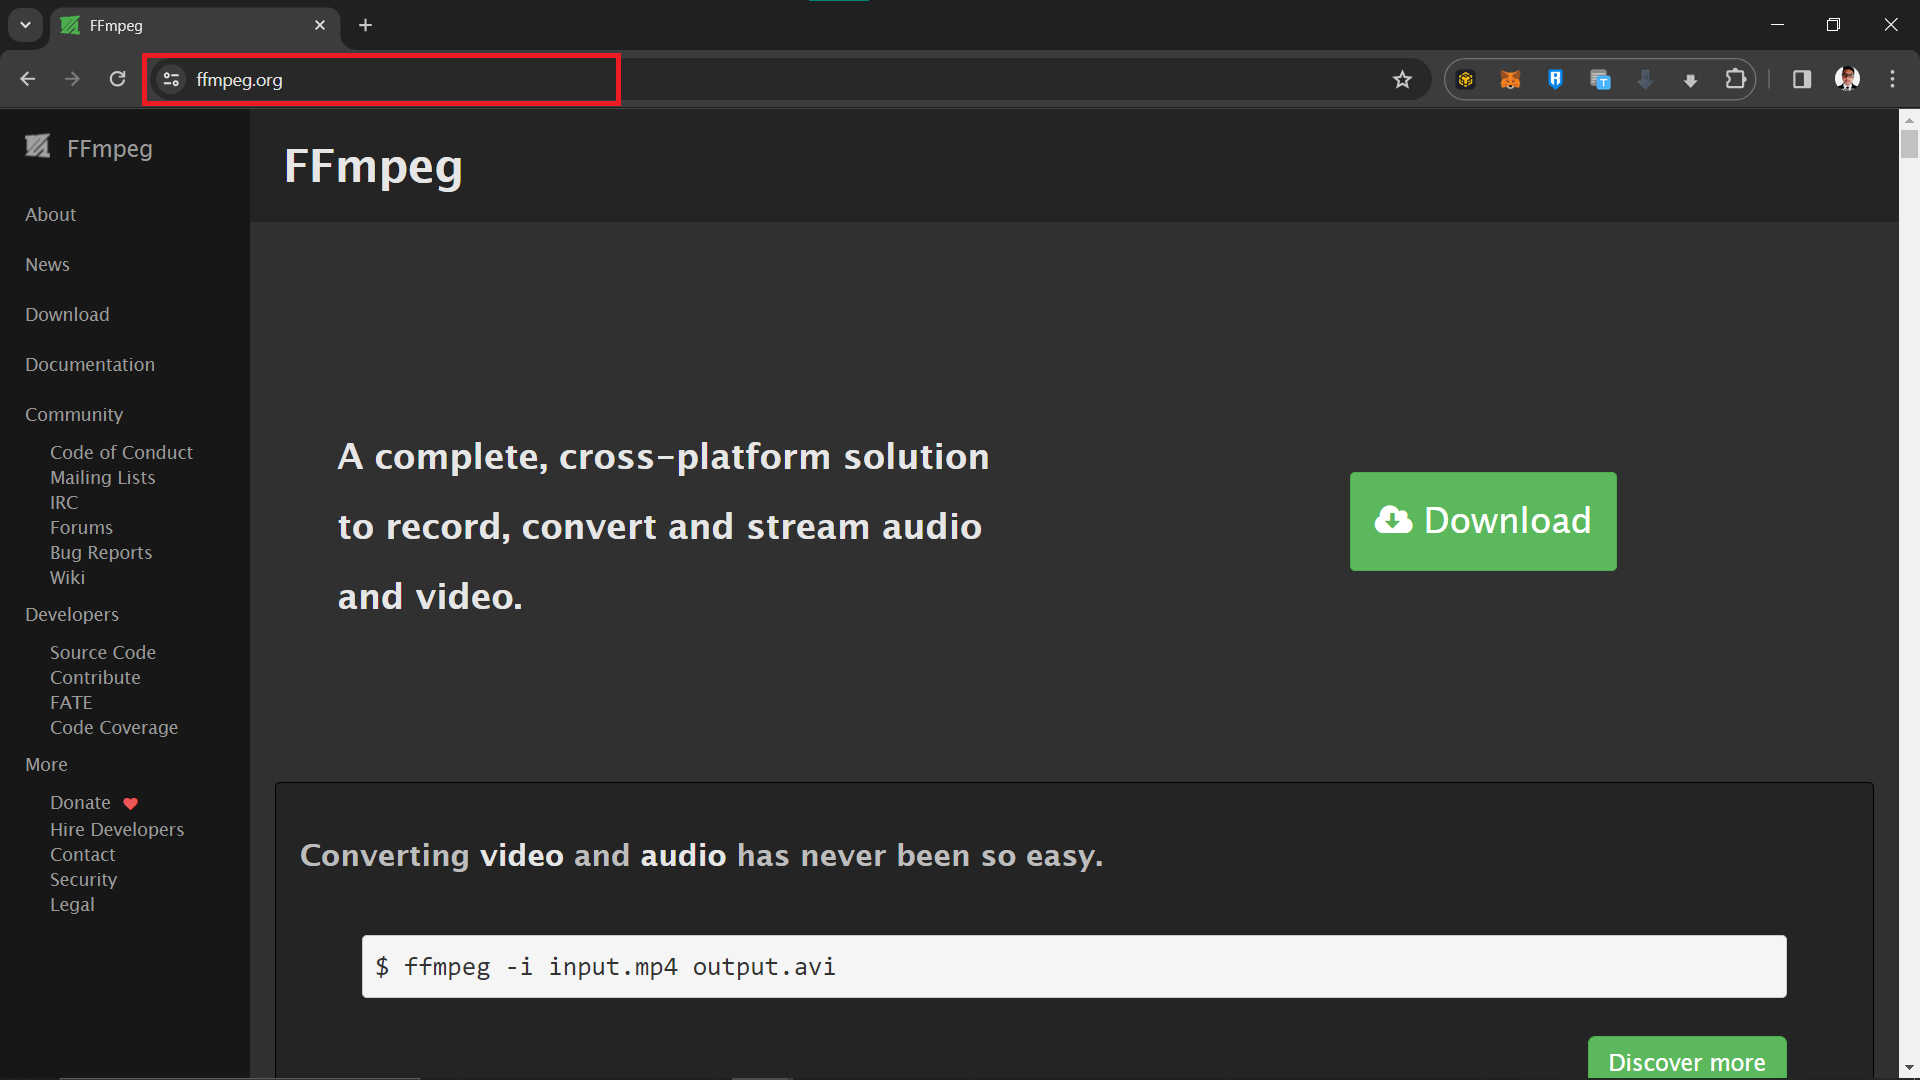
- Install FFmpeg: First, ensure FFmpeg is installed on your system. It’s widely available and free to use.
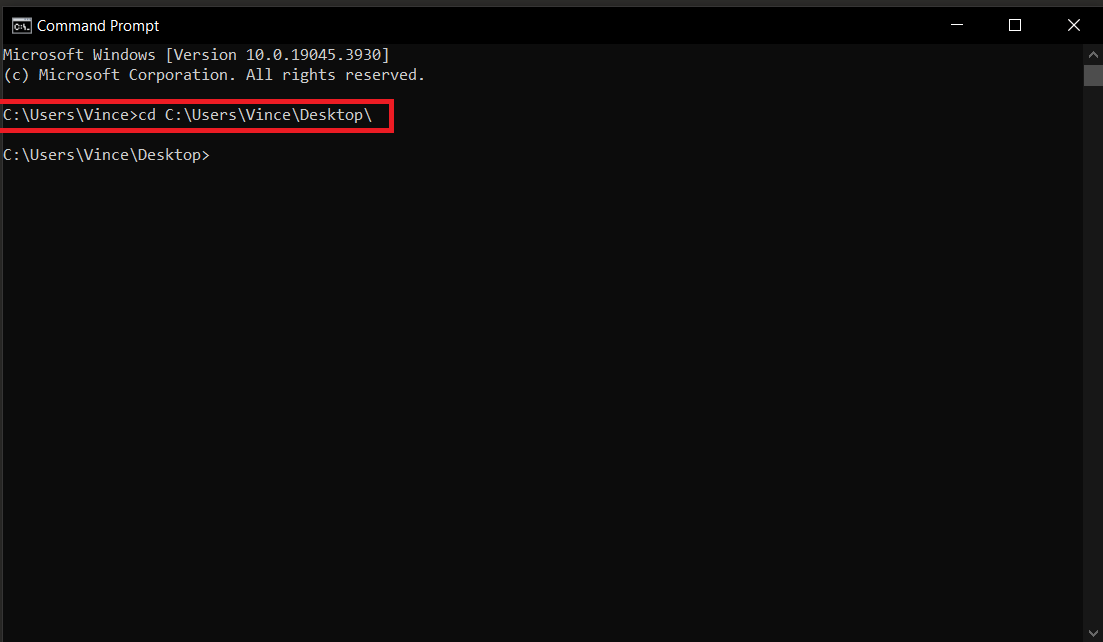
- Open Command Line: Navigate to your command line tool, then use ‘cd’ command to mount the directory where your file is located.
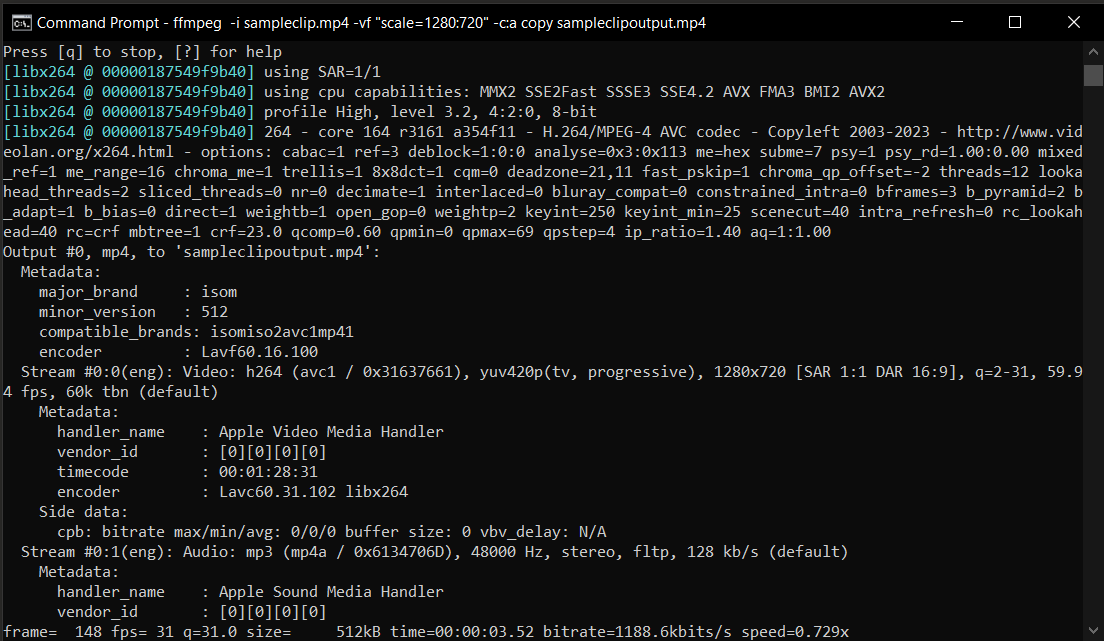
- Use FFmpeg Commands: Execute commands to adjust resolution, bitrate, frame rate, etc. For instance, ffmpeg -i input.mp4 -vf “scale=1280:720” -c:a copy output.mp4 changes the resolution.
ffmpeg -i input.mp4 -vf "scale=1280:720" -c:a copy output.mp4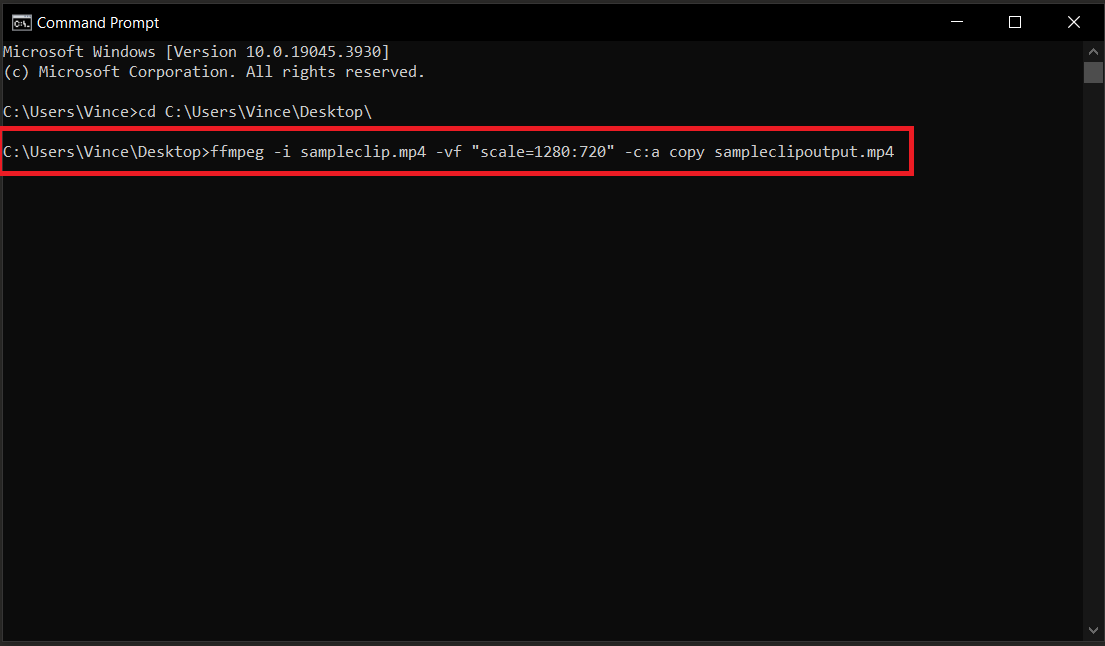
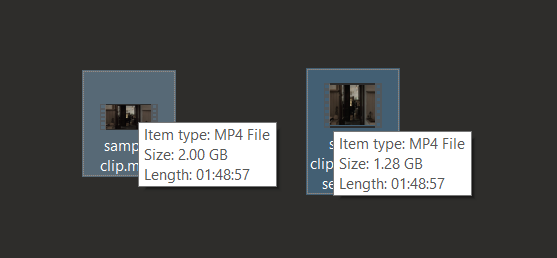
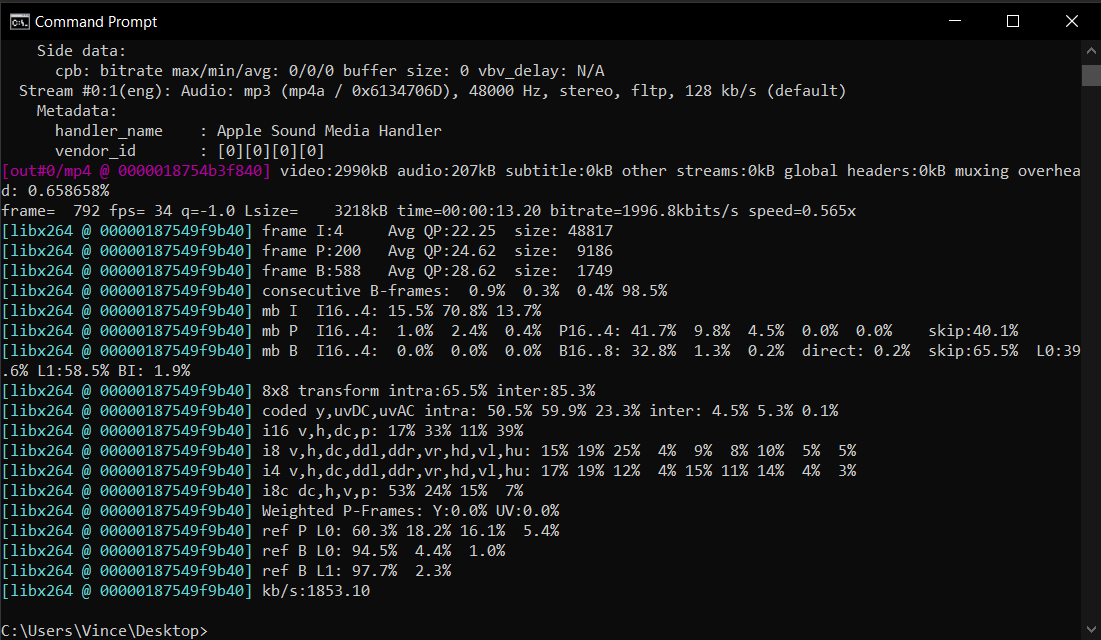
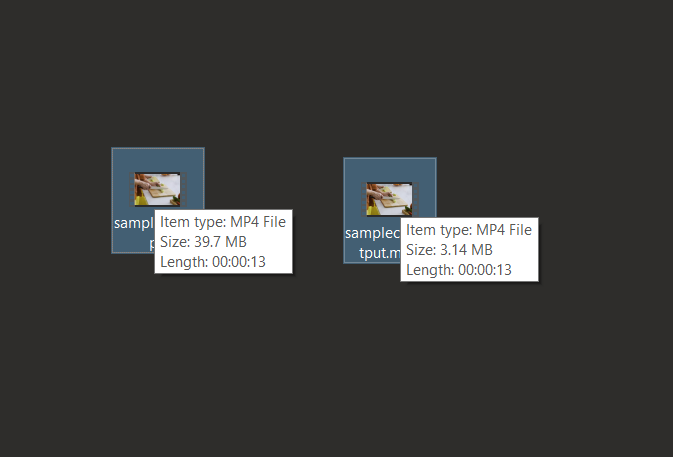
- Check Your Video: After running the command, your video will be transformed, ready to roam the digital wilds more freely!
There you have it, jungle explorers – a guide to reducing video quality that’s as fun as a barrel of monkeys! Whether you’re a command-line conqueror, an online tool enthusiast, or a VLC virtuoso, these tips will help you navigate the wild world of video files with ease. No more going bananas over large files; you’re now ready to zip through them with the skill of a tech-savvy primate!