
In the vast digital jungle where data roams free, uploading a video to Airtable can sometimes feel like trying to fit a gorilla into a hammock. But fret not, intrepid explorer! Whether you’re charting unknown territories or just trying to share your latest digital capture, keeping your video files under Airtable’s 20MB limit is key. With a little bit of monkey wisdom and the right tools, you’ll be compressing your videos down to size in no time. Let’s embark on this adventure with humor and simplicity, ensuring your video is as nimble as a monkey swinging through the trees.
Table of contents
- Method 1: Compress Video Files For Airtable Using Online Tool
- Method 2: Compress Videos For Airtable with Adobe Media Encoder on Windows
- Method 3: Compress Videos For Airtable with iMovie on Mac
- Method 4: Reduce Video Size For Airtable with VLC on Linux
- Frequently Asked Questions About Reducing Video File Sizes for Airtable
Video guide showing how to reduce video size for Airtable with an online tool.
How To Compress Video Files For Airtable Using Online Tool
For those who prefer to travel light through the canopy, ezyZip offers a no-installation-needed path to compress your video. It’s as easy as plucking a banana from a tree!
- Navigate to the Clearing: Swing over to EzyZip’s Video Compressor.
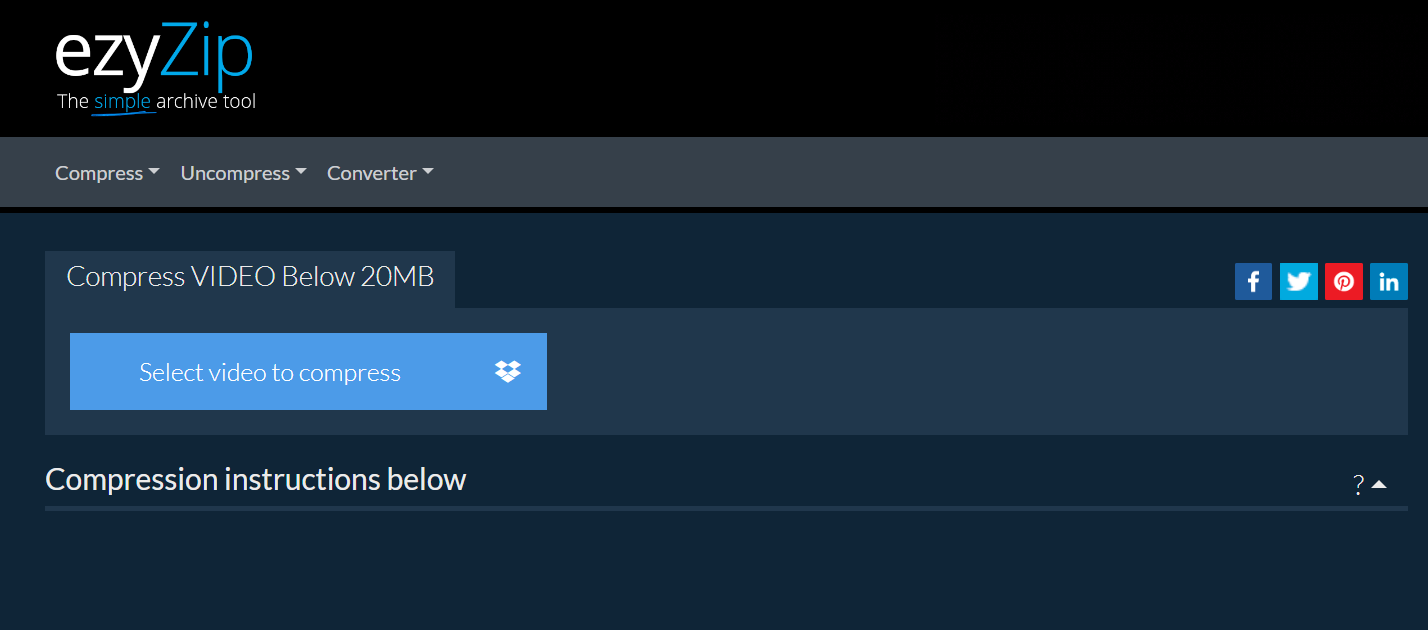
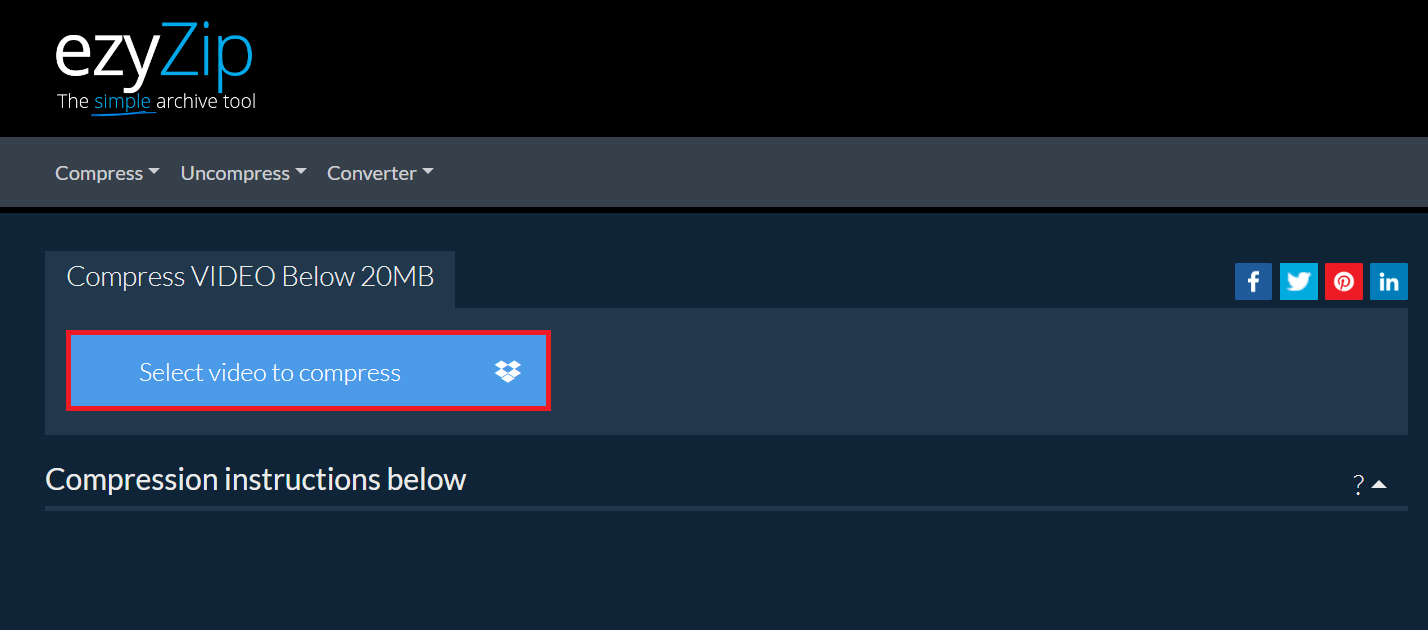
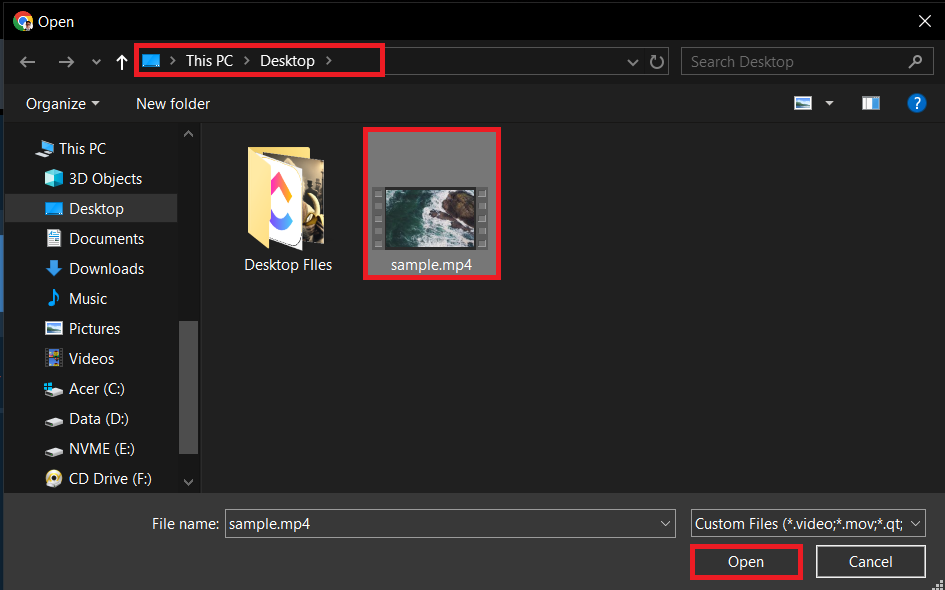
- Select Your Video: Click on “Select video to compress” and navigate through your jungle of files to find the video you wish to compress. Think of it as choosing the ripest banana from the bunch.
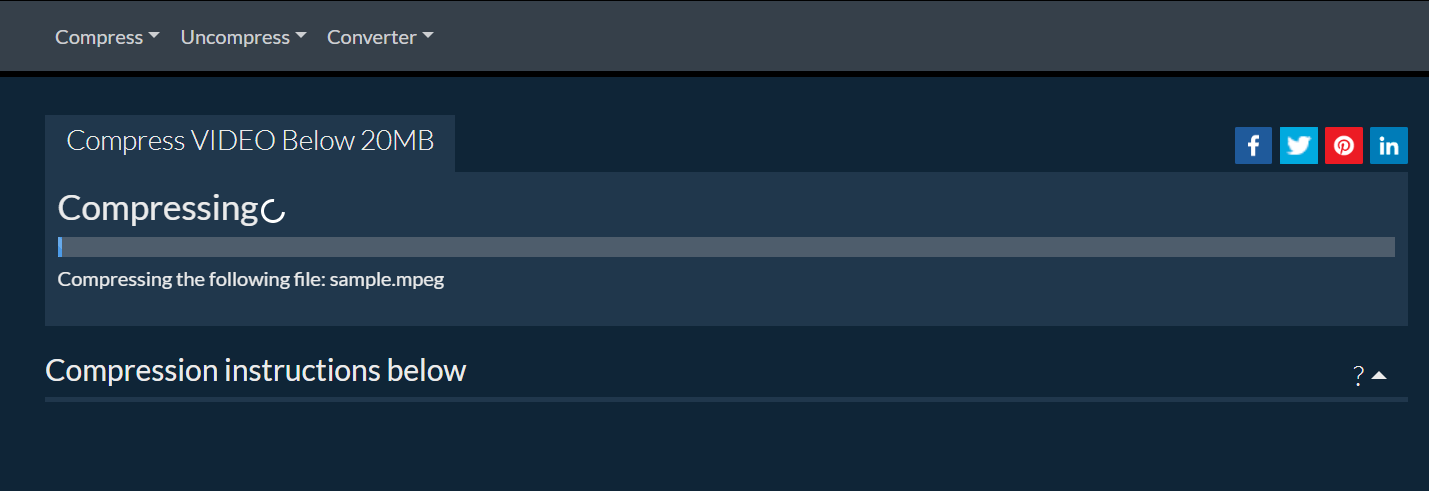
- Compress Your Video: Once your video is selected, ezyZip will automatically start the compression process. It’s like watching a python squeeze your video down to a more manageable size, but far less terrifying.
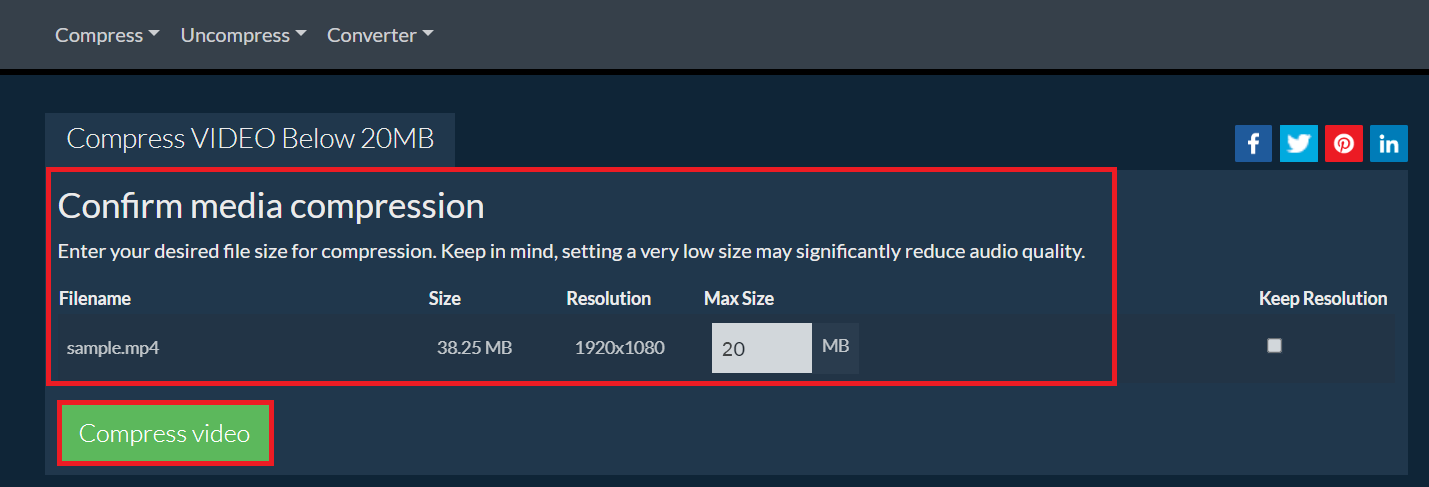
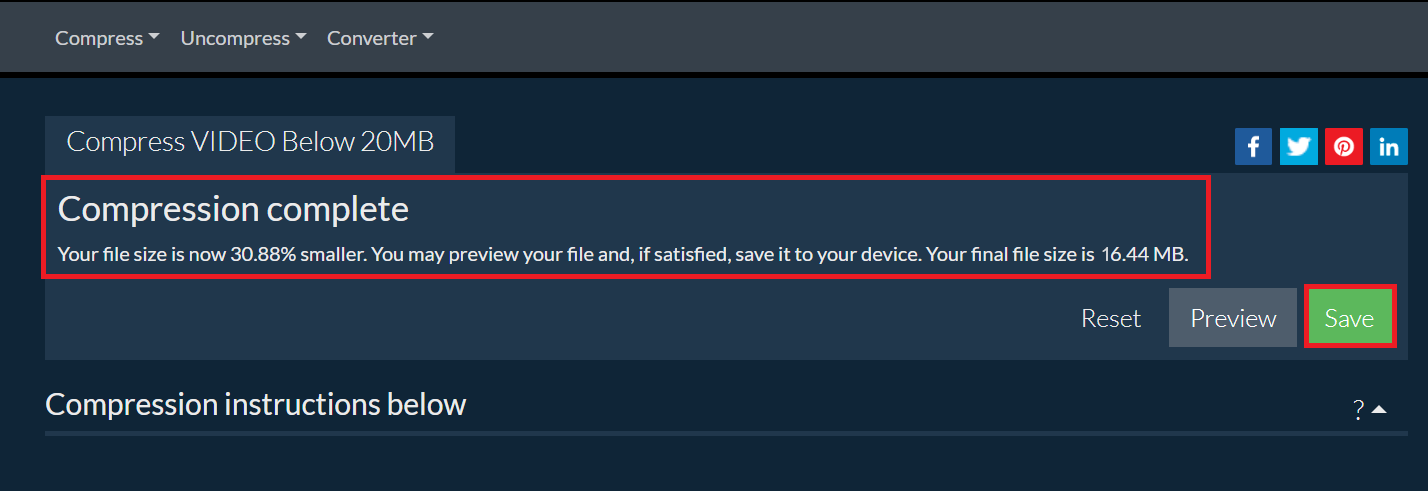
- Download Your Video: After the compression is complete, download your newly slimmed-down video. It’s now ready to be uploaded to Airtable, light as a feather and as nimble as a monkey.

How To Compress Videos For Airtable with Adobe Media Encoder on Windows
For the tech-savvy explorers who demand precision and control, Adobe Media Encoder is the tool to navigate through the thickest parts of the jungle.
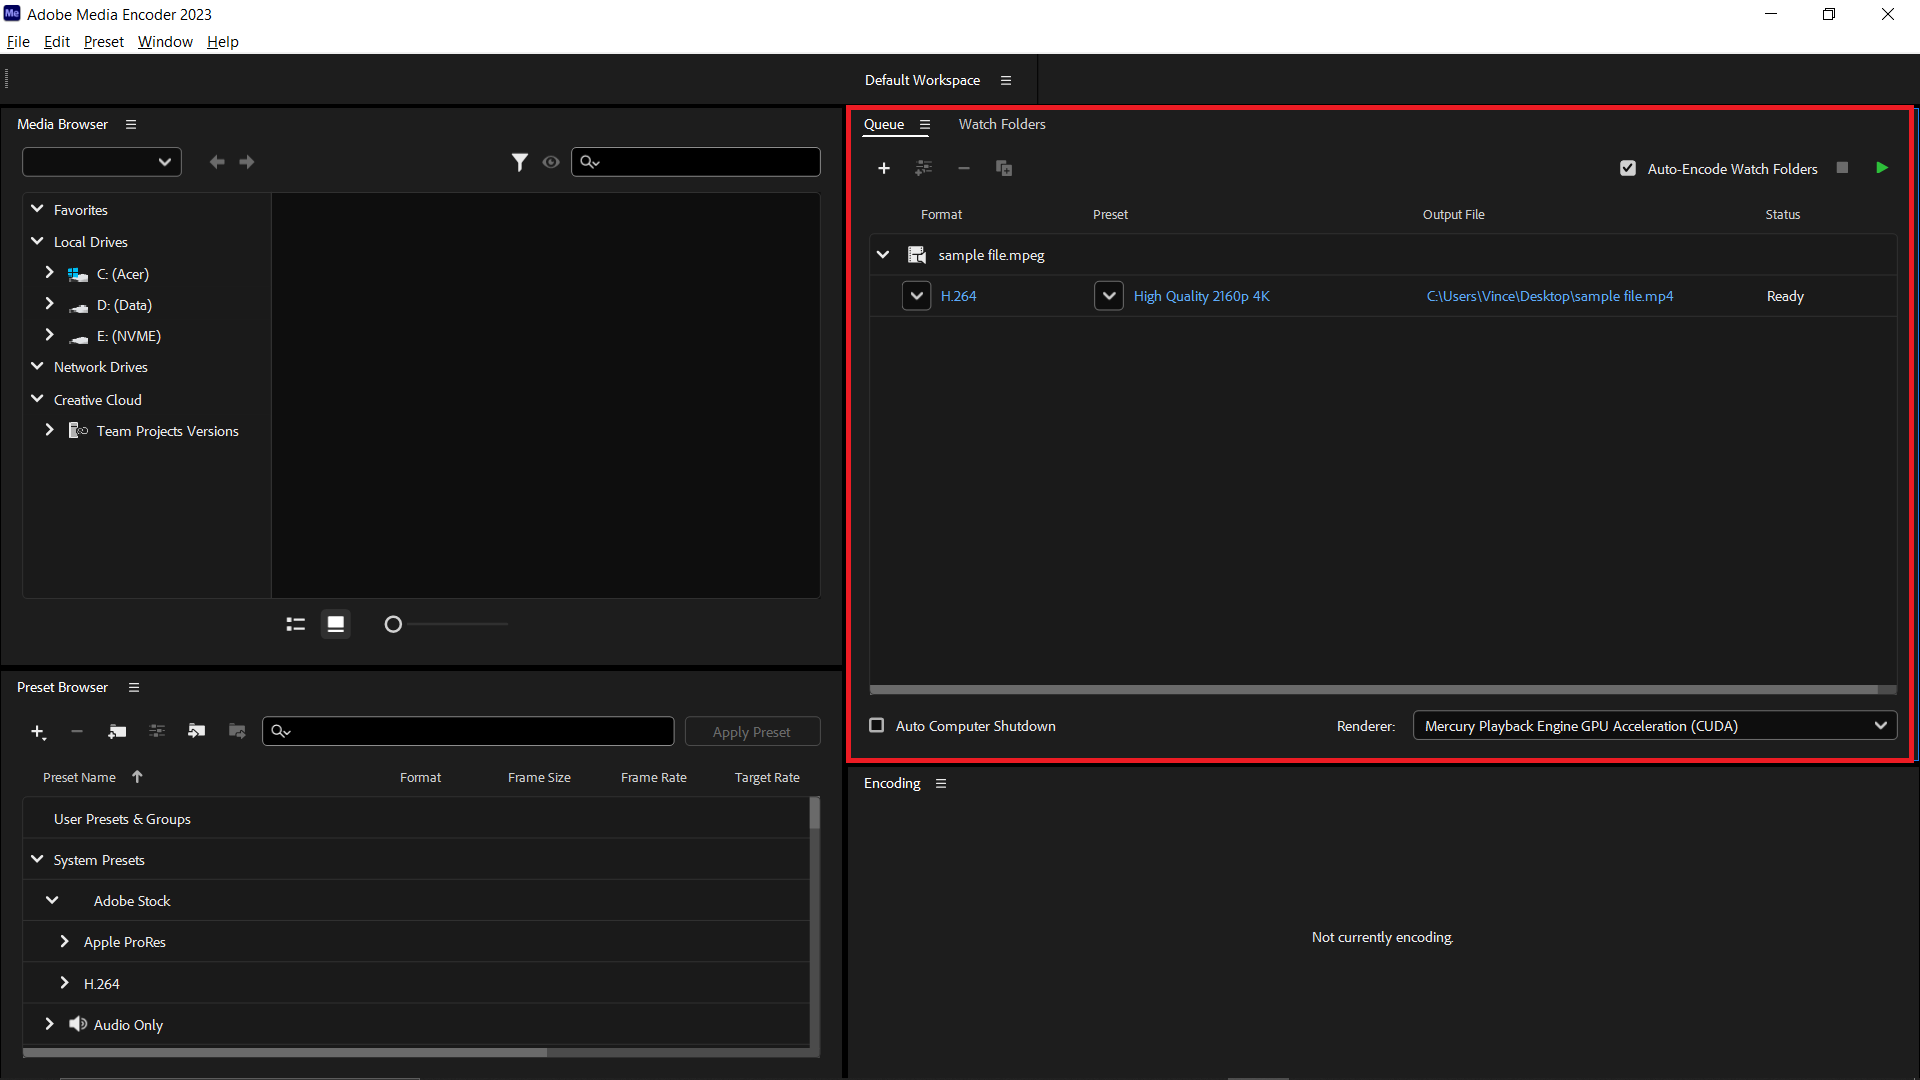
- Open Adobe Media Encoder: Launch your digital machete, Adobe Media Encoder.
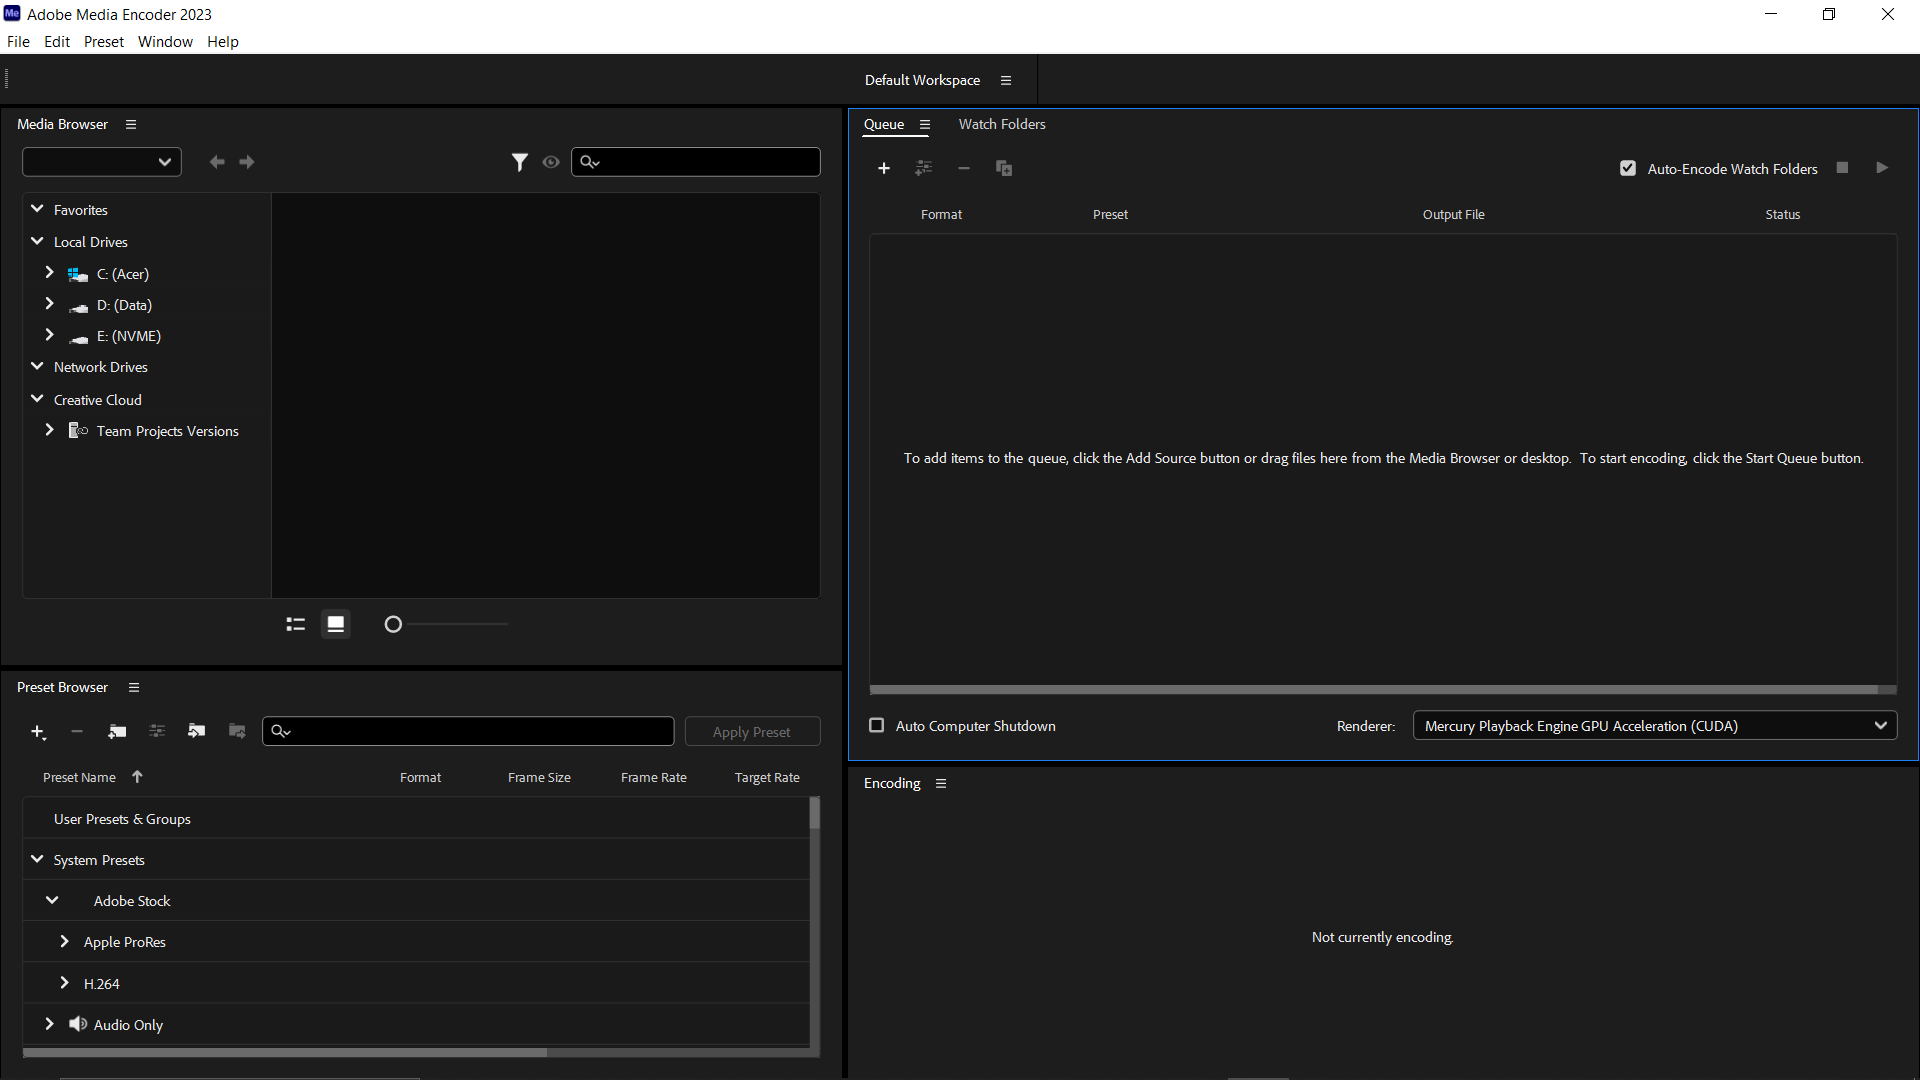
- Add Your Video: Drag and drop the video you want to compress into the queue. It’s like setting up your base camp.
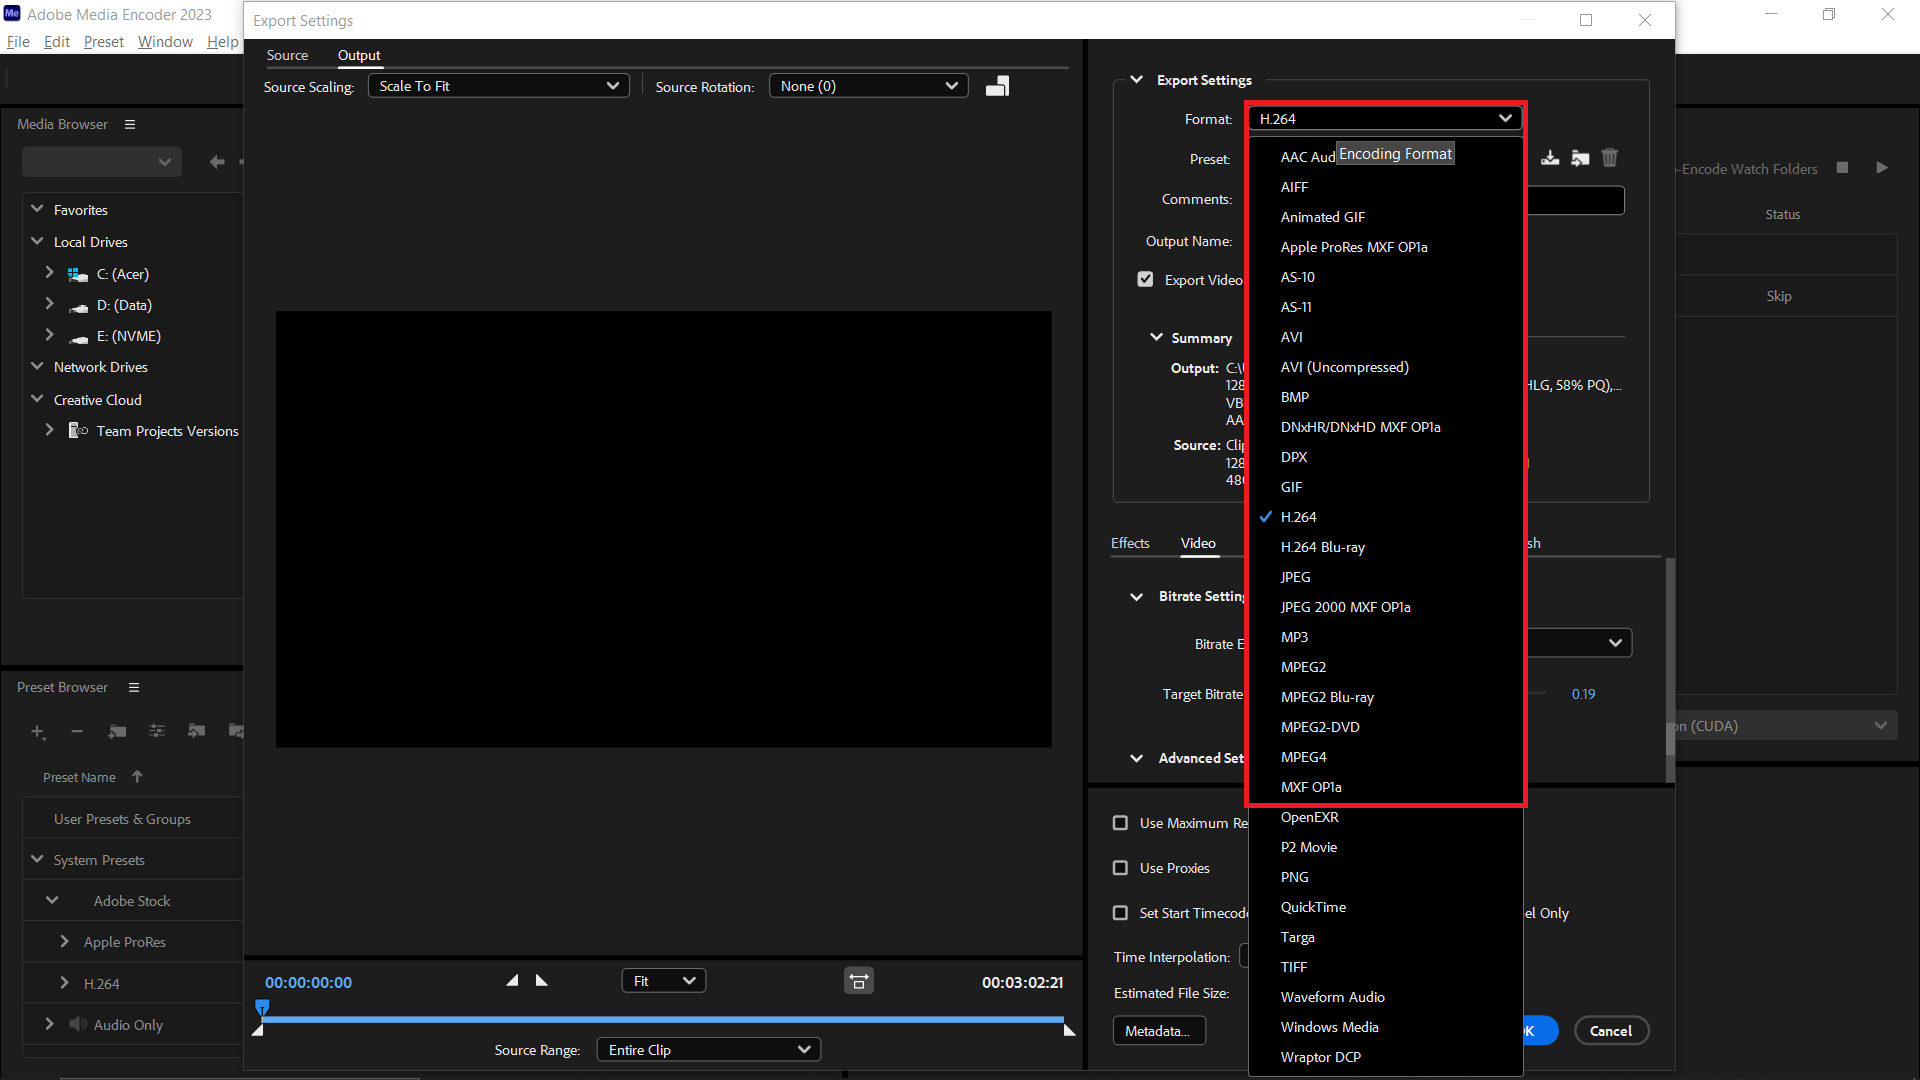
- Choose Your Format: Select a format that balances quality and file size, such as H.264, which is like choosing the right tools for your expedition.
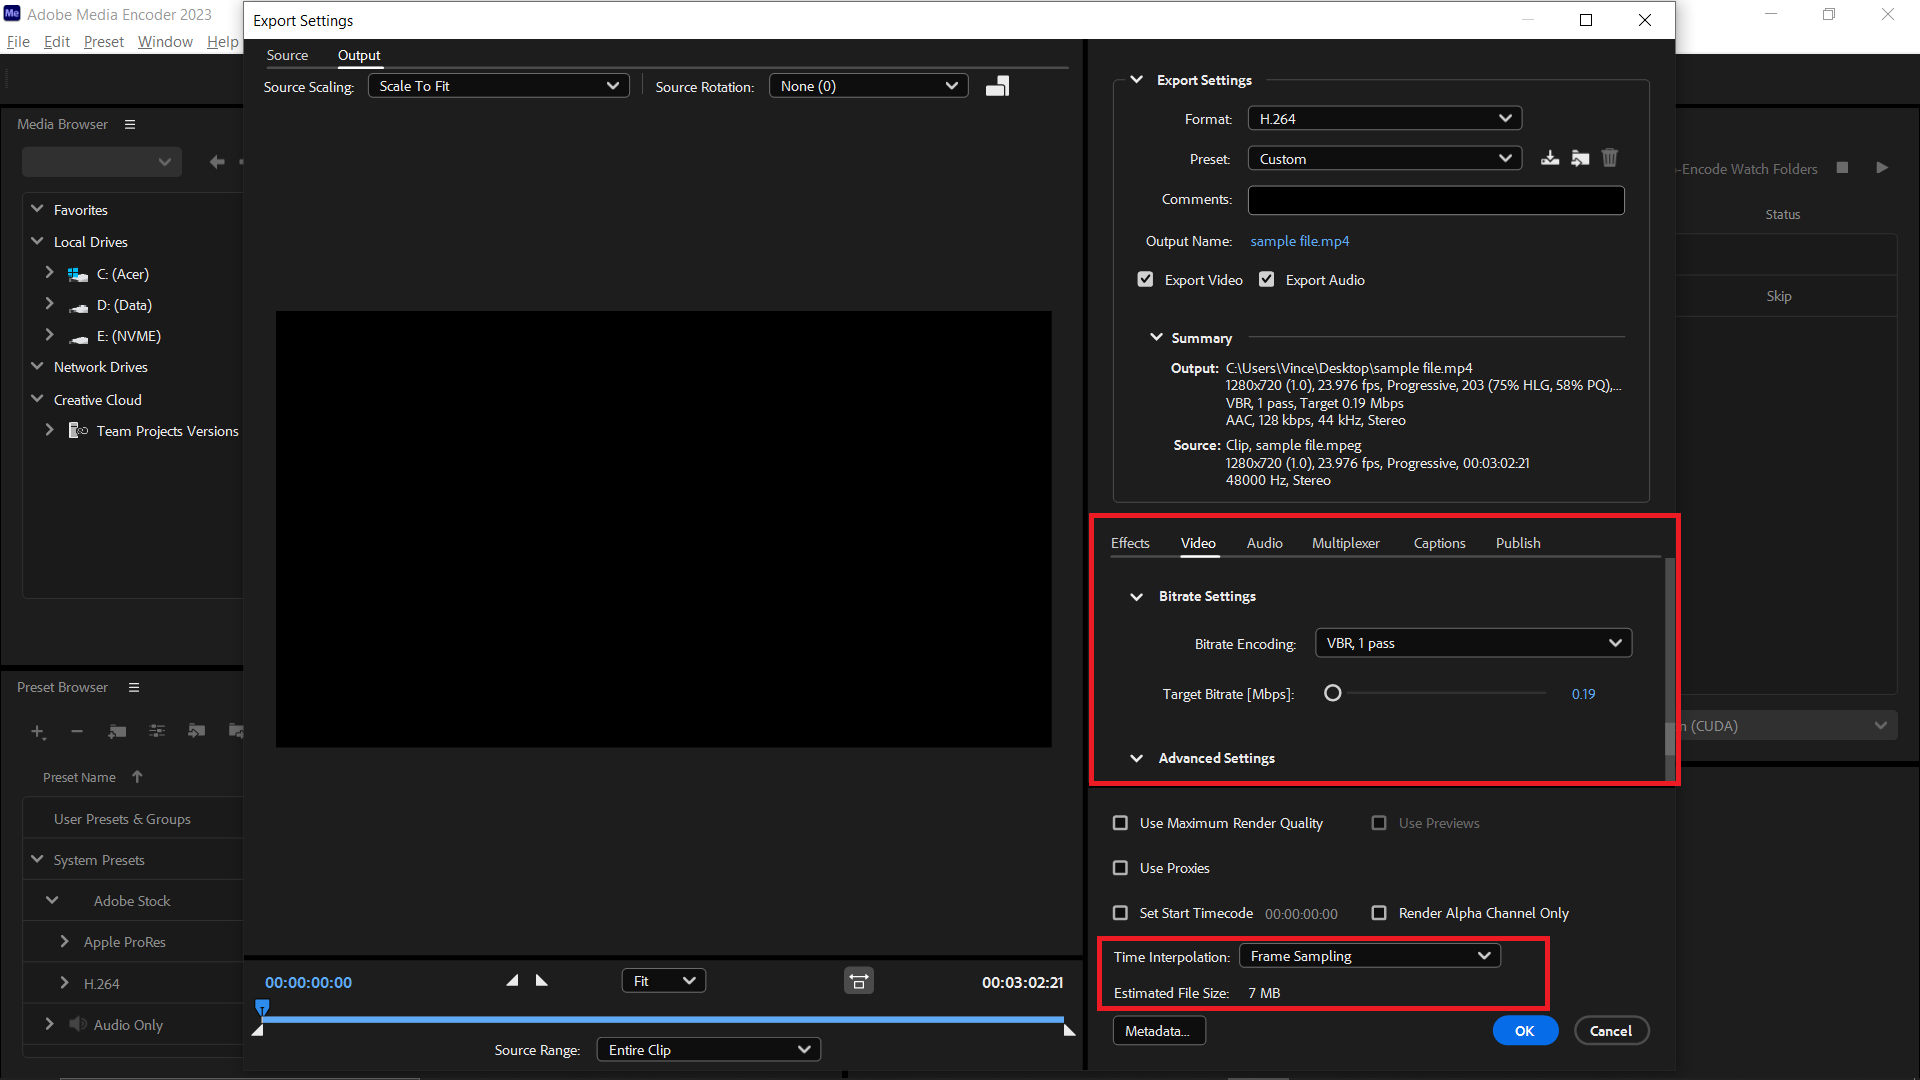
- Set the Target File Size: Adjust the bitrate settings to aim for a file size under 20MB. It’s like packing your backpack with just the essentials.
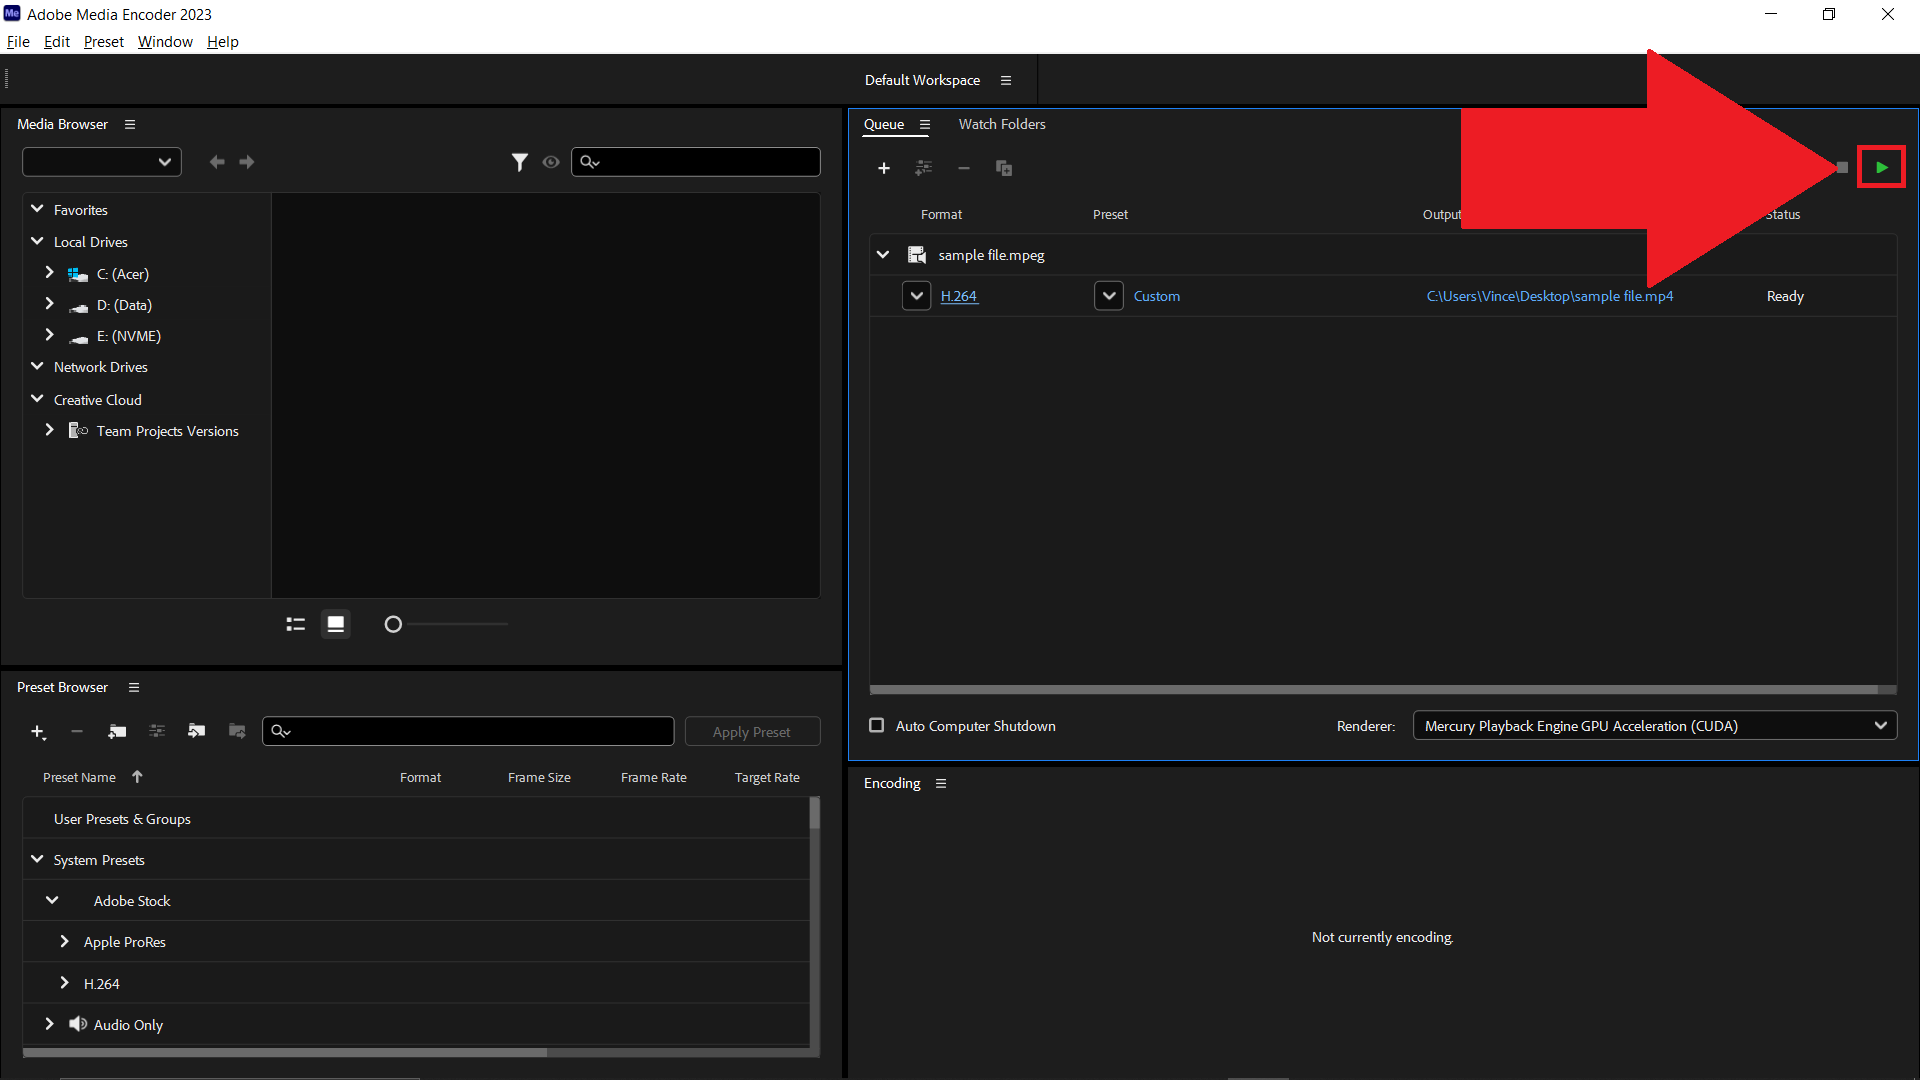
- Start the Compression: Hit the green play button to start encoding. Watch as your video is transformed, ready to be shared on AirTable.
How To Compress Videos For Airtable with iMovie on Mac
For the Mac users in our expedition, iMovie offers a built-in solution that’s as convenient as finding a banana tree when you’re starving.
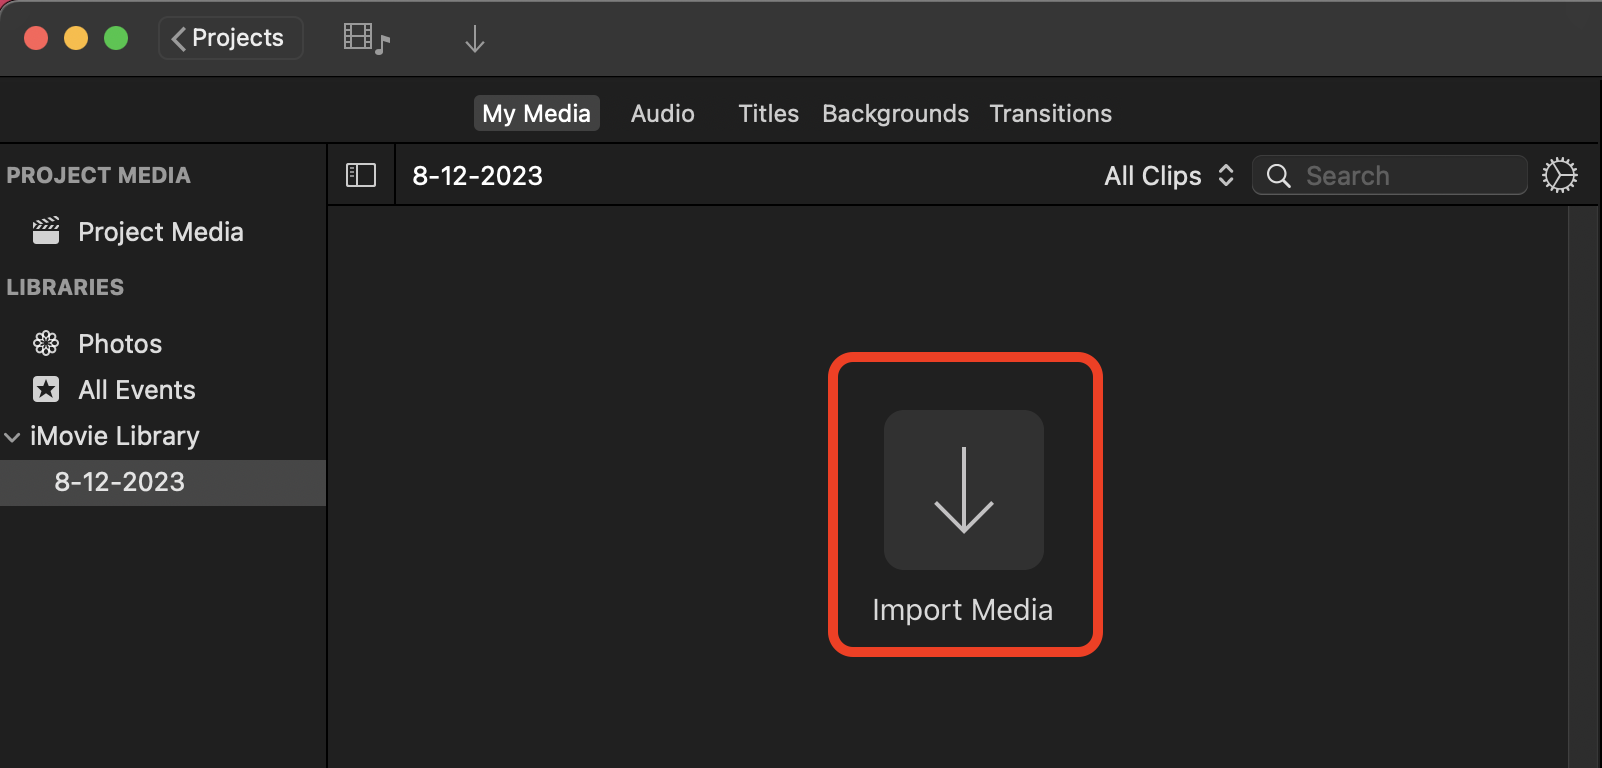
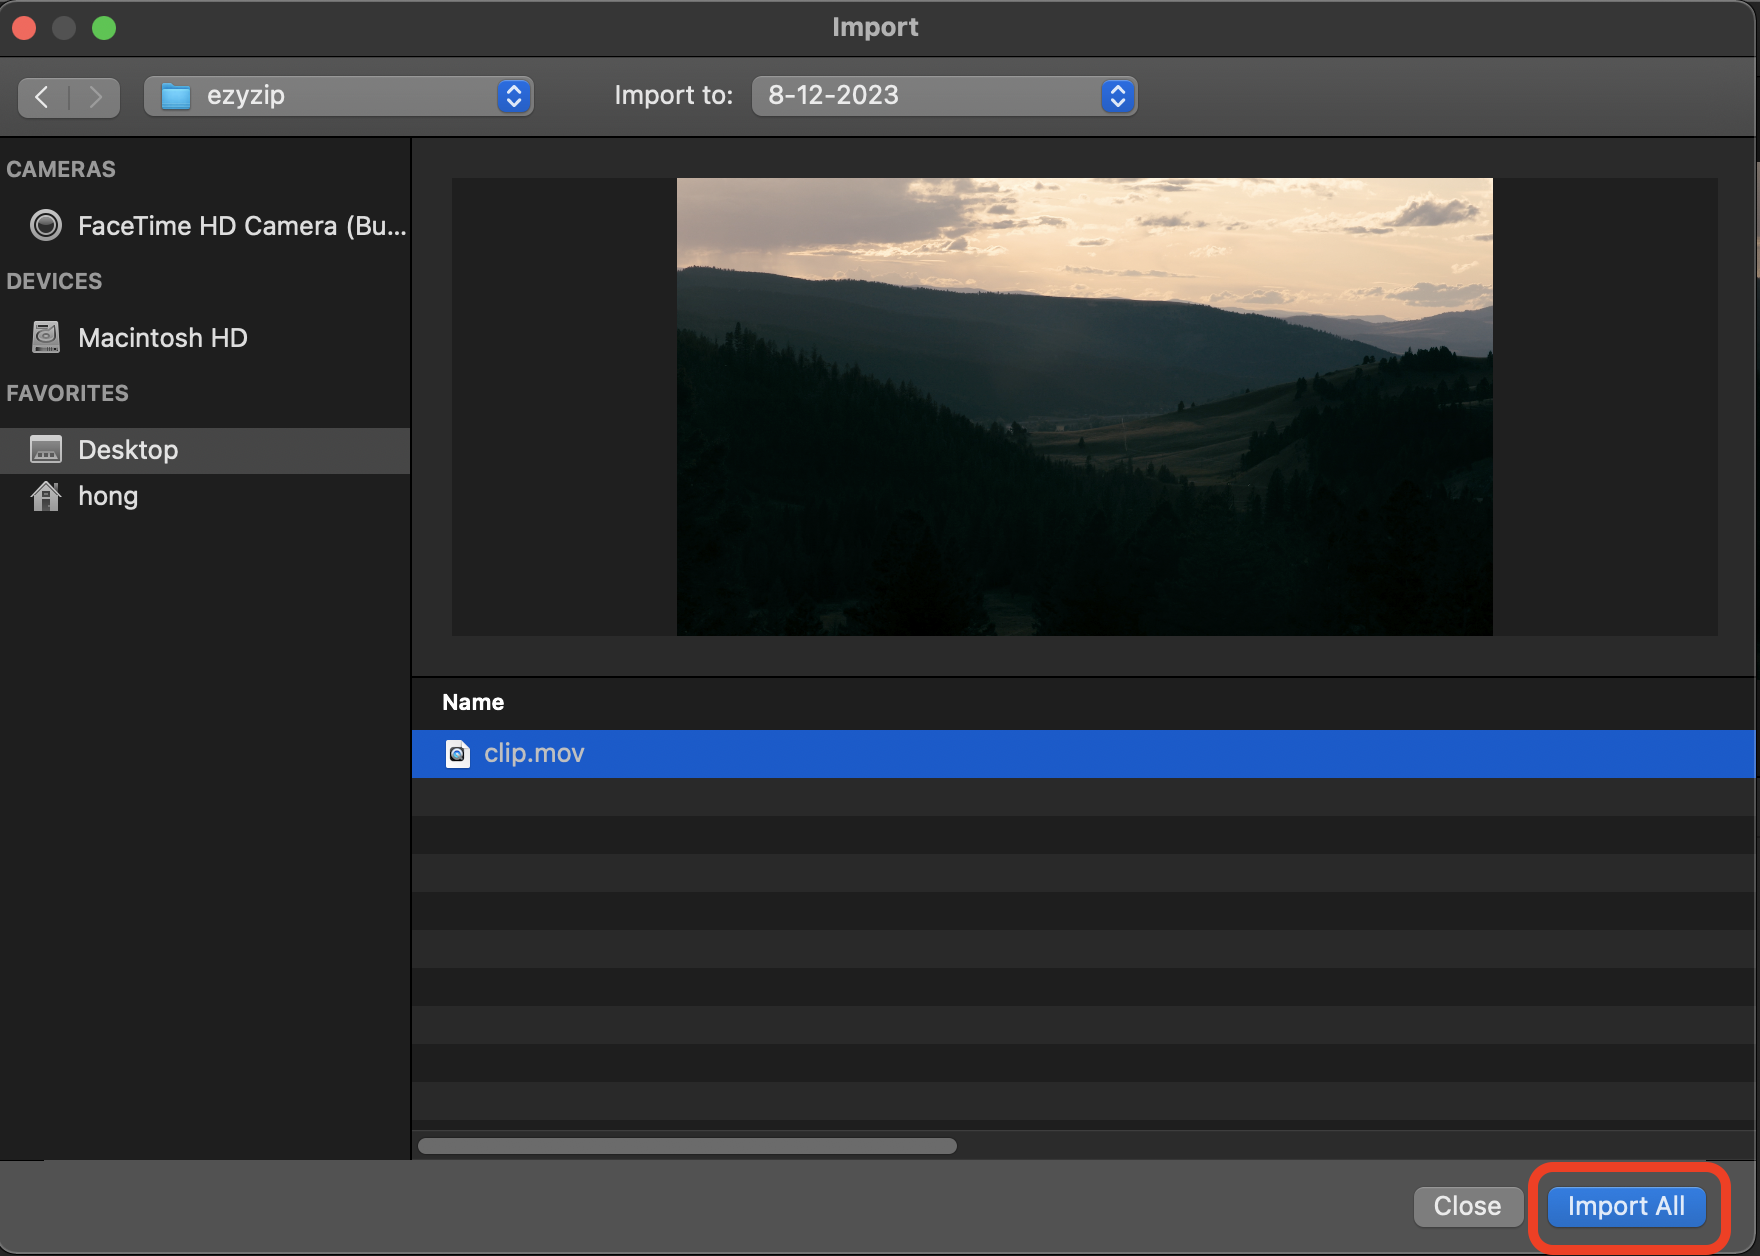
- Open iMovie: Launch iMovie and import your video. It’s like setting up camp.

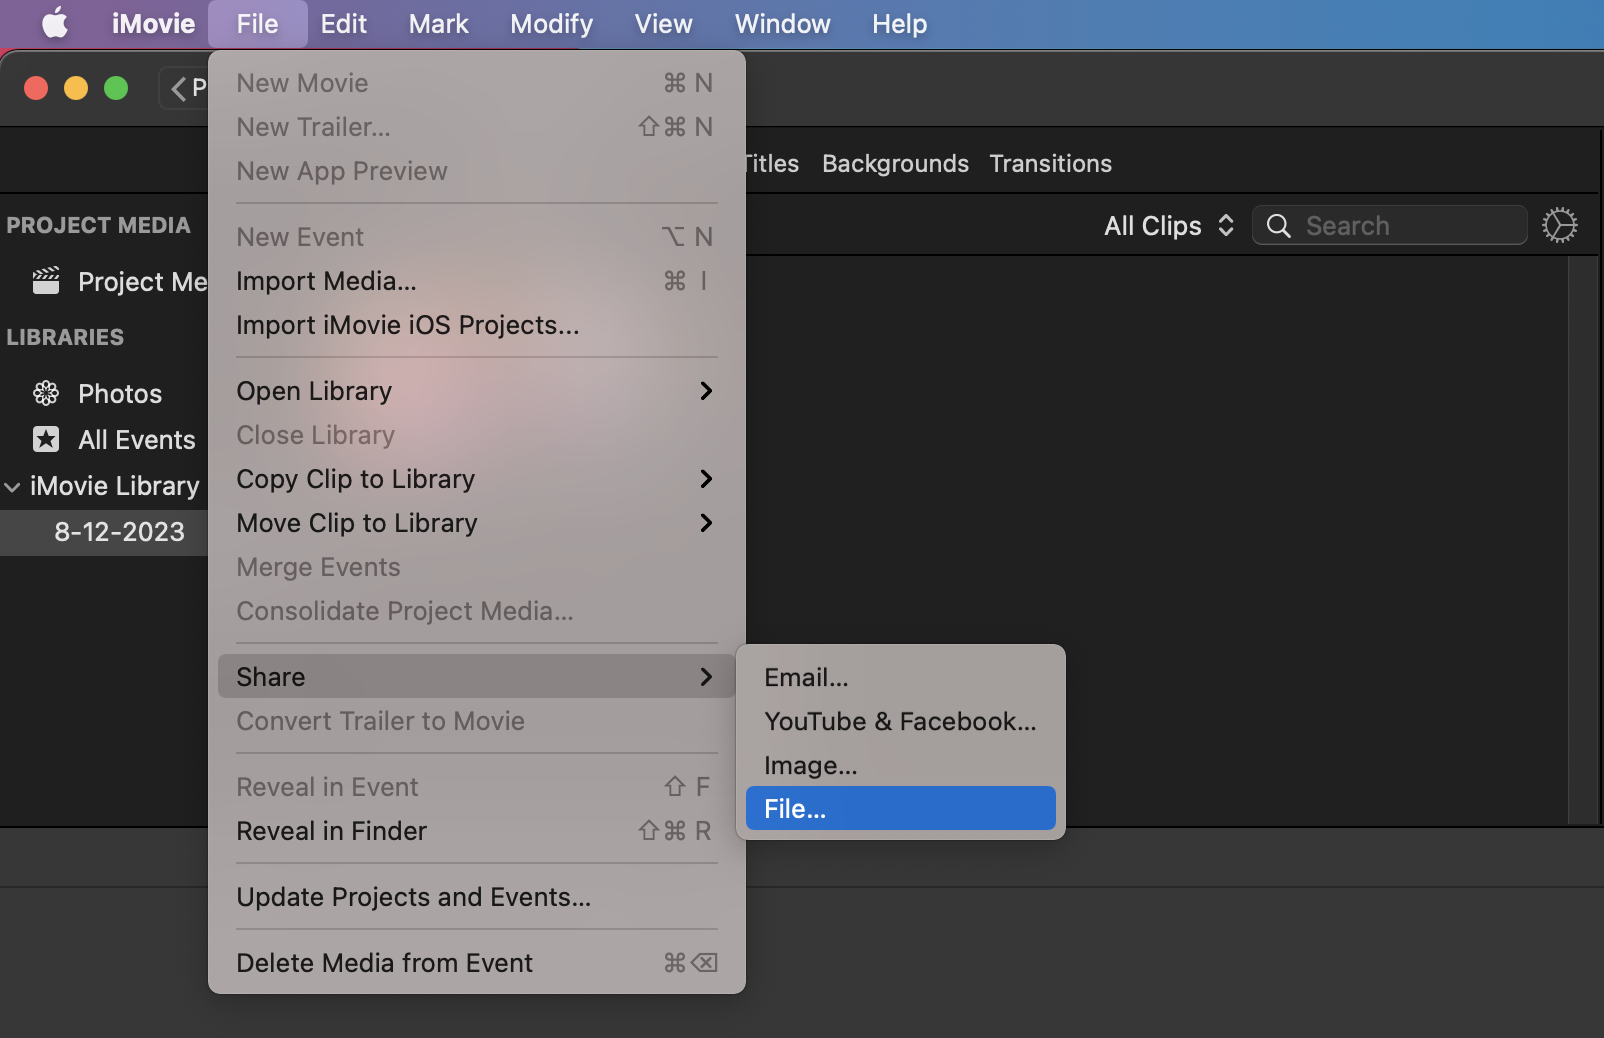
- Share Your Video: Click on the “File > Share” button (the little square with an arrow) and select “File.”
- Adjust the Settings: Here, you can change the resolution and quality to reduce the file size. It’s like deciding how much gear you need to carry on your hike.
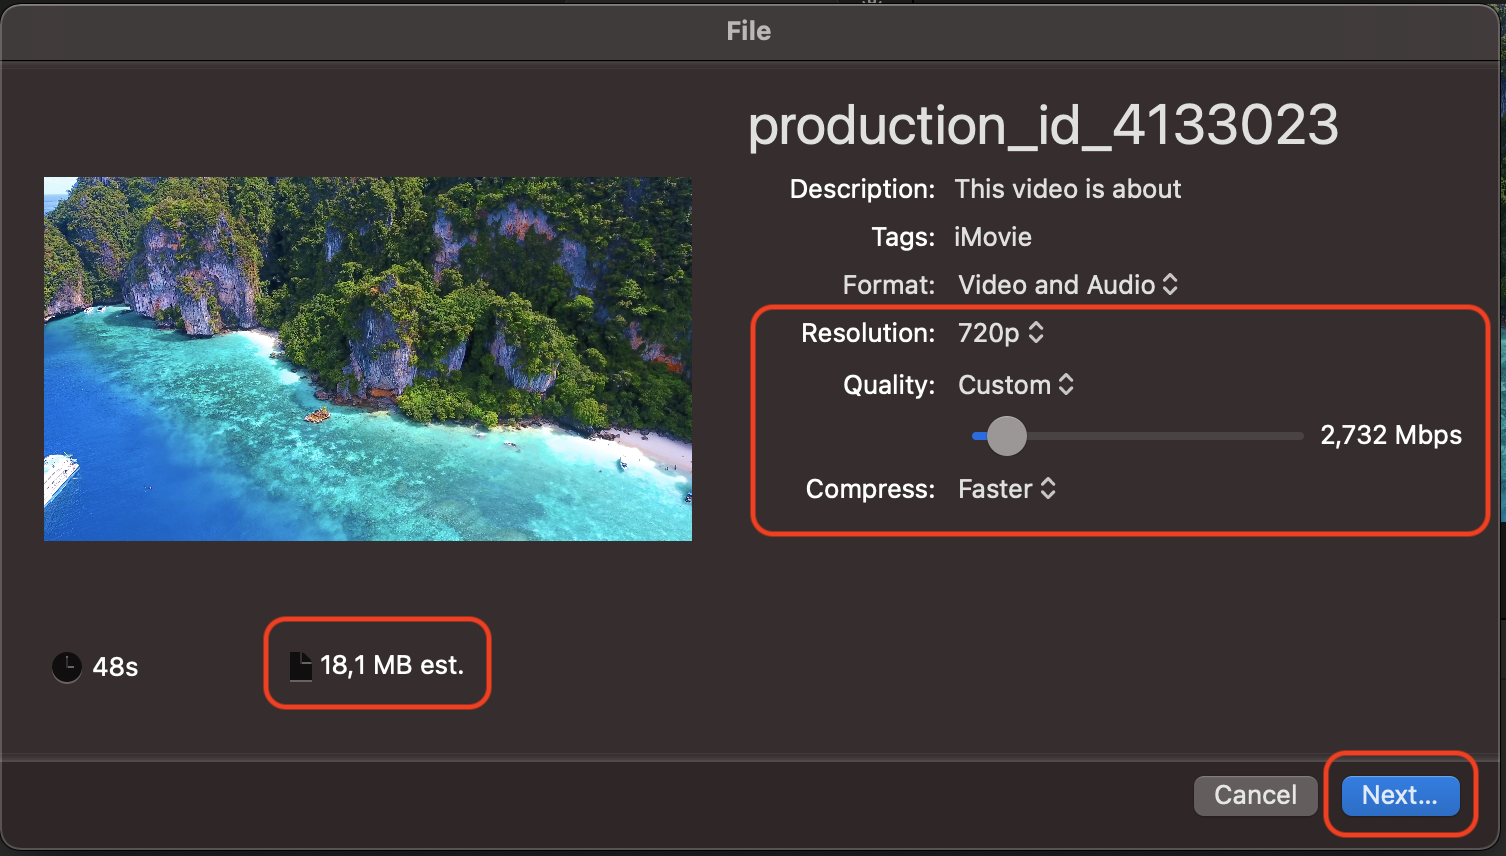
- Compress Your Video: Export your video. iMovie will compress it based on the settings you chose. Your video is now sleek and ready to navigate the vines of AirTable.
How To Reduce Video Size For Airtable with VLC on Linux
For those who prefer a tool that’s as versatile as a Swiss Army knife, VLC Media Player is not just for watching videos—it’s also great for compressing them.
- Open VLC Media Player: If you don’t have it yet, it’s time to install this jungle multi-tool. Open your terminal and type sudo apt-get install vlc and press Enter.
sudo apt-get install vlc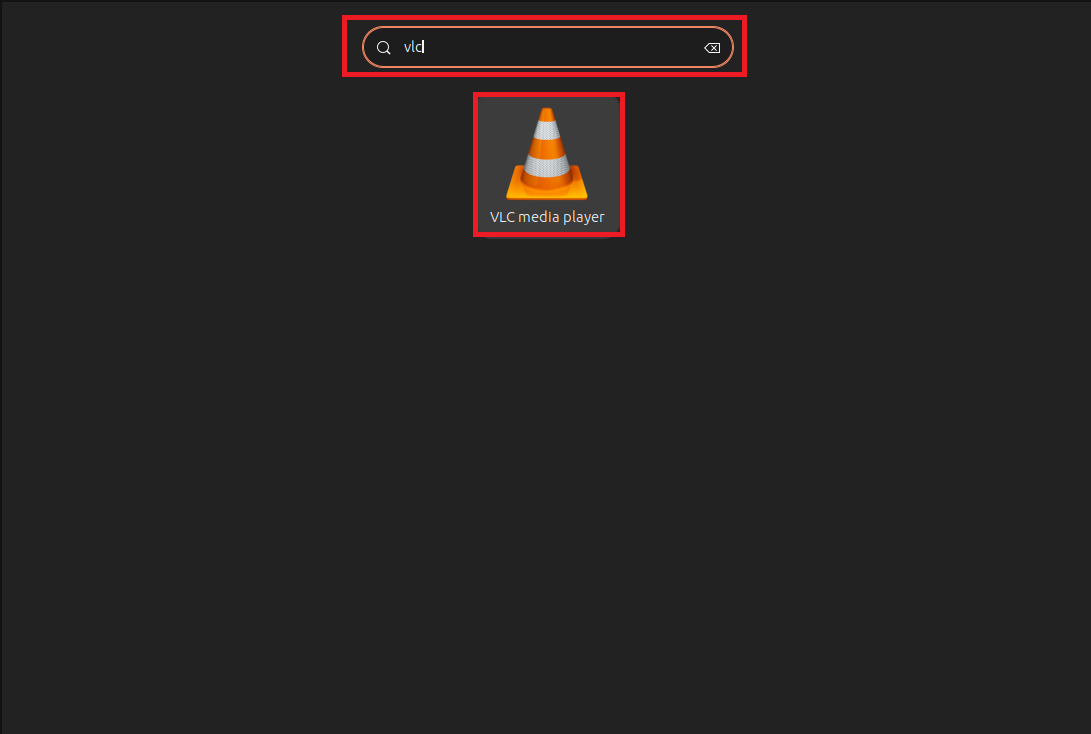
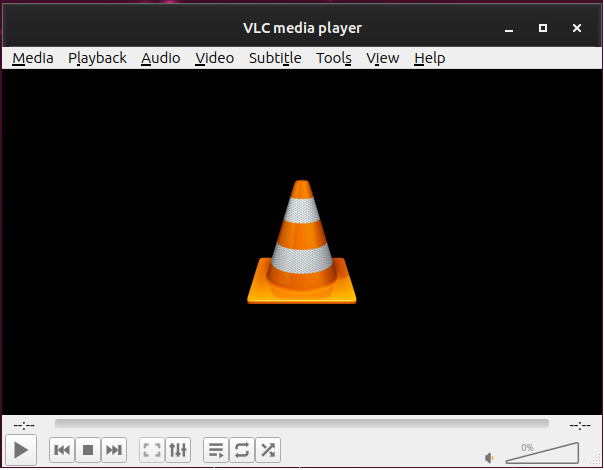
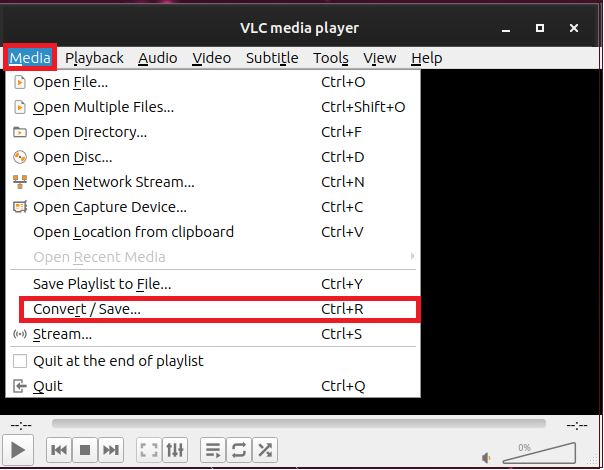
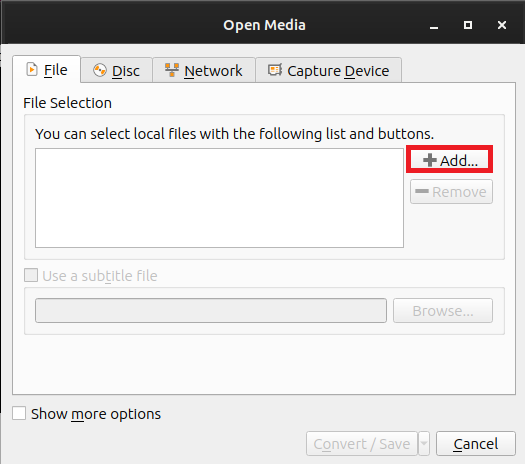
- Access the Conversion Feature: Open VLC, click on “Media” in the top menu, and select “Convert / Save.”
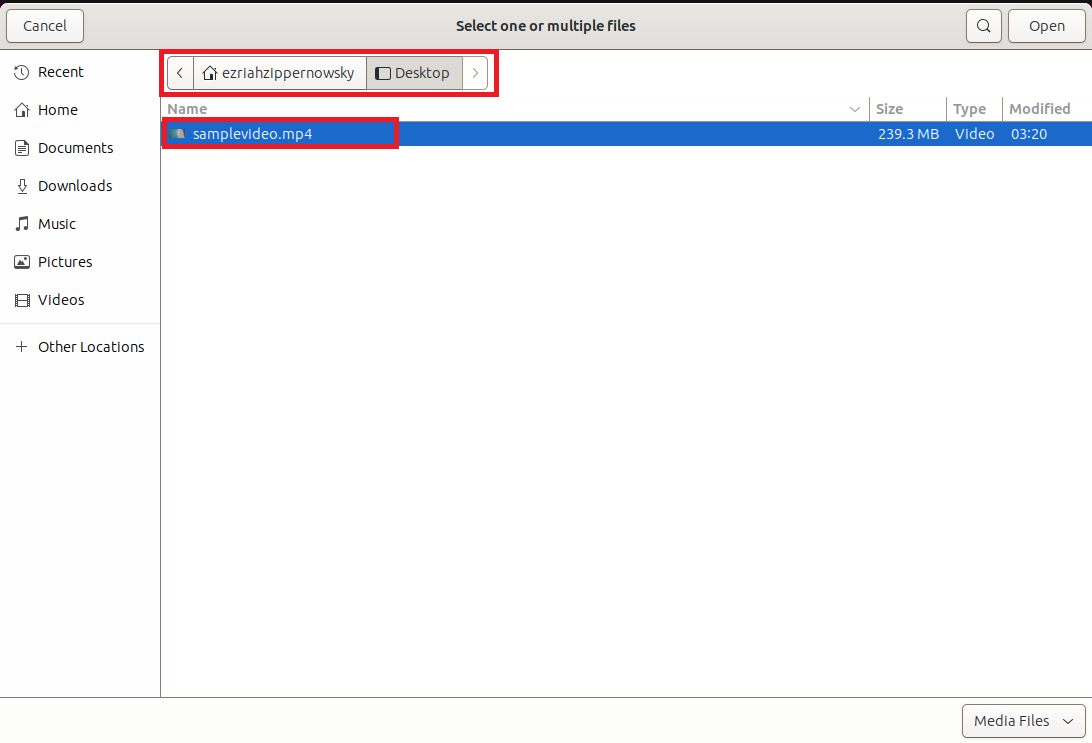
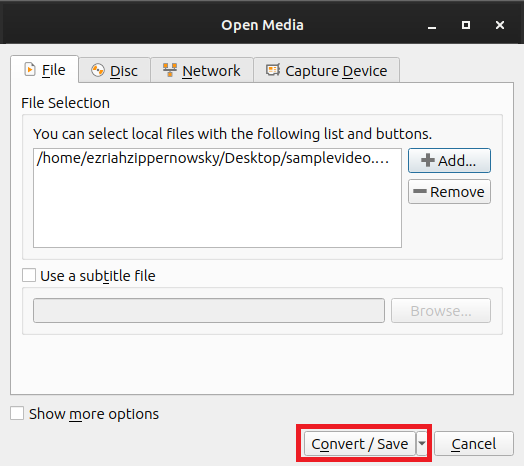
- Add Your Video: Click on “Add” and browse for the video file you want to compress. Once selected, click “Convert / Save.”
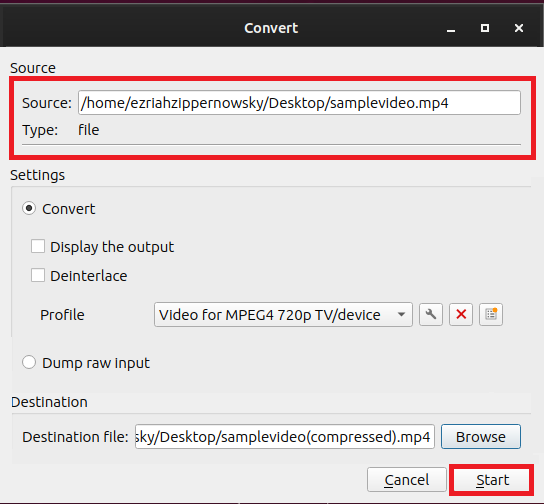
- Configure the Settings: In the “Profile” dropdown, select a format like “Video for MPEG4 720p TV/device”. Click on the wrench icon next to it for more detailed settings, where you can adjust the bitrate and resolution to reduce the file size.
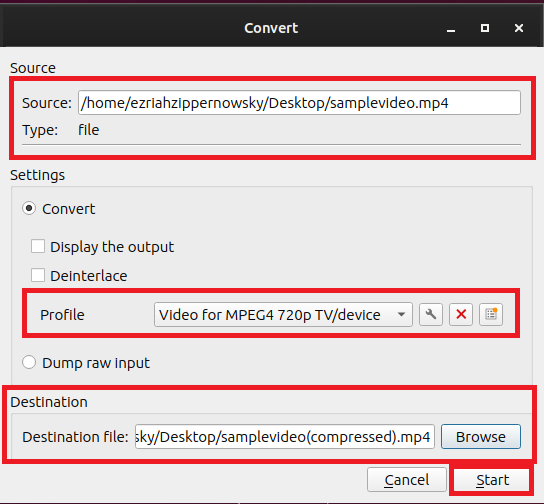
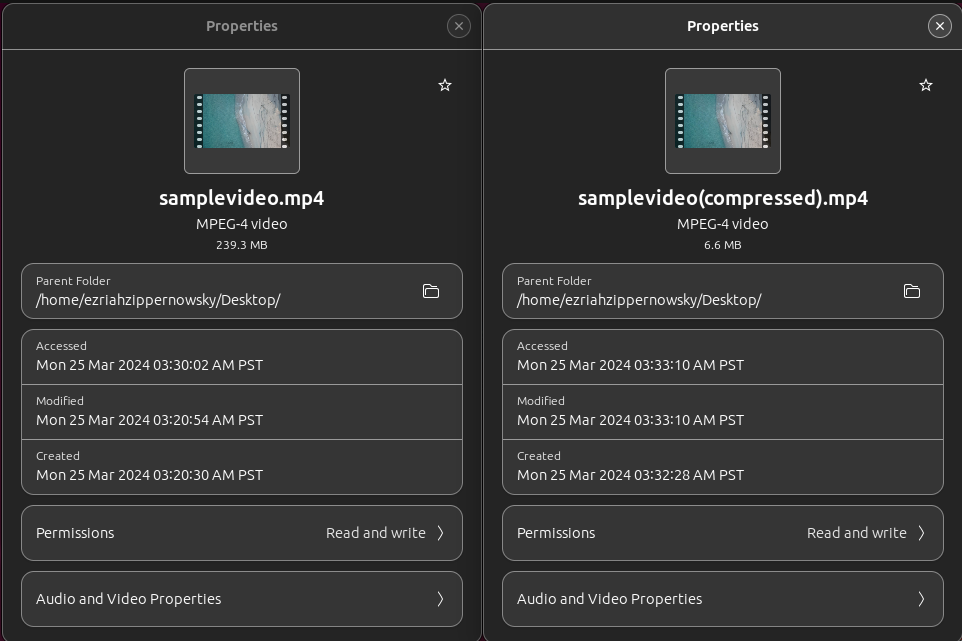
- Start the Compression: Choose your destination file by clicking “Browse,” name your file, and click “Save.” Then, hit “Start” to begin the compression. Your video will be ready for AirTable, as light as a monkey’s whisper.
Frequently Asked Questions About Reducing Video File Sizes for Airtable
Integrating videos into Airtable requires a keen understanding of file sizes, types, and optimization techniques. This section answers the most common questions on how to effectively manage and reduce video file sizes for Airtable, along with additional insights into using Airtable for managing attachments.
What file types are supported by Airtable?
Airtable’s got a keen eye for spotting your favorite jungle snapshots, whether they’re in the flashy colors of JPEGs, the crispness of PNGs, or even the animated antics of GIFs. It’s like a digital photo album that also flips through PDFs, DOCs, PPTs, and XLSs, not to mention those old-school text scrolls. When it comes to jamming out to your jungle tunes, Airtable swings along with what your browser’s drum beats can handle—usually grooving to the beats of MP3s and AACs.
Where are Airtable attachments stored?
Attachments in Airtable are stored on Airtable’s servers, which are hosted on Amazon Web Services (AWS). This cloud-based storage ensures that your files are secure and accessible from anywhere, as long as you have internet access.
Can Airtable be used offline?
Airtable requires an internet connection for full functionality, including accessing and syncing your bases. While there is no official offline mode, some third-party extensions and apps might offer limited offline capabilities or caching.
What is the Microsoft equivalent of Airtable?
The Microsoft equivalent of Airtable is likely Microsoft Lists, part of the Microsoft 365 suite. Microsoft Lists offers similar functionalities, such as creating, sharing, and managing lists that can include various types of data and attachments. However, Airtable is known for its more robust database features and flexibility.
How can I reduce the size of a video file before uploading it to Airtable?
You can reduce video file size using video editing software or online compression tools. Adjusting the video’s resolution, bitrate, and choosing an efficient format like MP4 can significantly decrease the file size. Tools such as HandBrake for desktop or online services like ezyZip are effective for this purpose.
Does reducing video file size affect video quality?
Yes, compressing a video typically affects its quality, as reducing the bitrate and resolution can lead to a loss in clarity and detail. However, with careful adjustment, you can achieve a good balance between file size and quality.
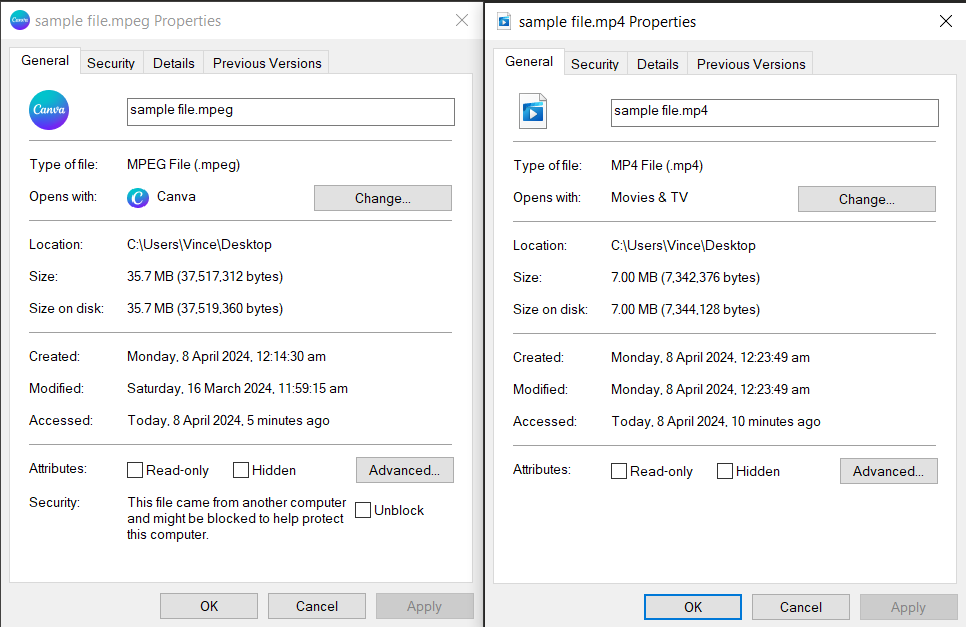
What is the best format to compress a video for Airtable?
MP4, utilizing the H.264 codec, is generally the best format for compressing videos for Airtable. This format offers a good balance of compression and quality, making it widely compatible and efficient for web use.
How do I use HandBrake to reduce video file size for Airtable?
- Download and Open HandBrake: Install HandBrake from its official website and open your video file within the application.
- Select Output Settings: Choose “Web Optimized” and adjust the resolution and bitrate under the Video tab.
- Convert the Video: Click “Start Encode.” After the process completes, check the output file to ensure it meets your expectations for quality and size.
And there you have it, my fellow digital explorers! Whether you’re using ezyZip for a quick fix, Adobe Media Encoder for precision, iMovie for convenience, or VLC for versatility, your videos will now fit perfectly within AirTable’s leafy embrace. No more going bananas over big files; you’ve got this zipped!